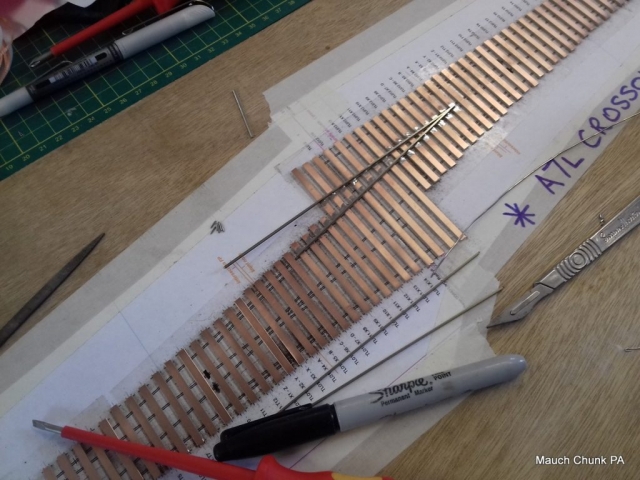
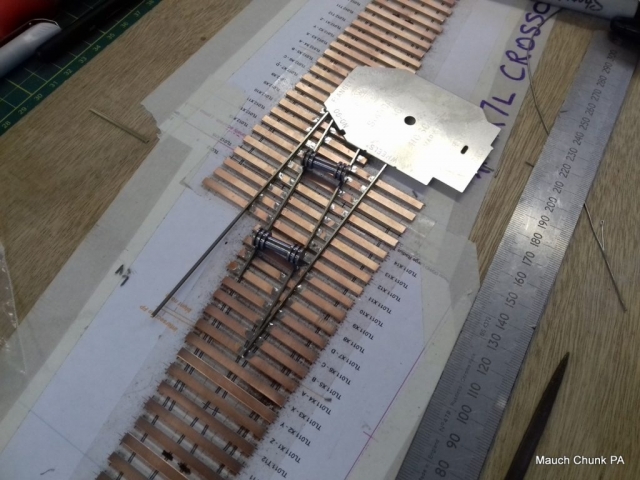
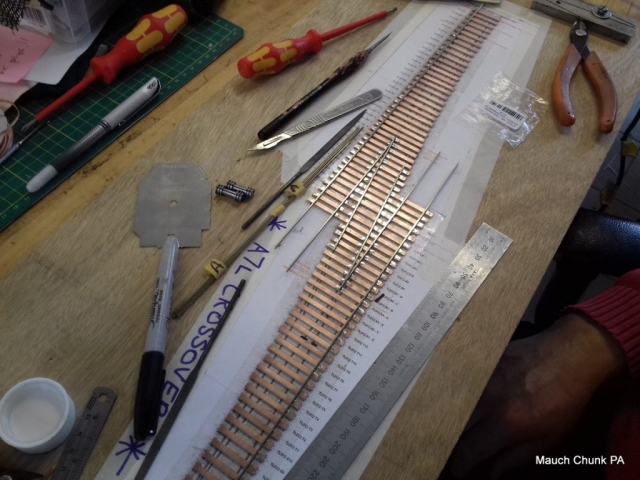
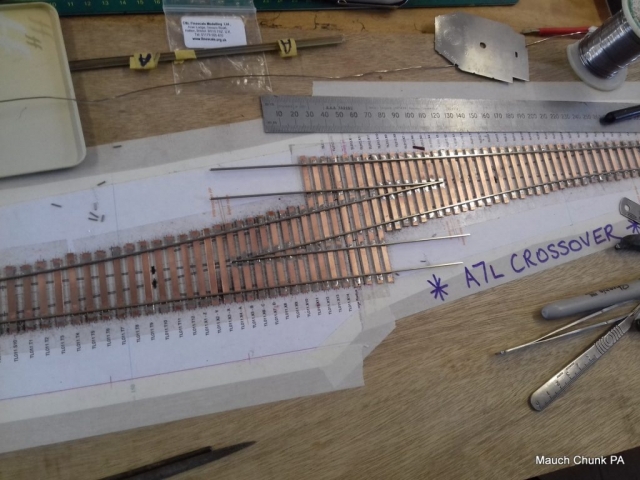
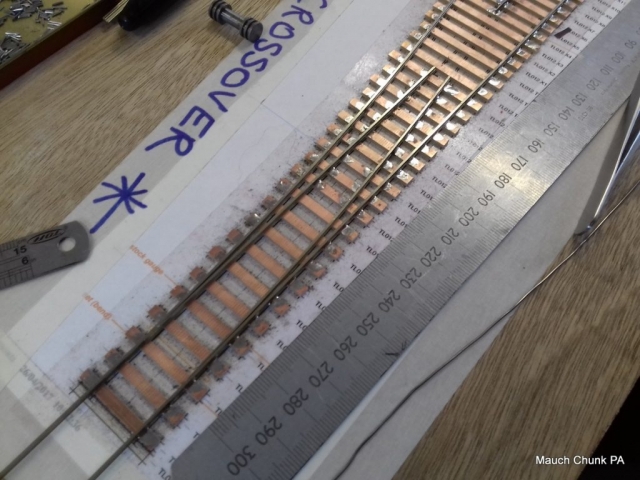
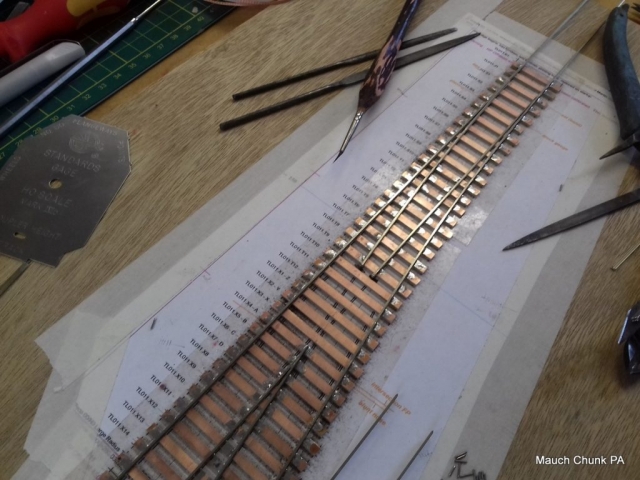
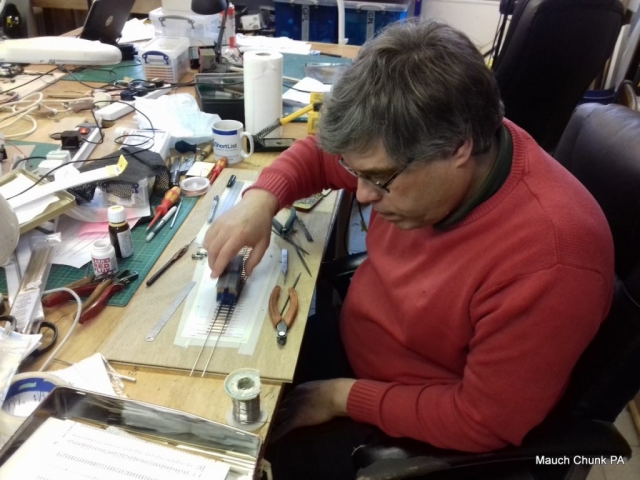
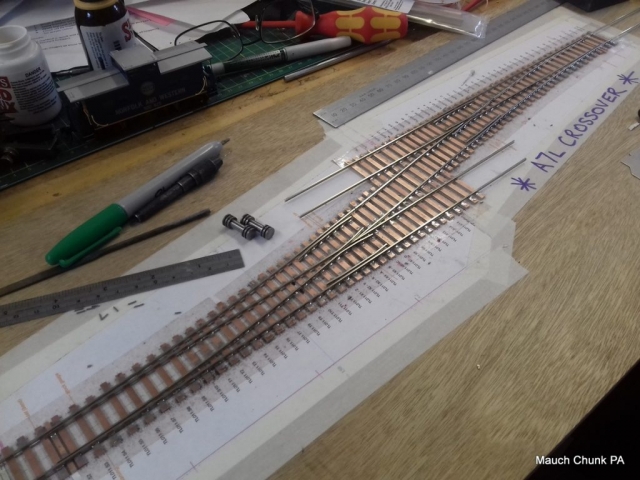
This series of photos shows Richard building the last turnout pair (for now) for the scenic section. The technique is age-old and starts with a template drawn in and then printed out from Templot to fit the space precisely.
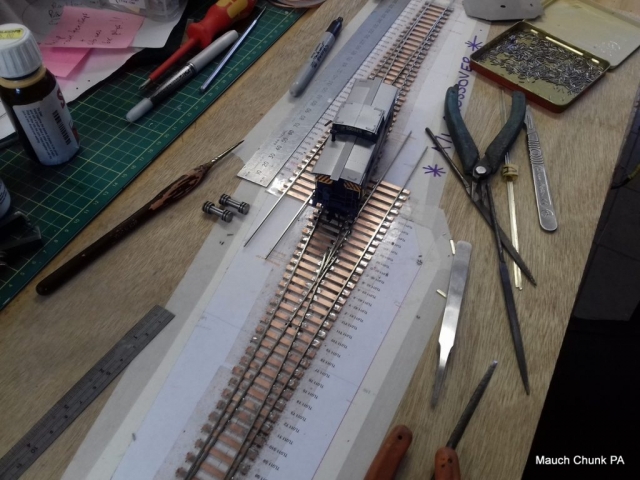
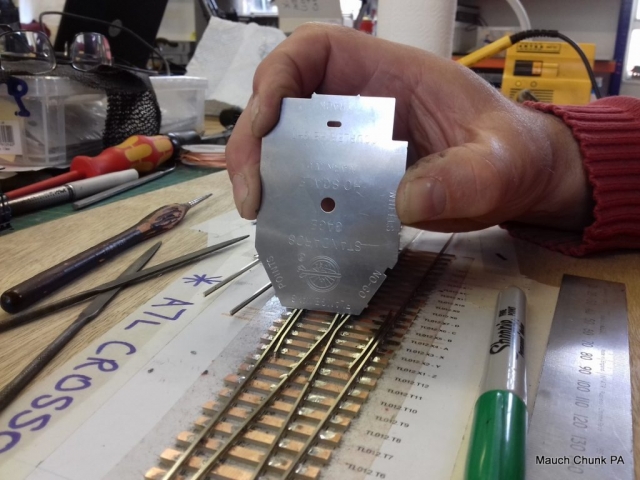
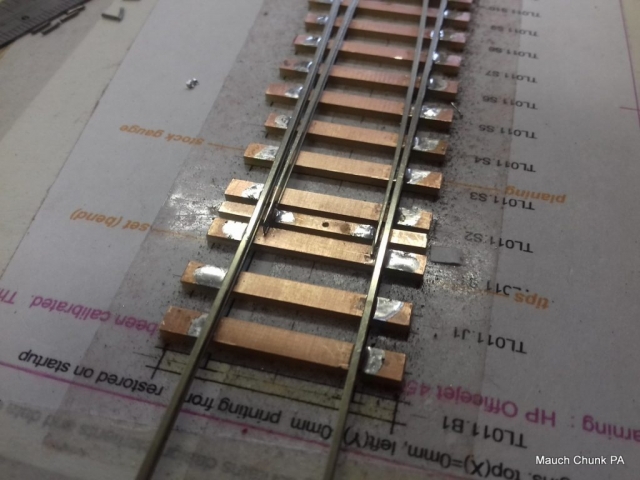
Copperclad strips are first laid on sticky back tape on top of the template. The centre rails are then laid including the points of the crossing V. The next shot shows the gauges used: The NMRA HO gauge, and two OO rolling gauges. Outer rails are then added and then their opposite pairs. Next come the switch rails and then the frogs (with a caboose being run over by Richard to demonstrate clearance). Then the tie bar is carefully added with all clearances first checked for smooth opearation. Next the guard rails – which are pretty much cosmetic if eveything else has been done properly. This completes the turnout except only for gapping the conducting copperclad ties/sleepers.
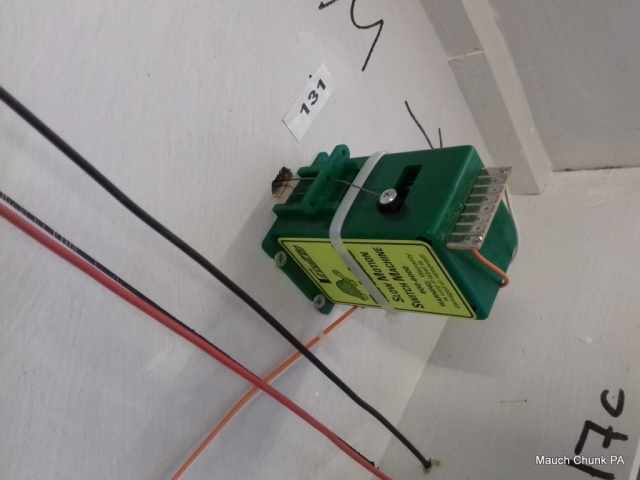
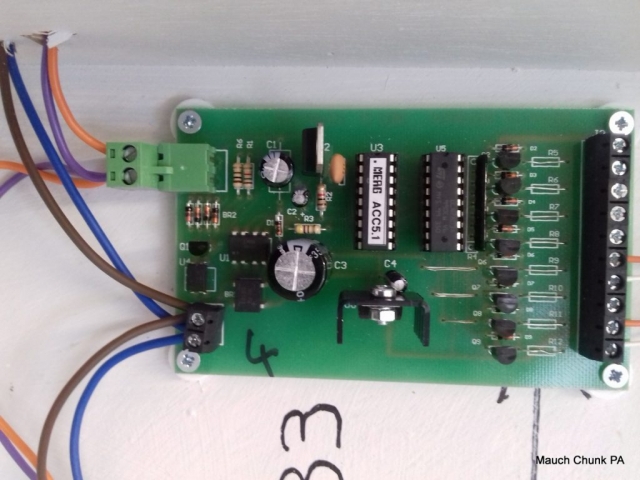
A couple of shots show the Tortoise motors we are using with these new, hand-built turnouts – to reduce damage from the rapid throw of a Peco turnout motor – and the MERG board specific to Tortoise motors.
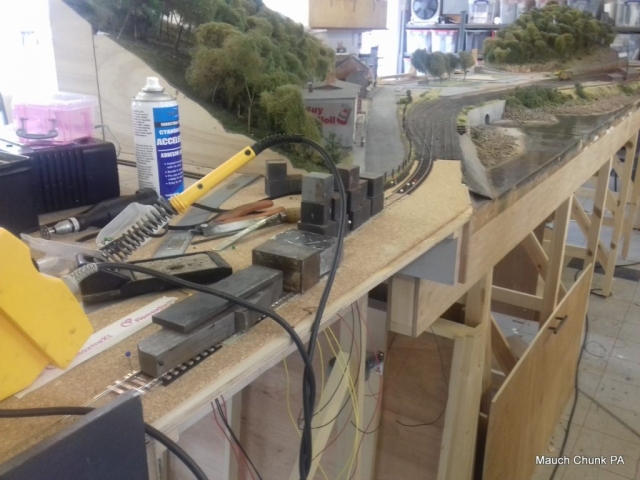
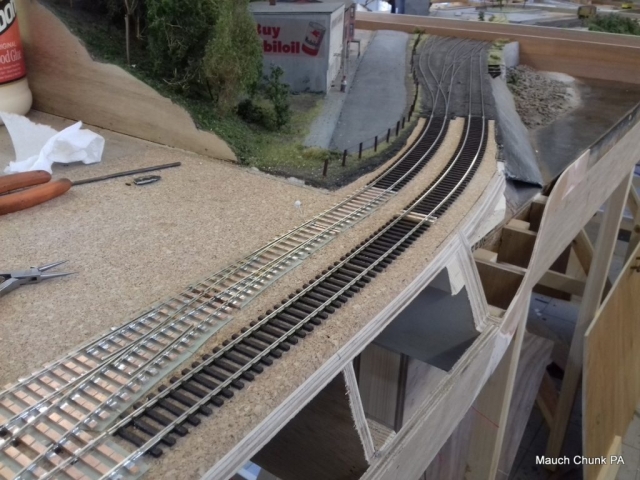
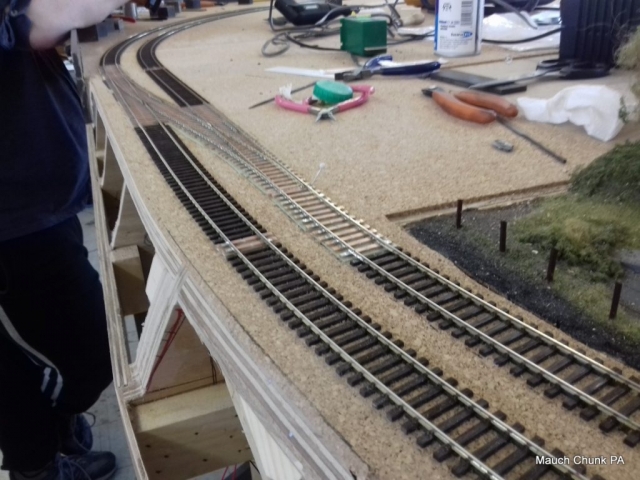
Final three shots show the turnout pair being laid on the ‘last’ scenic board at the LH end, and then in all the glory.
