In the week before Christmas and New Year the turnouts and tracklaying were completed by Richard and Mike. Once down only 14 feet of original track remained! The ‘dropper’ holes (new and old) were filled with tissue paperby Steve to prevent ballast loss and the whole was airbrushed black by Mike.
Gareth (shown) and Steve then painted the sides of the track a rusty brown – avoiding any switch blades. Finally Steve ballasted the track (with help from Gareth) using real sieved coal from his coal scuttle.
Running up to Christmas we have carried on at great pace to finish the trackwork and scenic work on Mauch Chunk.
Richard has carried on turnout building and, having finished 12 (?) turnouts – many in groups – is now relaying the track on the front to accomodate them. This has produced a pile of old turnouts which have served us well for many years but are not reliable enough for the new exhibition running. Mike is also lending a hand with tracklaying.
Mike has carried on with the smoothing of the roadways, which currently look very smooth – a bit of weathering will make them more realistic.
Gavin has built the new backscene boards using 3mm ply and braced them with 1inch x 1inch timber (not shown). He has also varnished and primed them for Steve to paint.
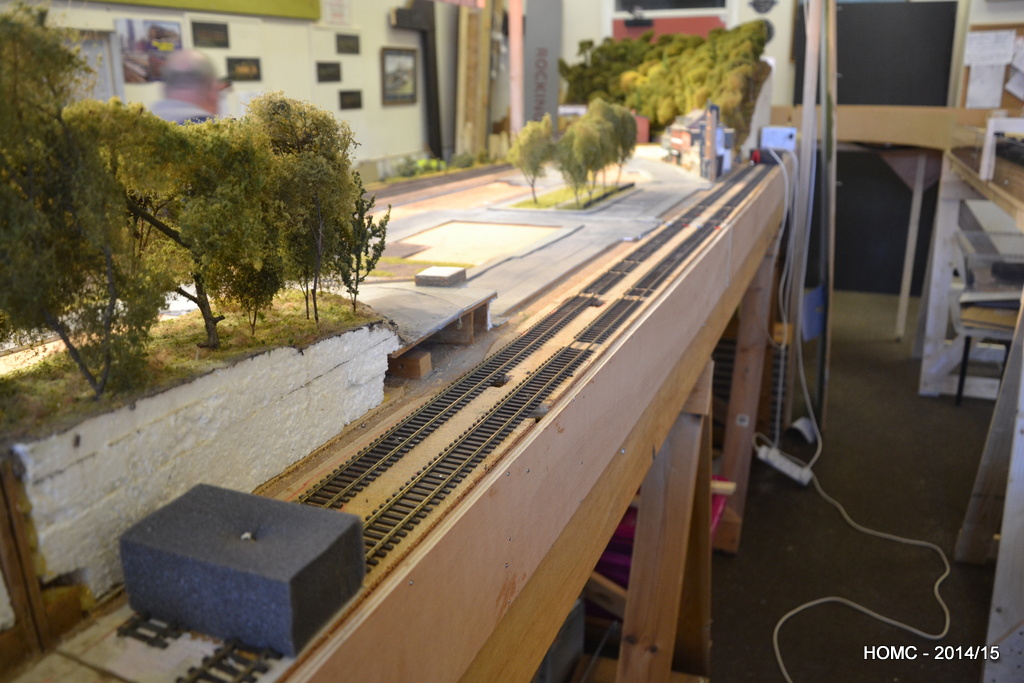
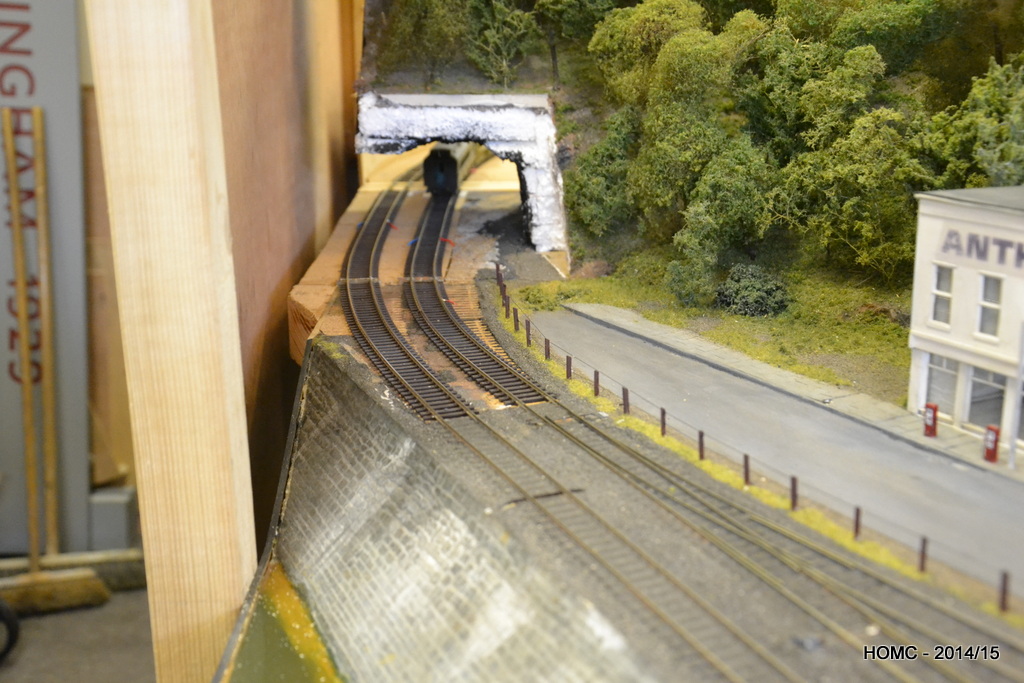
Steve has carried on with weathering the walls and rockface and then moved on to ballasting the RH end of the layout and adding the rocks on the river edge. Ground cover has also been added to the hillsides with Woodland Scenics coarse and fine scatter in several colours and blends, prior to re-adding the trees.
The late Chris Bennet’s bridge (the earlier girder bridge) has been extended using the same techniques and and pieces to extend over the extra tracks.
Since my last post, we’ve been storming ahead with getting Mauch Chunk ready for the CMRA show in Stevenage on January 13/14th.
Mike has been getting stuck in with improving the scenery and has done some work on the statue of the unknown soldier, as well as starting to relay all the roadways and extend them onto the new boards.
Steve has been continuing to work on the walls – painting them – and is modifying the ‘river’ bridge extending it to cross the new, increased track witdth.
Richard has been measuring up and re-templotting much of the pointwork and is now building a full replacement set to ensure flawless running. Some or all of this will be relaid before CMRA depending on time available.
Gavin has started to build new backscenes to fit the new, extended scenic section, ready for Steve to paint in the early new year.
Peter, of Big Bear fame, has reworked the software for us to allow operation on 1024×768 screens which will allow us to use ex-‘Point of Sale’ touchscreens if time allows.
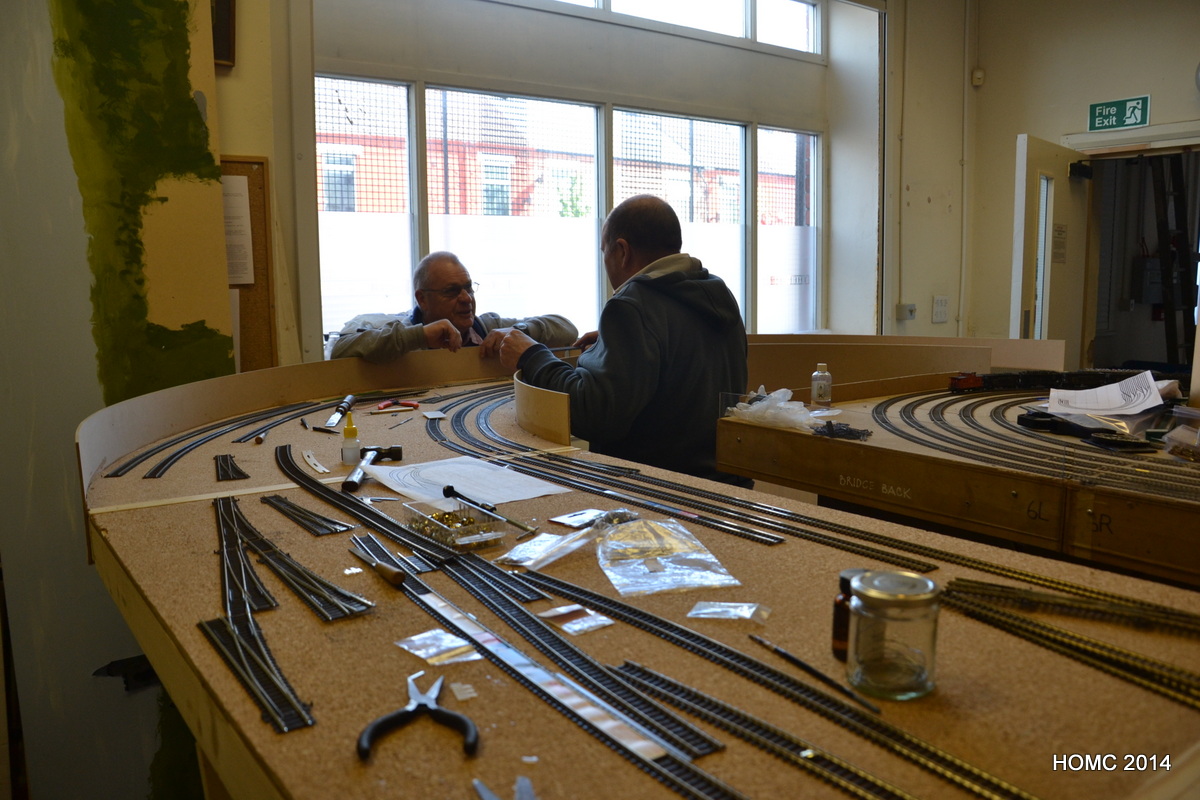
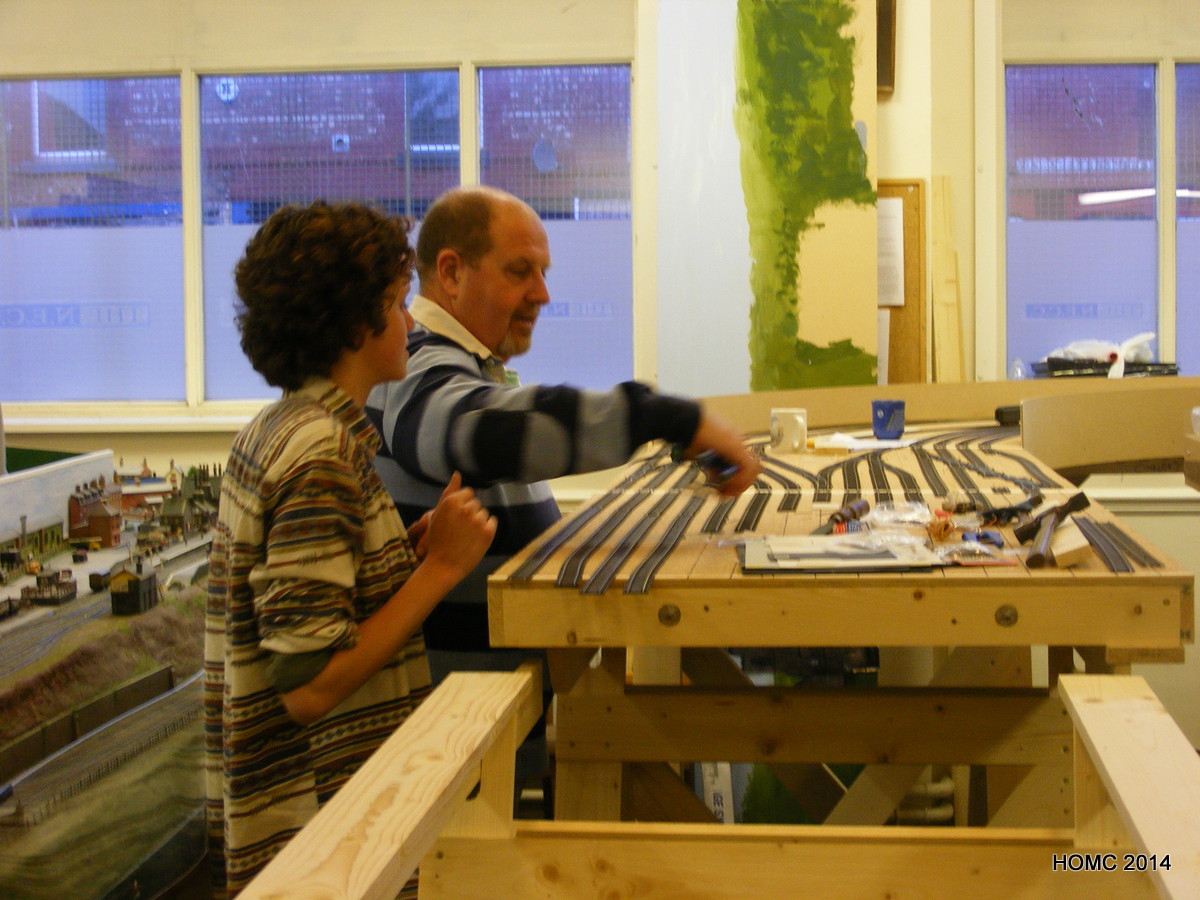
This series of photos shows Richard building the last turnout pair (for now) for the scenic section. The technique is age-old and starts with a template drawn in and then printed out from Templot to fit the space precisely.
Copperclad strips are first laid on sticky back tape on top of the template. The centre rails are then laid including the points of the crossing V. The next shot shows the gauges used: The NMRA HO gauge, and two OO rolling gauges. Outer rails are then added and then their opposite pairs. Next come the switch rails and then the frogs (with a caboose being run over by Richard to demonstrate clearance). Then the tie bar is carefully added with all clearances first checked for smooth opearation. Next the guard rails – which are pretty much cosmetic if eveything else has been done properly. This completes the turnout except only for gapping the conducting copperclad ties/sleepers.
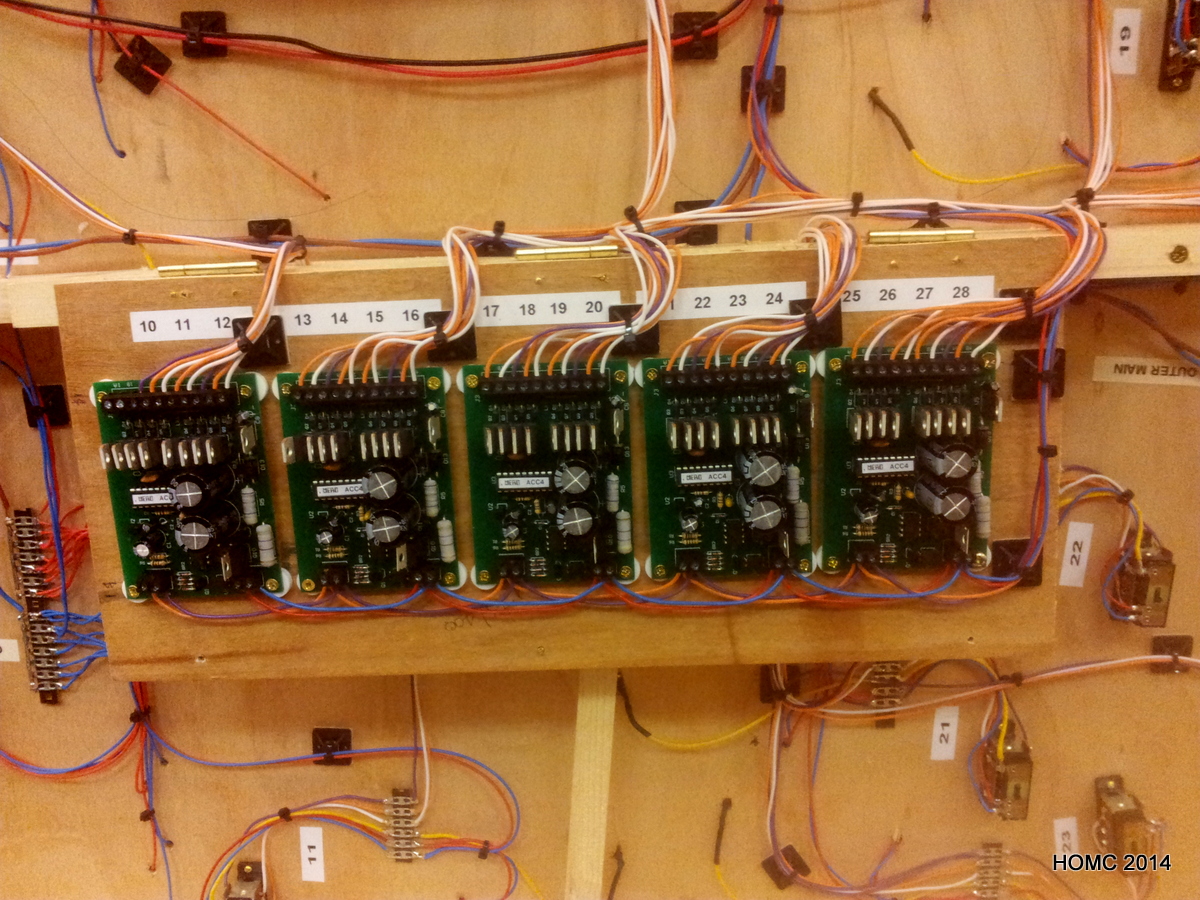
A couple of shots show the Tortoise motors we are using with these new, hand-built turnouts – to reduce damage from the rapid throw of a Peco turnout motor – and the MERG board specific to Tortoise motors.
Final three shots show the turnout pair being laid on the ‘last’ scenic board at the LH end, and then in all the glory.
Well, that is a slightly grandiose title, but to an extent it does describe the work of the last ten days on the right hand of the scenic section!
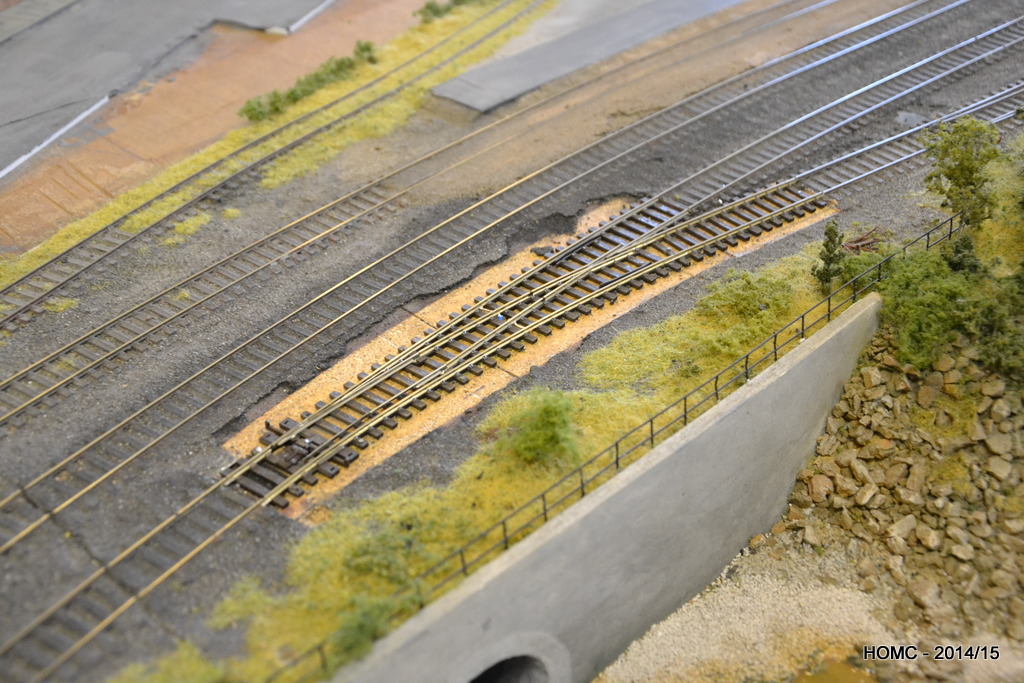
We’ve taken up some of the old turnouts and cut back the track to a clean board finish. The board was then widened by just under three inches by Steve and Gavin to take an extra yard track. After careful levelling, cork was laid and then track and new turnouts, handbuilt by Richard, were carefully laid by Richard and Steve. The intention is to scenic the large, curved, end board at a later stage.
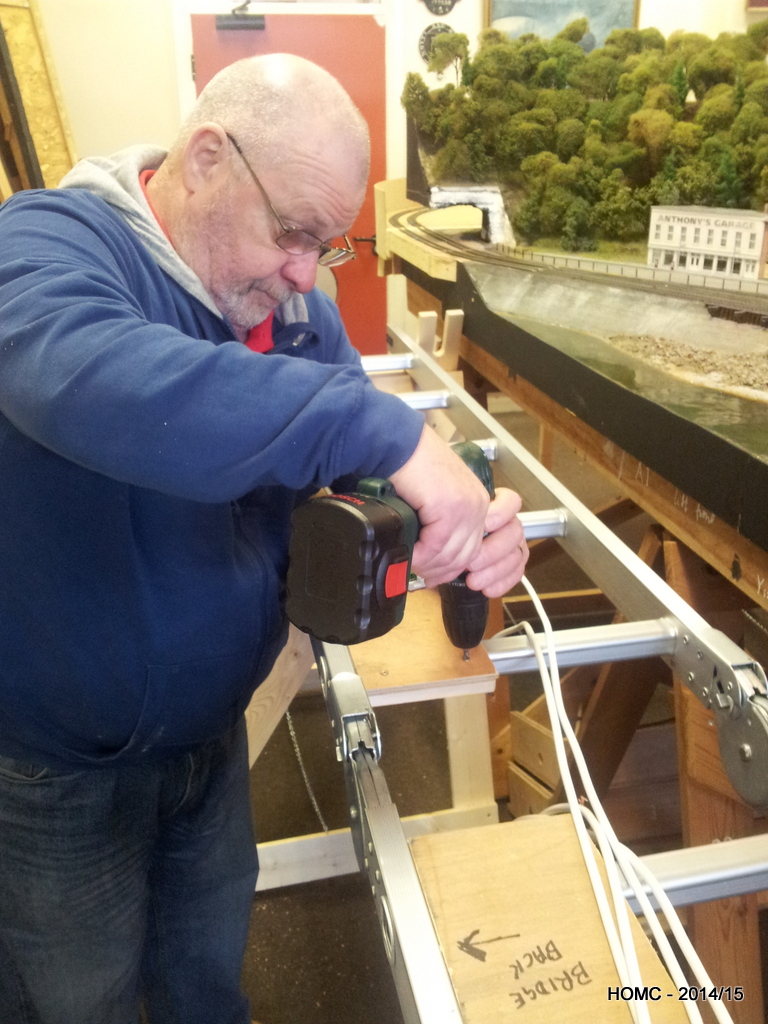
Wiring then commenced – these handbuilt turnouts will be powered by Tortoise point motors which give a more realistic movement and also reduce stress on the handbuilt soldering joints.
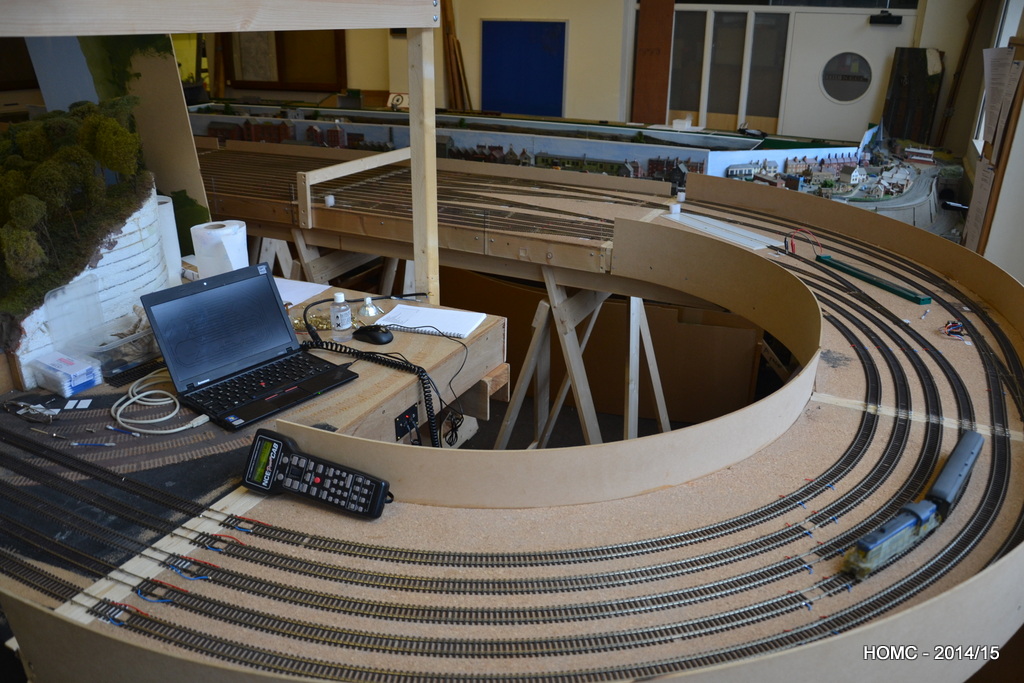
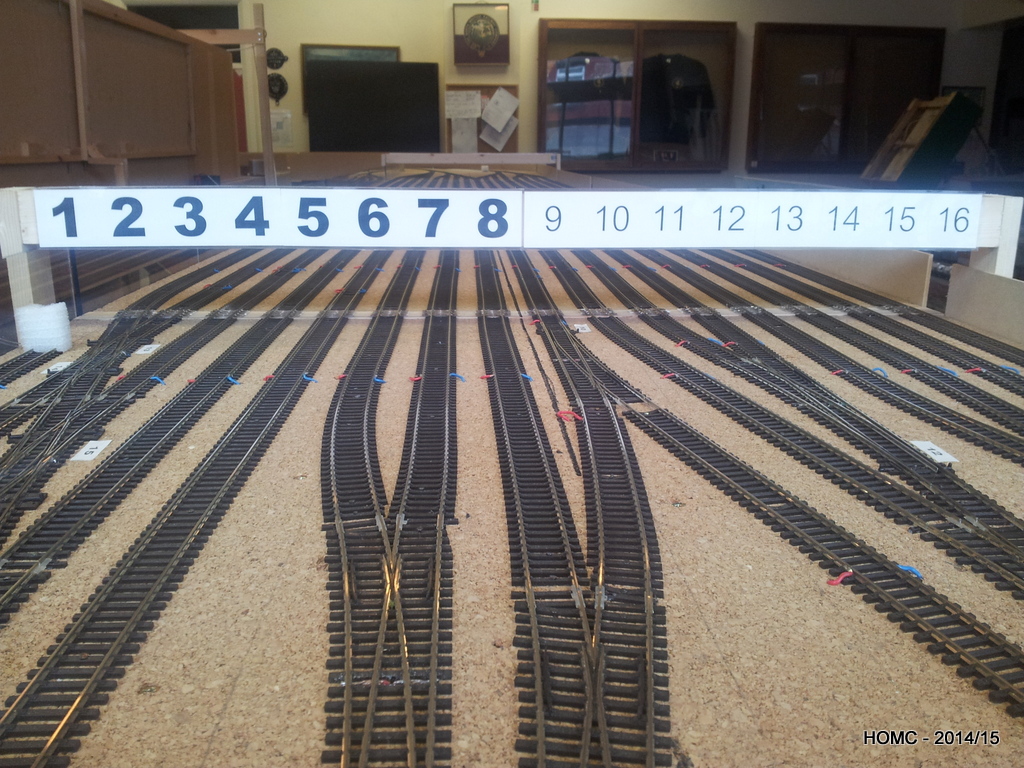
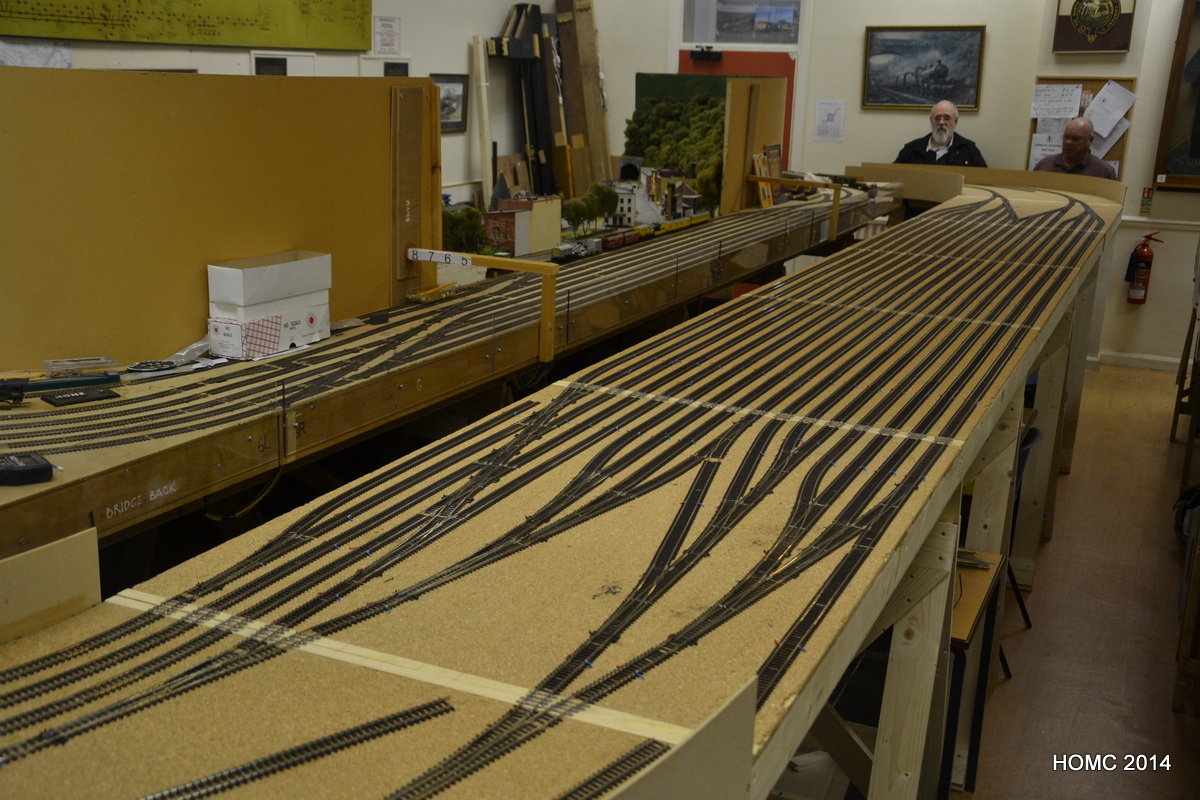
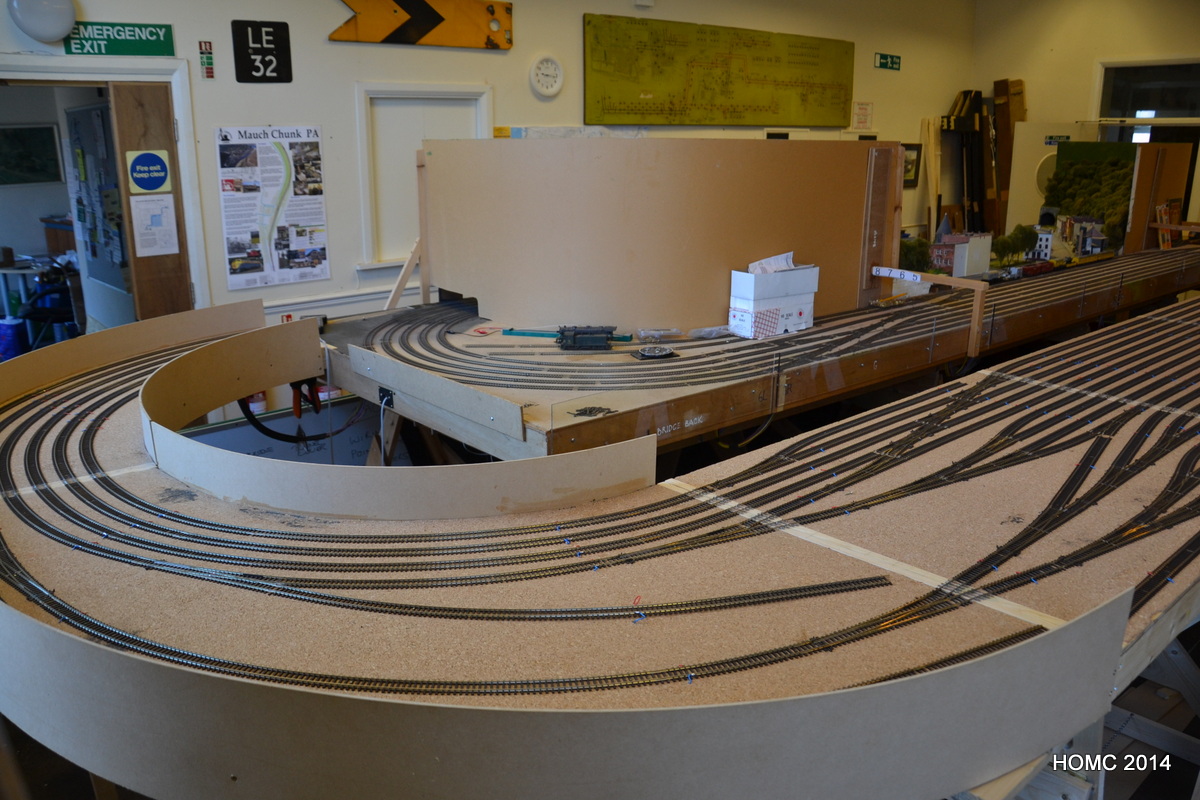
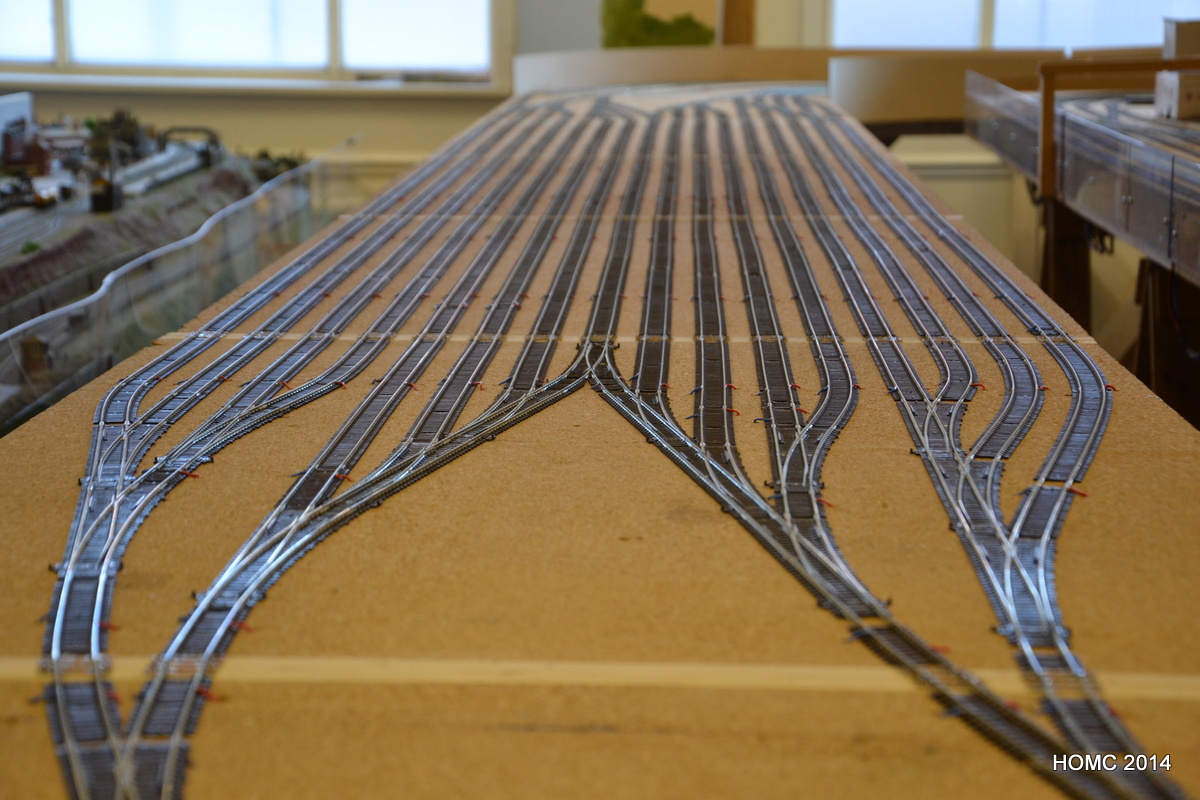
Work has continued on laying the track and switches this month (March) and the track in the staging yard is now complete to the end points of the curves. Richard and I (Steve) have done most of this and Dave has corrected some of my worse errors! This is as far as we can go until the new boards on the front are complete – which will hopefully be in the next couple of weeks. The N&W caboose runs very happily through all the curves and switches although it will soon be recolored and decaled!
You can see that we have avoided using the double slips which proved a little problematic with some stock on the phase 2 staging yard boards.
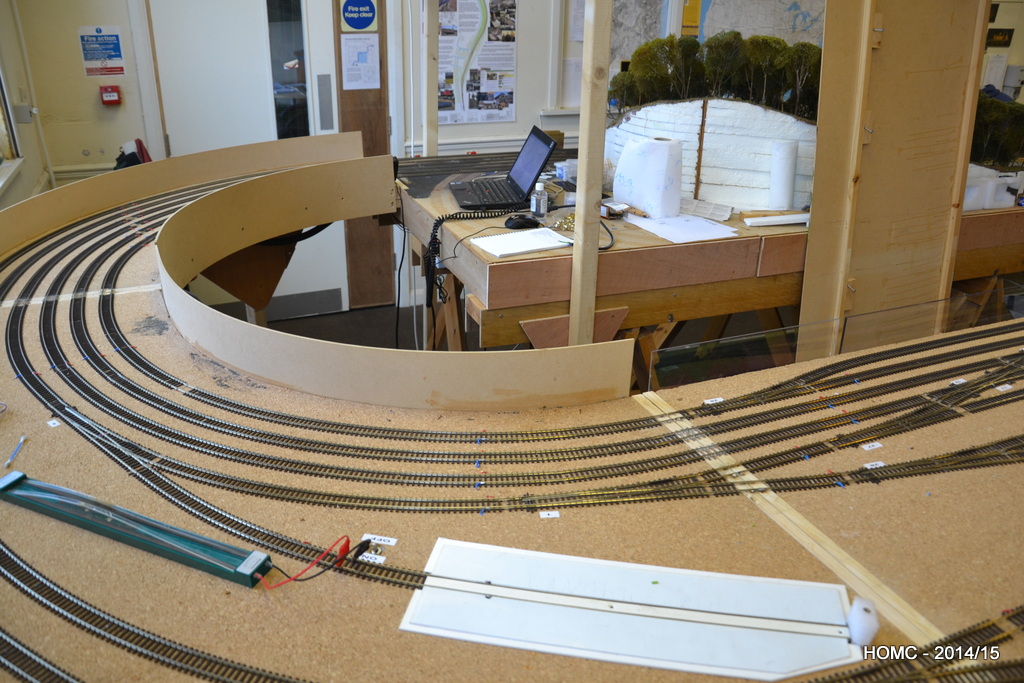
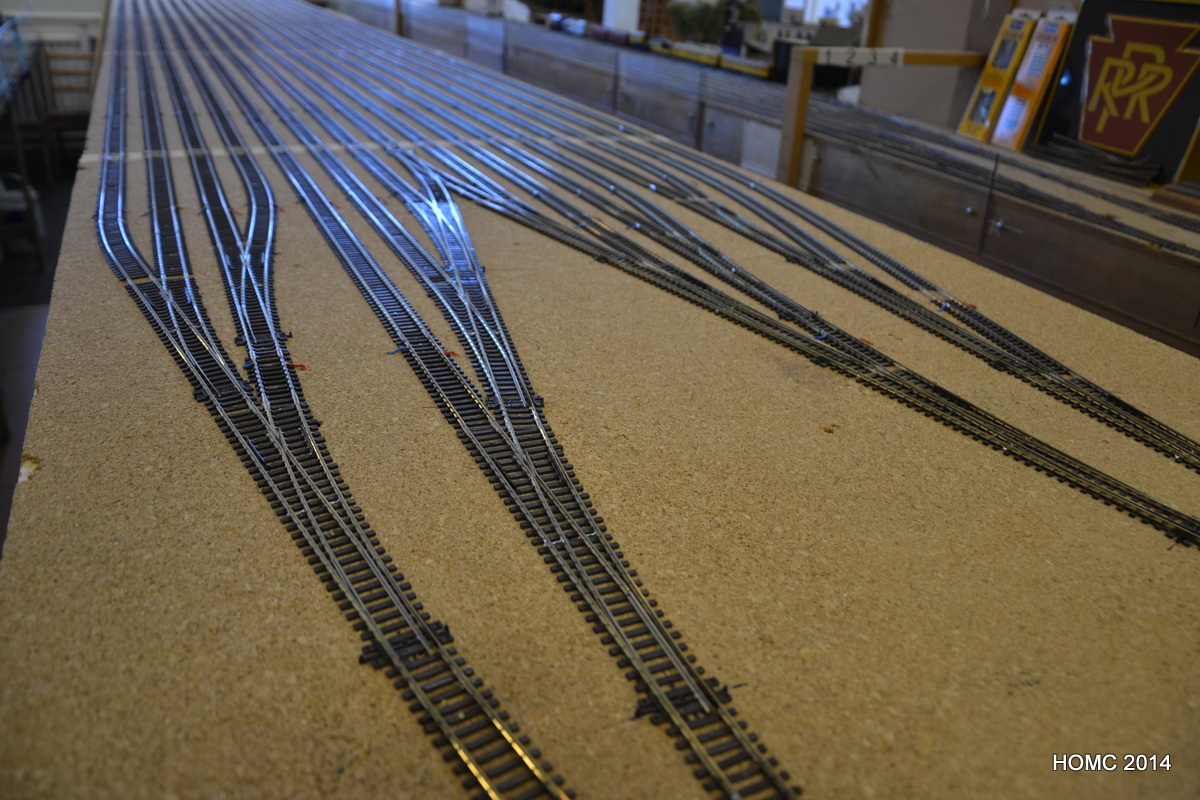
Since returning from Model Rail Scotland and as we go into March incredible progress has been made laying track in the new staging yard. Richard and Steve have forged ahead with this as the photos show. Each piece of track has a duplicate pair of droppers soldered under the rail and copper strip is used at baseboard edges to hold the track firm there. Track is then glued down at each end of every fourth tie using cheap superglue. All track is Peco streamline code 75 and switches are now also being laid, initially by Richard.
February was quiet for Mauch Chunk PA because we (BMRG) were getting Mostyn ready for Model Rail Scotland on 24-26th February and there is only room for one large layout to be erected in the clubrooms. Good news in that Mauch Chunk has now also been invited to MR Scotland in 2019!
As soon as we returned, Mostyn and Johnstown Road (the club’s O-gauge layout) were carefully stored in a large, linear pile along the rear side of the clubrooms and the new Mauch Chunk staging yard boards were re-erected and levelled.
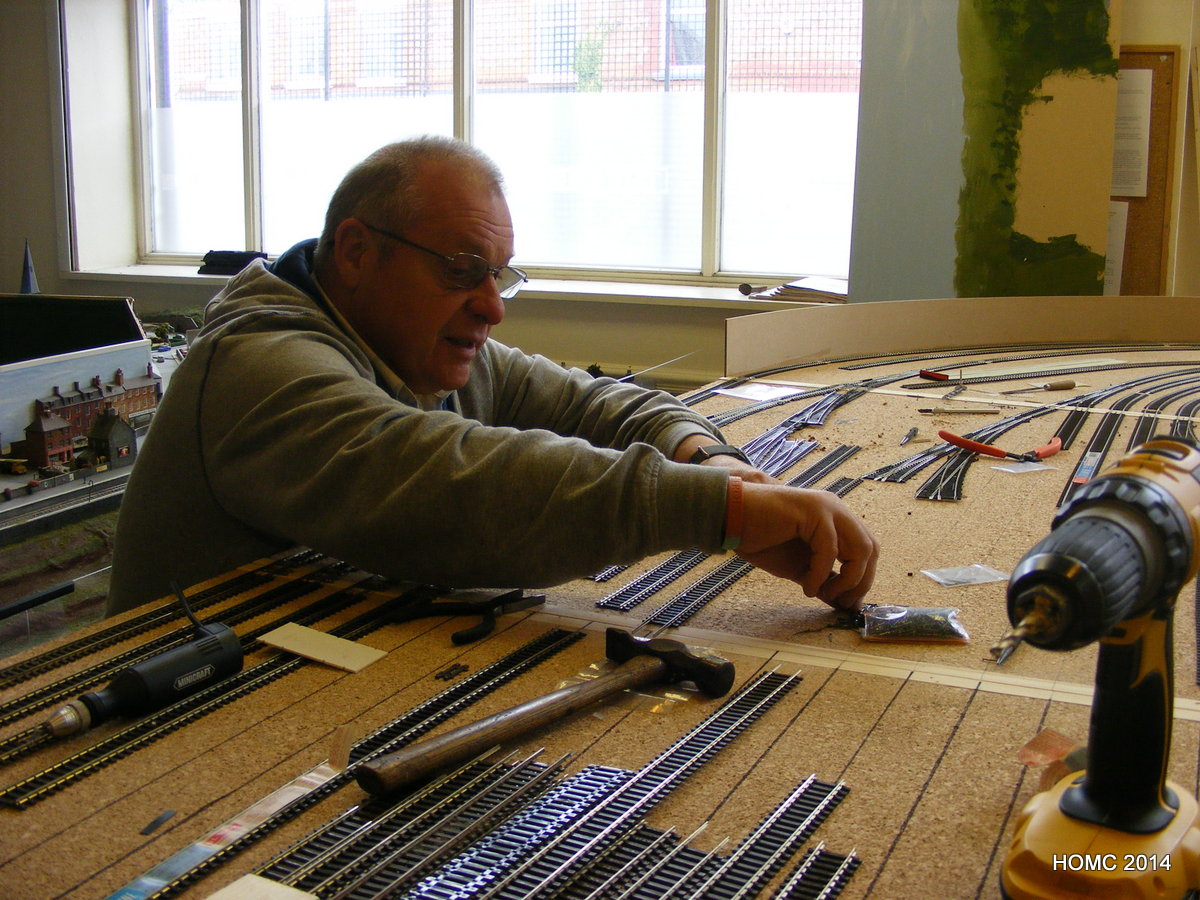
Track laying has now started – using Peco streamline code 75 track. The Barromore MRG approach is being followed with droppers under the track and track held down with superglue. It is also VERY, VERY straight! Photos show Richard laying track although Steve (me) and Dave Faulkner are also involved.
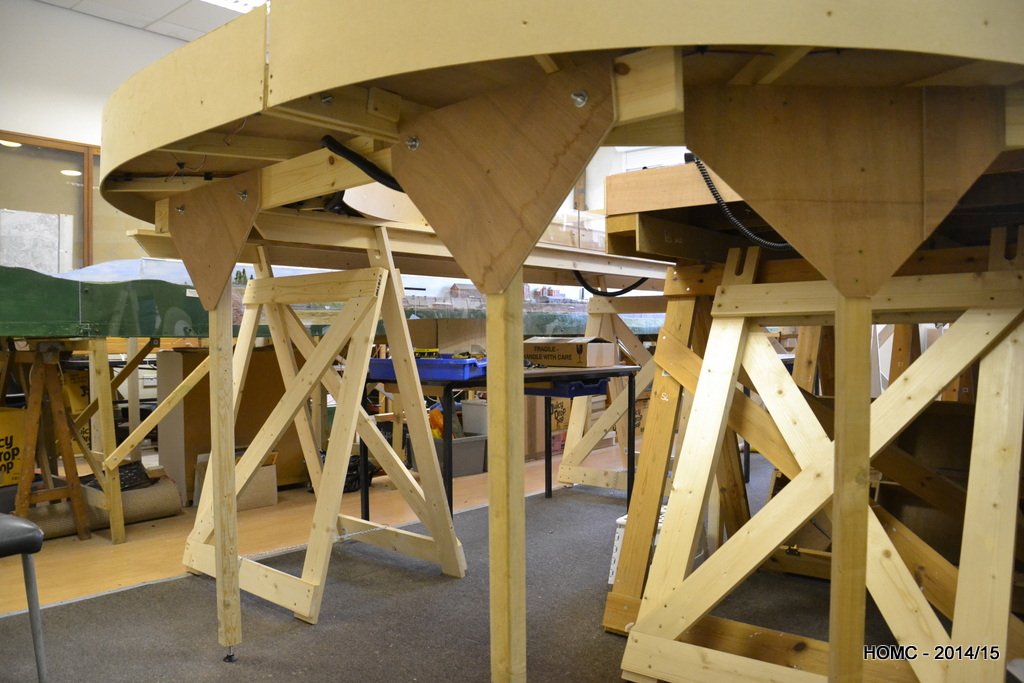
We’ve carried on working hard since last November and have pretty much completed all the baseboard work now. It’s not shown in any detail, but we cut the old staging yard off the back of the main baseboards, leaving just two tracks, which are for testing and programming – one will be DC. A 1ft strip was also removed from the left hand (tunnel) end to give a total modelled board length of 20ft to match the staging yard.
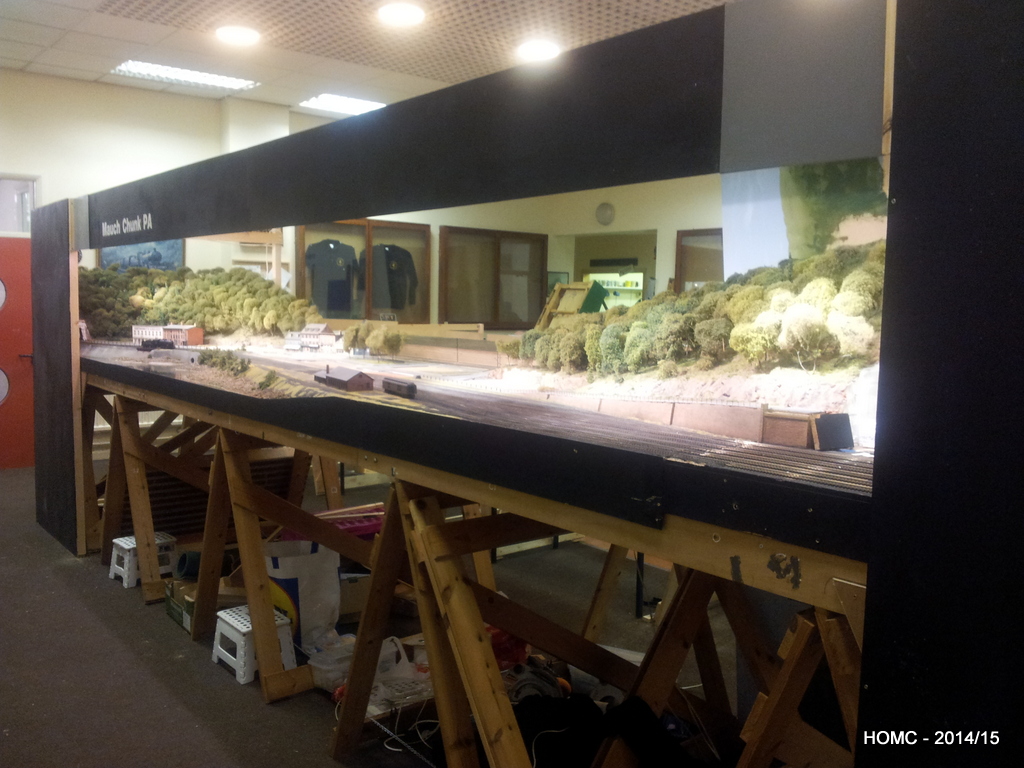
The cutting was done with a rotary saw and finished with a hand saw. The edges were then faced with fresh plywood, suitable braced, glued and screwed. To finish this part of the reconstruction the remnant rear main boards (now about 4ft x 1ft6in) were permanently attached to the front main boards (the original 4ft x 2ft6in) using PVA glue and screws through the bracing points. This means that we have four boards 4ft square and two narrow end boards – one 4ft x 1ft6in and one 4ft x 2ft6in – slightly awkward but – hey!
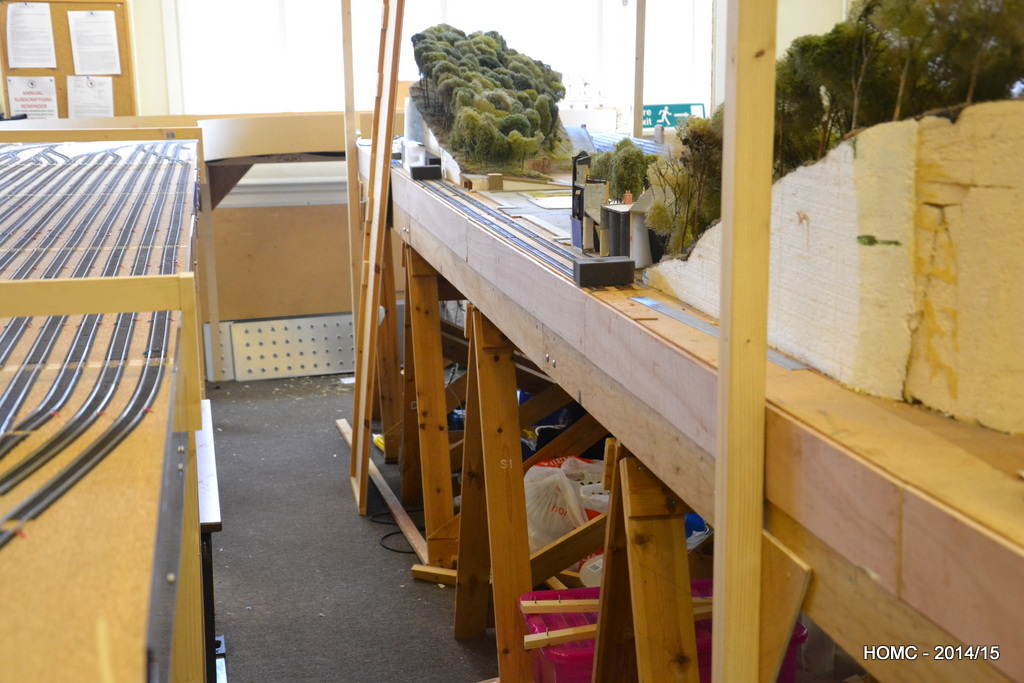
The photos show the new centre well that this configuration gives us – big enough for even the larger of us (I won’t say who that is!) to move comfortably along, although we can’t easily pass except in the ends.
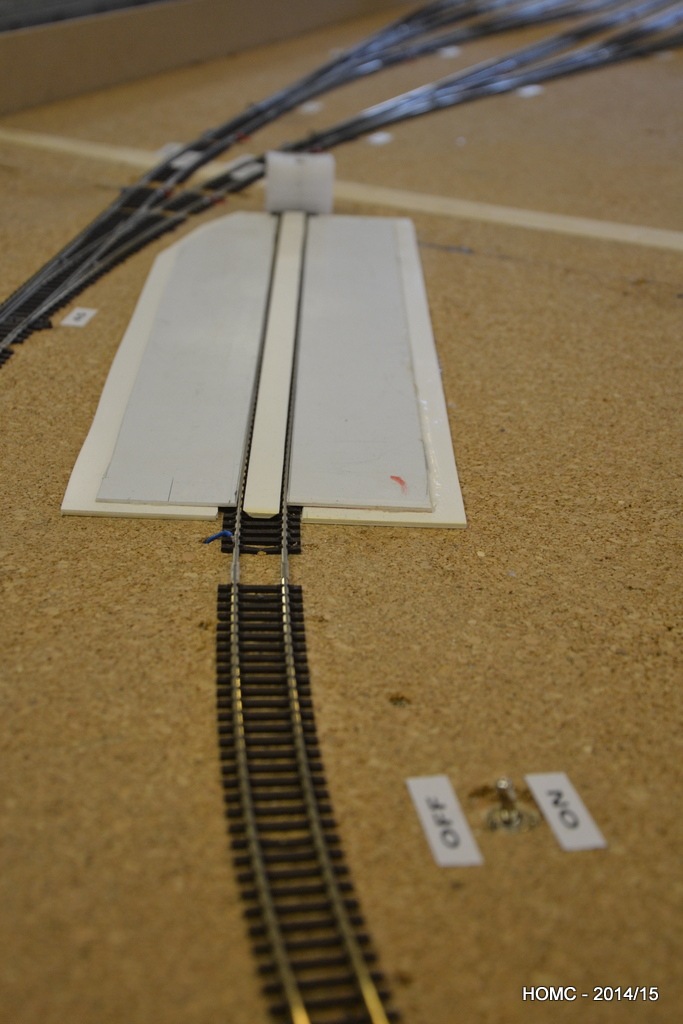
New legs were constructed for the end curves. Also shown above and below is a (re-) railing track which is switched to avoid shorts. Connecting the boards up in the final configuration meant that we could finally lay the connecting track at both ends – shown below.
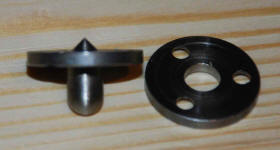
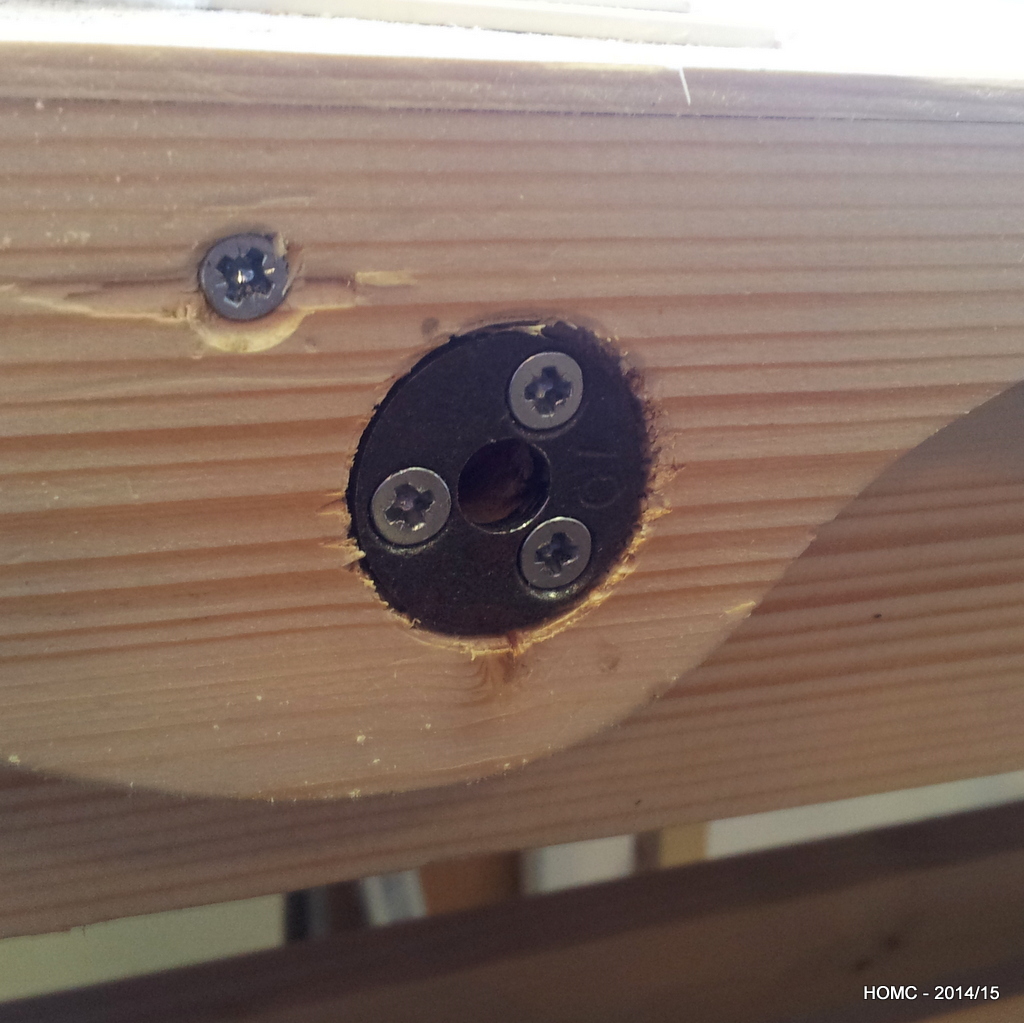
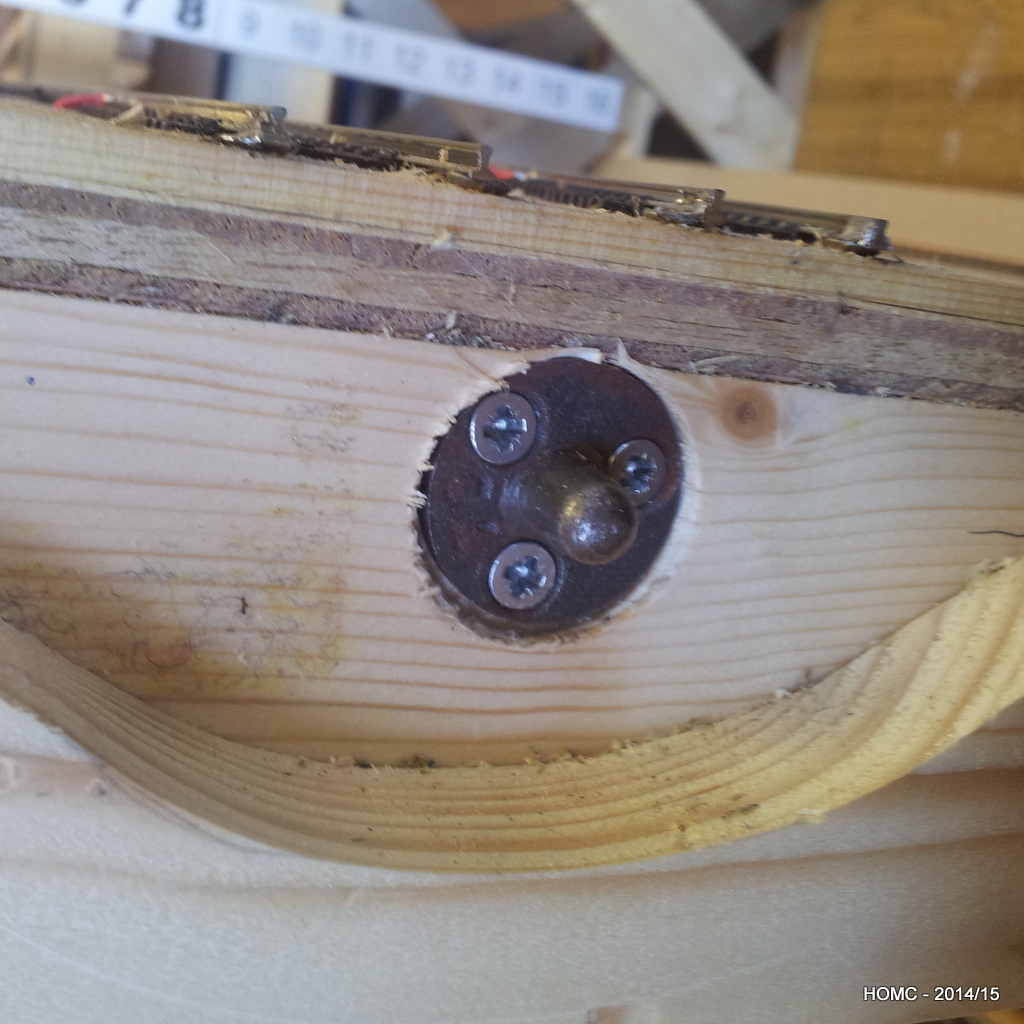
A brief diversion here into the techniques used to ensure that where the track crosses a baseboard join, the stock doesn’t derail. Portable baseboards are the norm in the UK and so this is a major problem. Critical to ensuring that track stays aligned is ensuring that baseboards align in the same position each time they are reattached. The best way to do this is to use board alignment dowels. The best ones have a point in the back of one side that lets you align the two sides for drilling. The second and third photos show these in our board (after the curvy edge system had failed to align the boards well enough!).
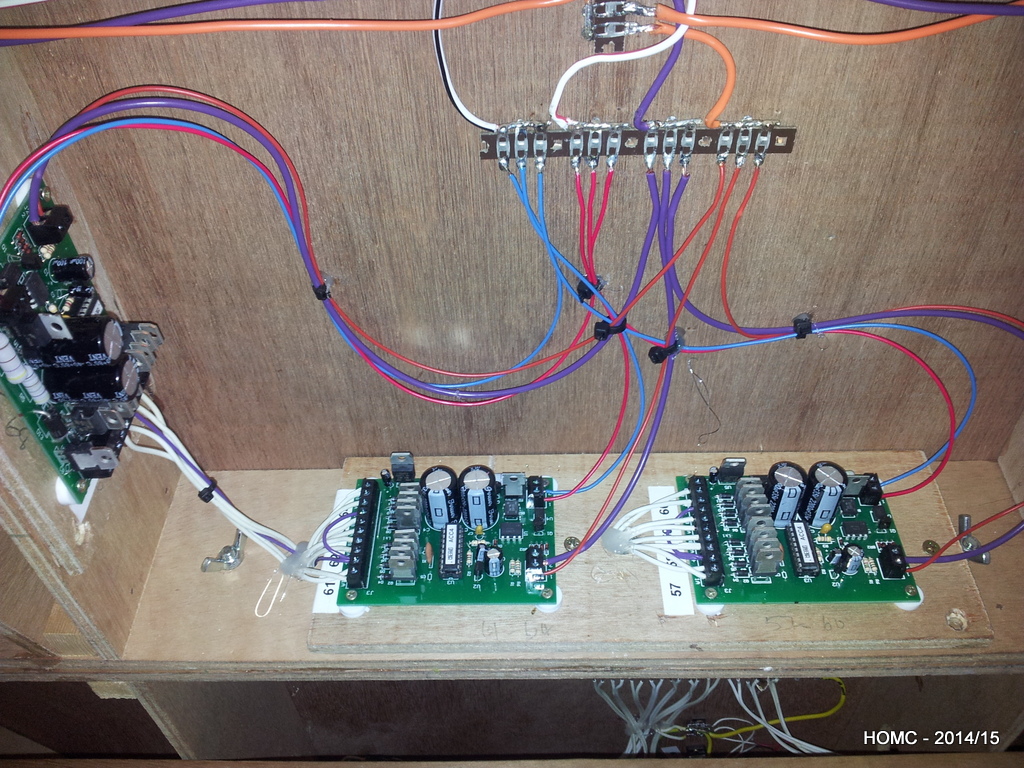
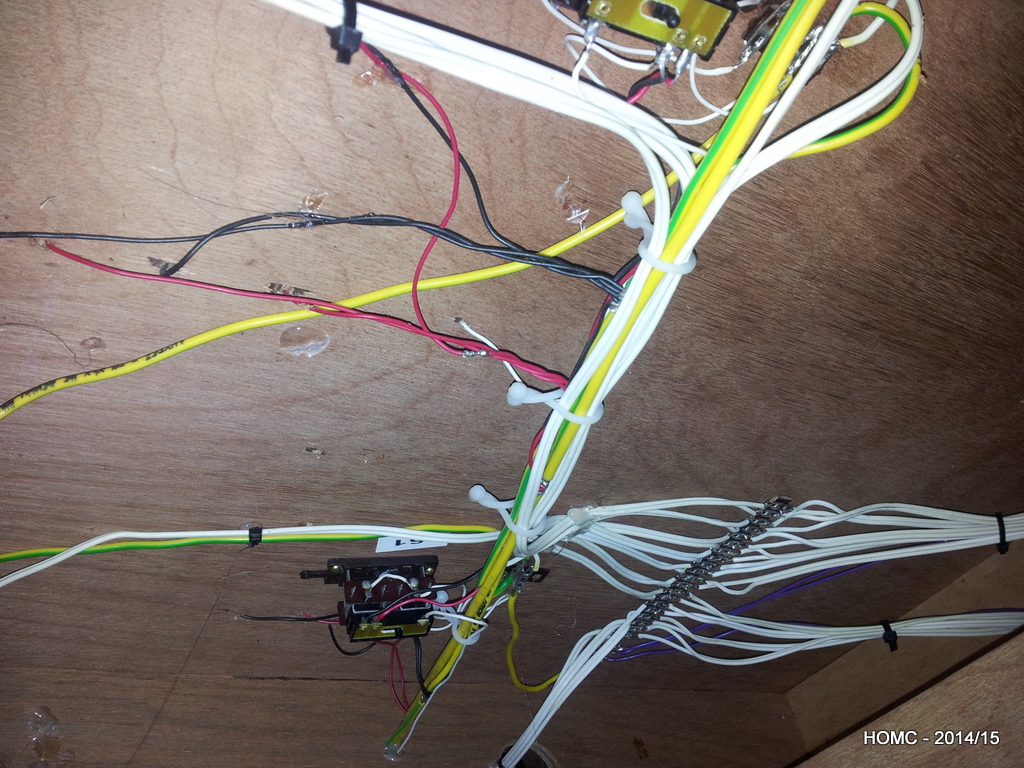
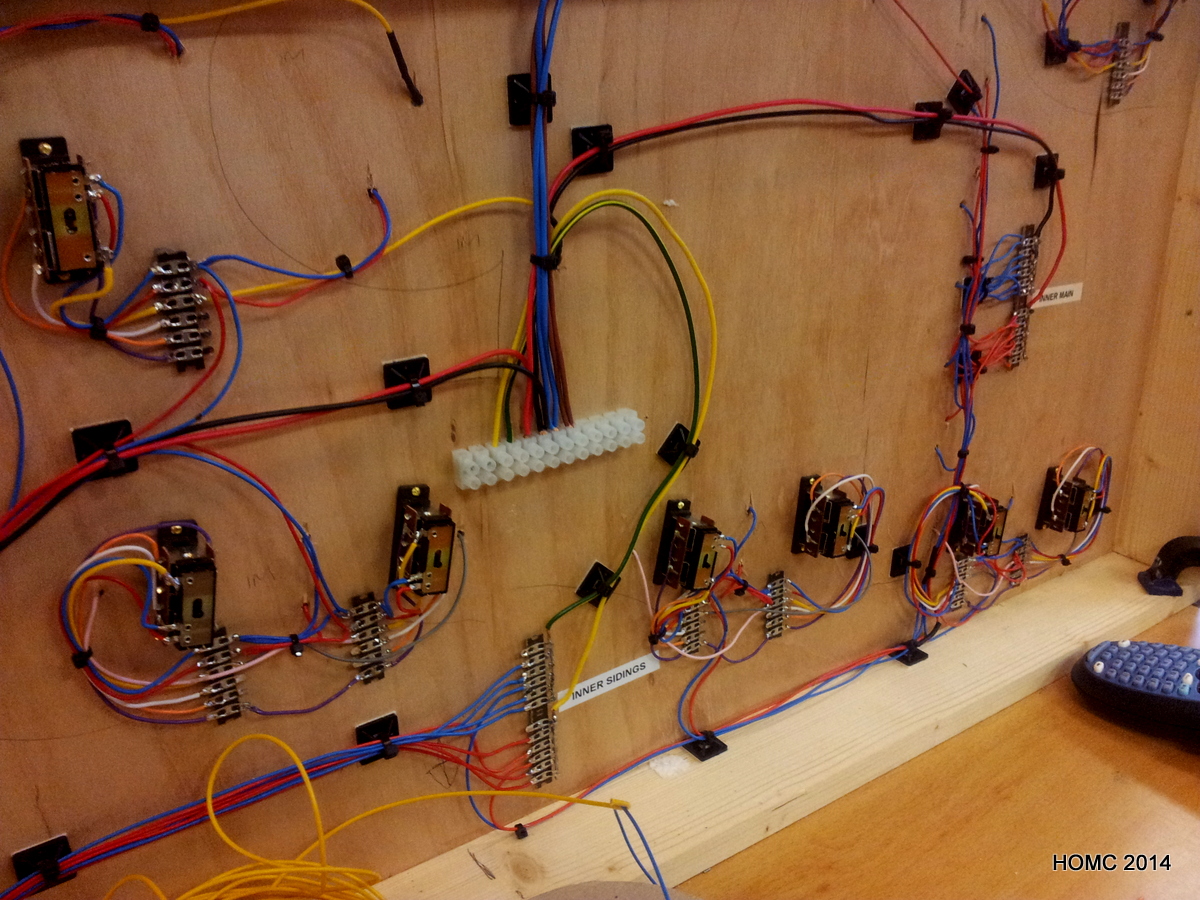
The wiring on the front had been installed many years ago, and so the switch control wiring was disconnected and then rewired to MERG DCC boards to give the same switch control system as in the staging yard. Note that the DCC switch control boards are always attached to a vertical surface to make maintenance easier. One switch on the front (on a curve) was replaces with a commercial Peco switch – which has proved better, but not perfect.
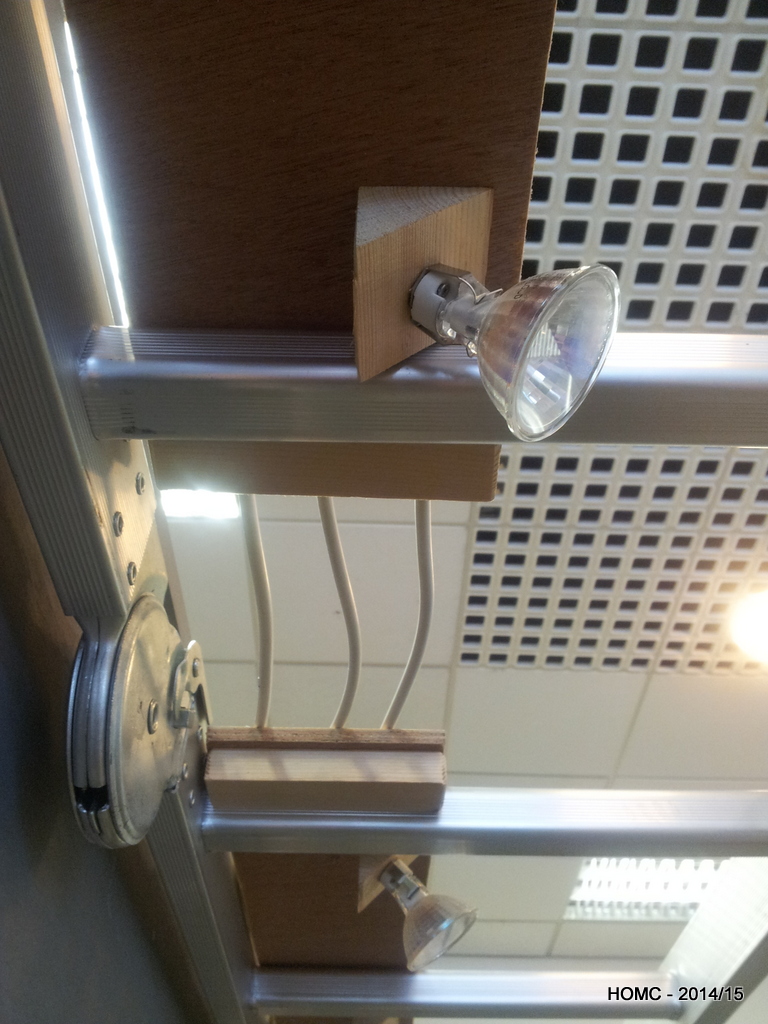
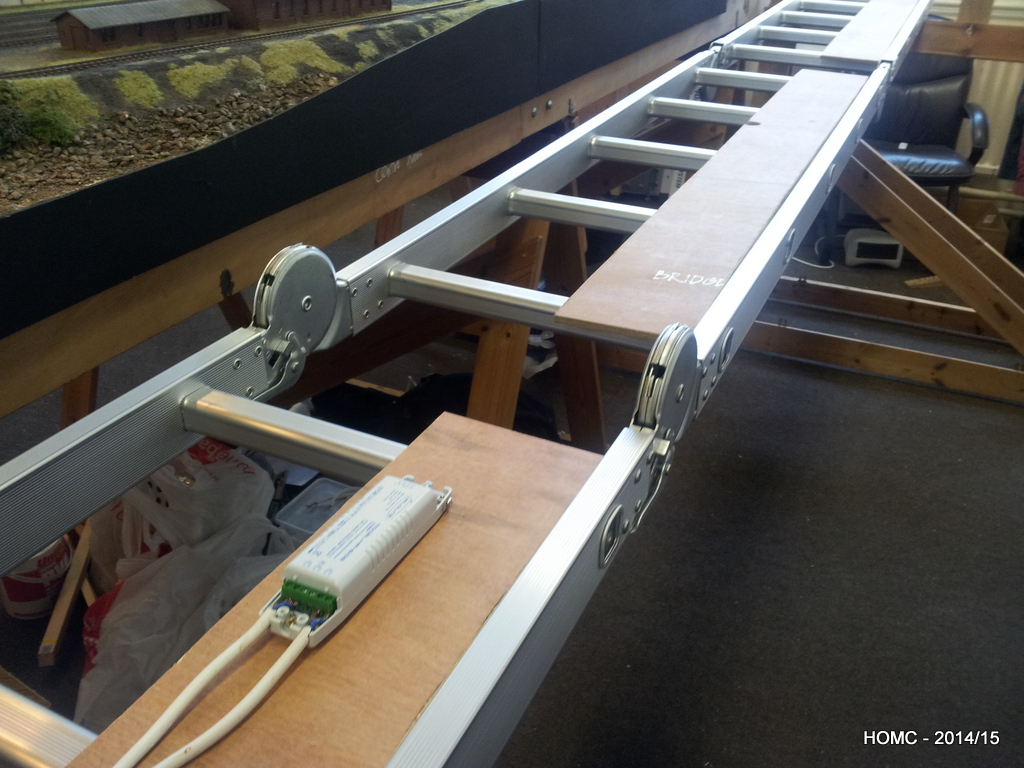
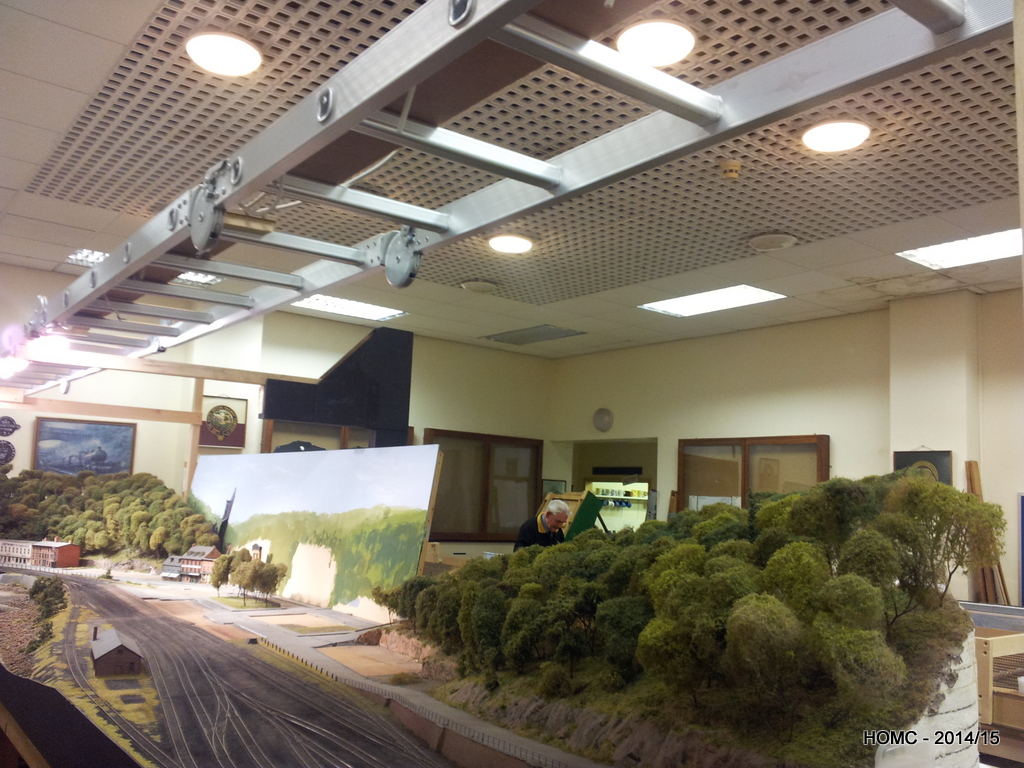
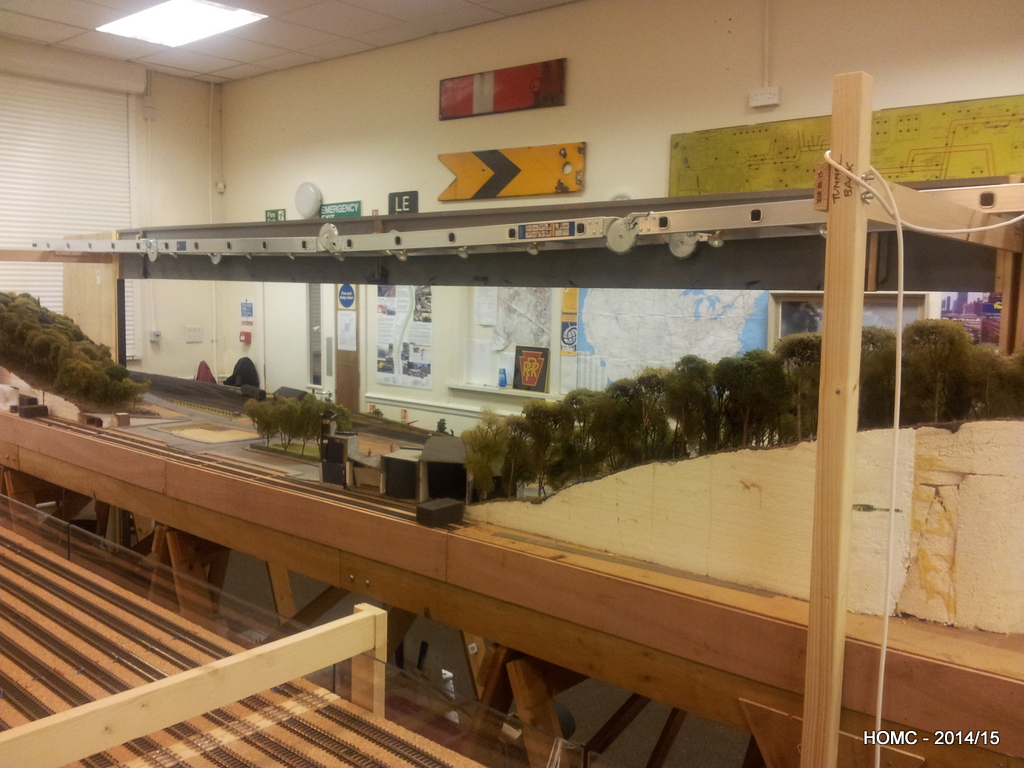
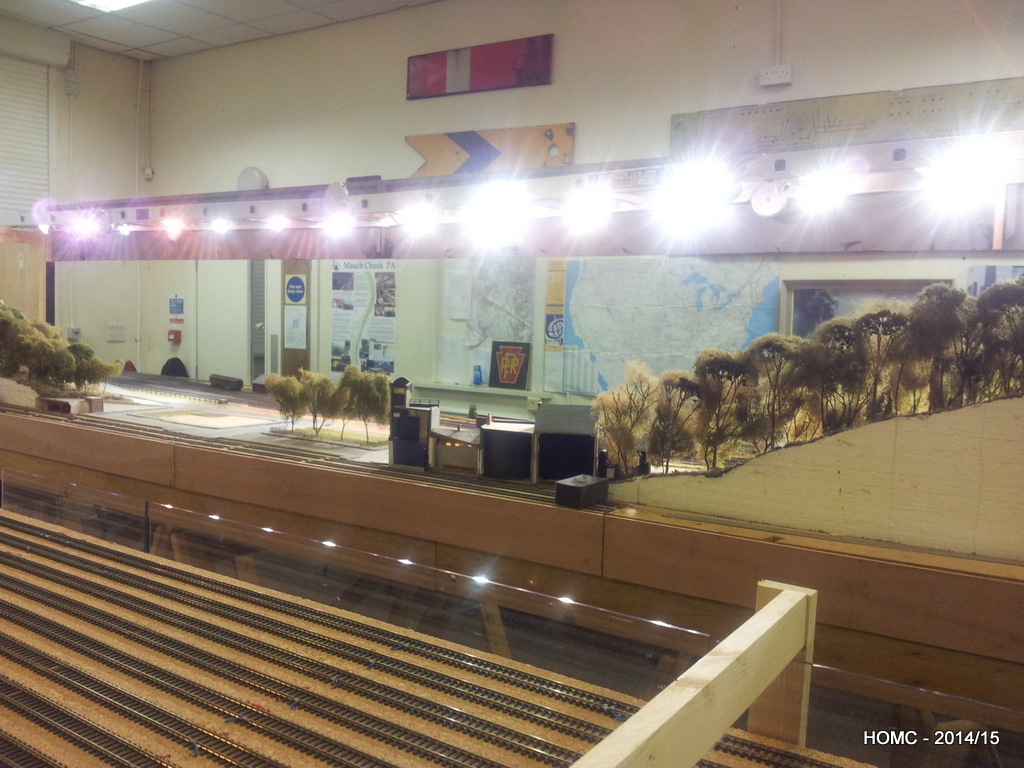
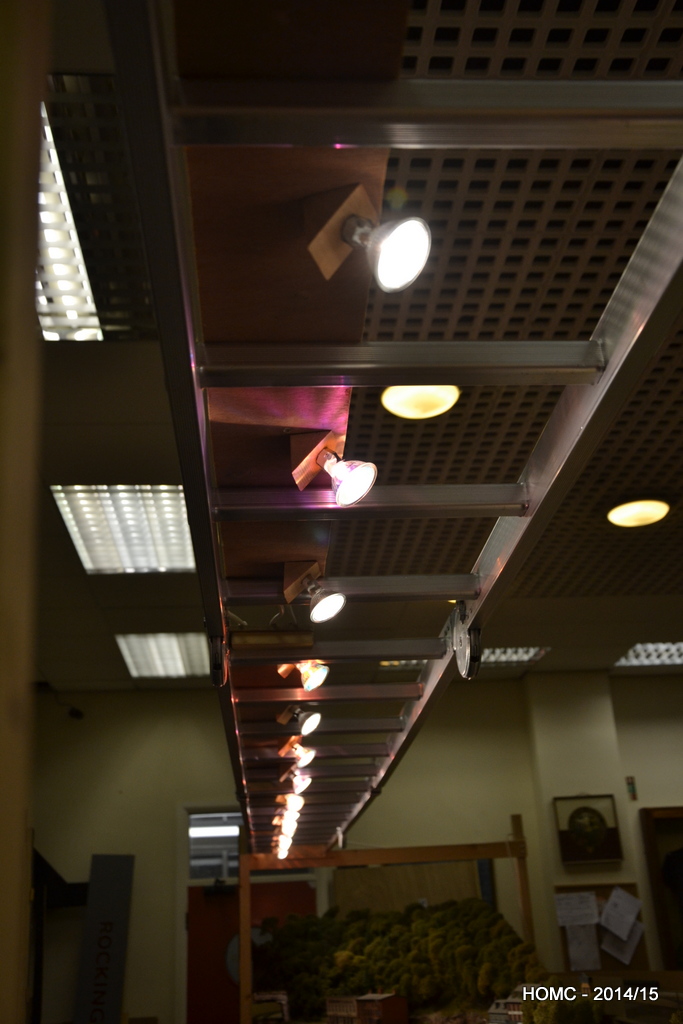
Everything working on the boards, we then moved on to the lighting and the gantry. After seeing a layout at the Mickleover (Derby) club using an aluminium folding ladder to support the lighting, we managed to purchase a 20ft ladder that would work for us. Although it was not completely level when supported at only the ends, it was rigid and so the slight central dip could be accommodated when mounting the fascia boards.
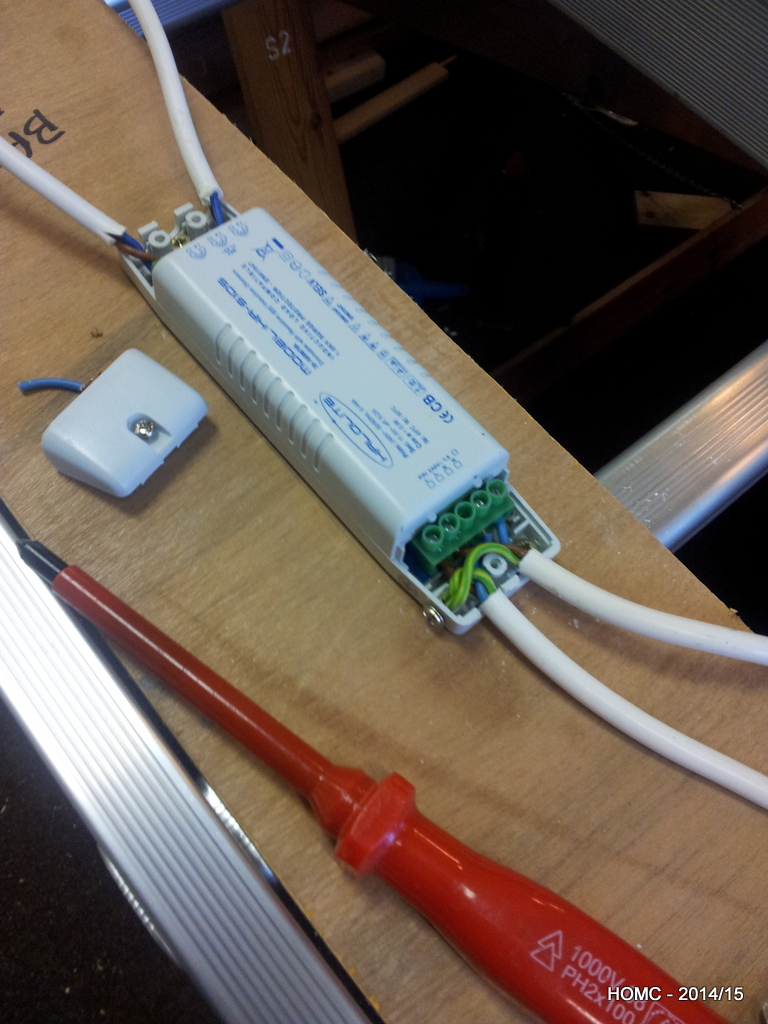
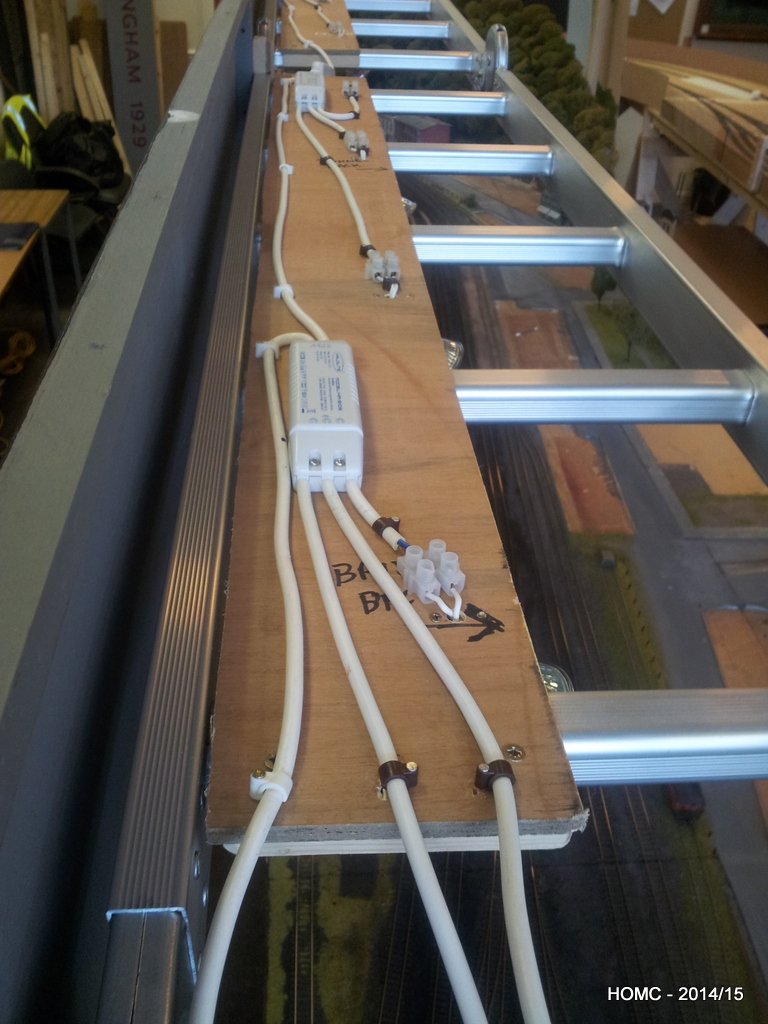
Lights are DC (12v) halogen, wide angle floods of 20, 35 and 50 watts. We attached these to the bottom of strips of plywood at 45 degree angles with basic lampholder bases. Along the top of each board were the transformers and the wiring. The plywood simply rests on top of the ladders and the fascia hangs off the front. A simple H frame at each end supports the ladder.
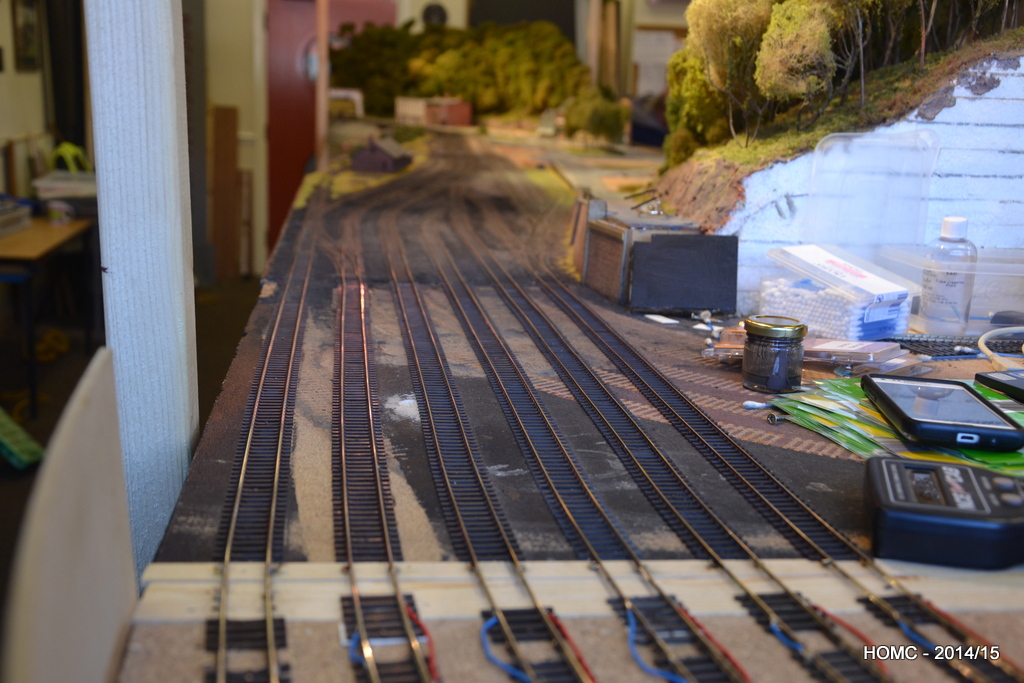
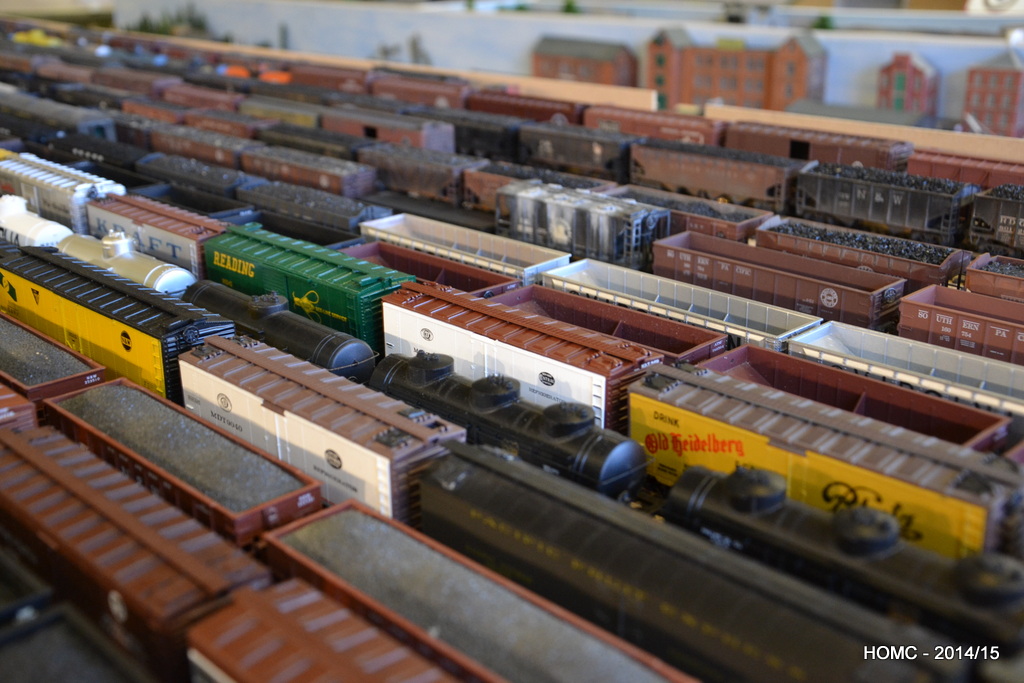
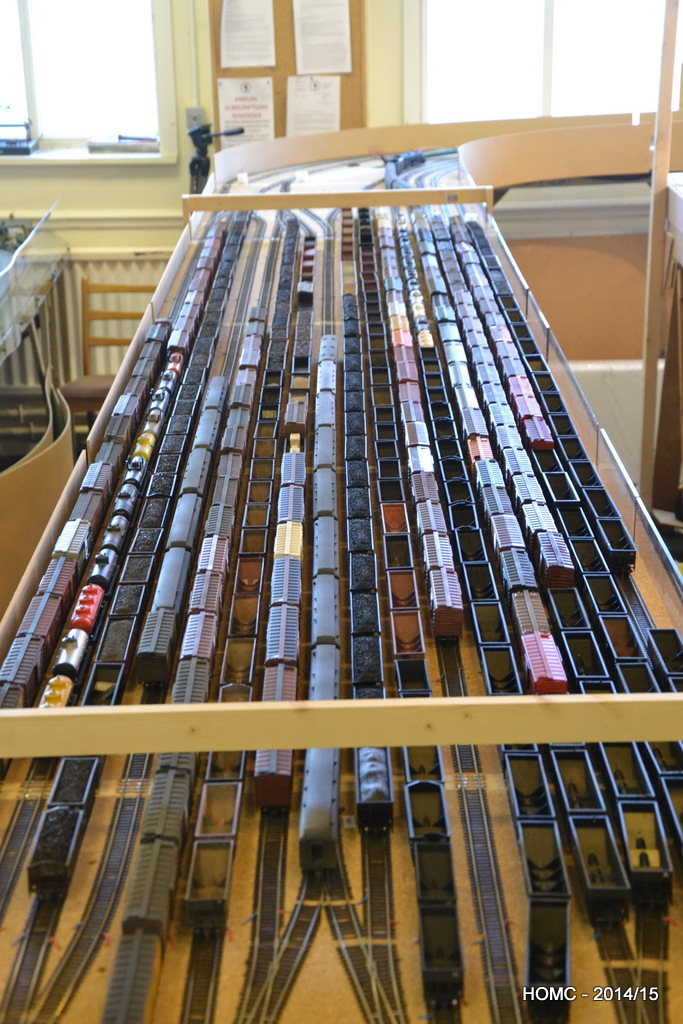
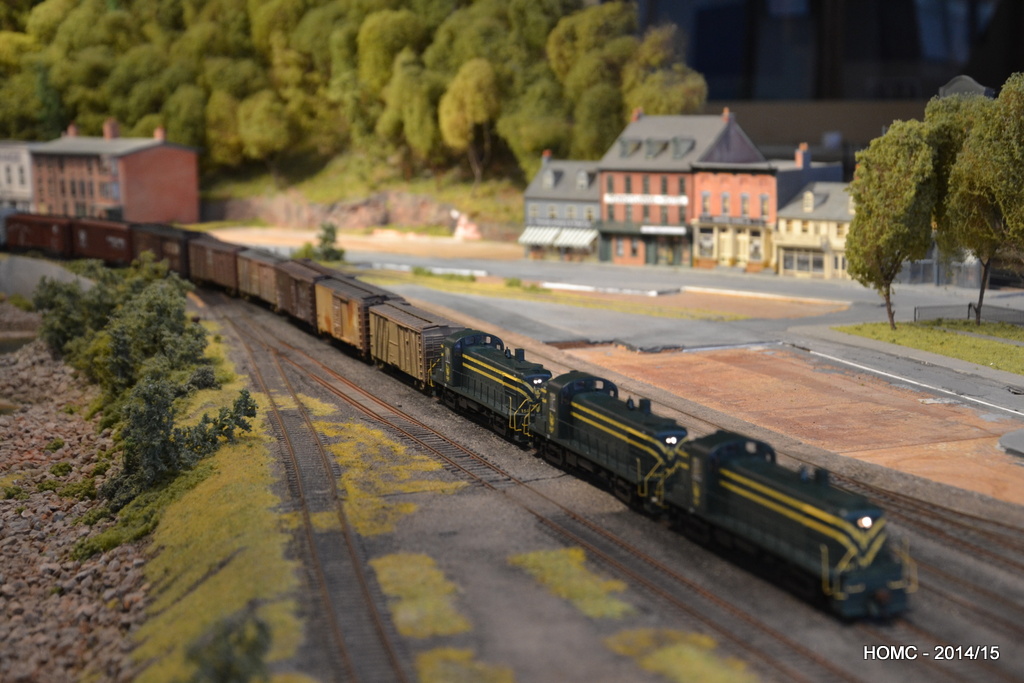
All this work completed, we decided to put our stock out on the staging yard and were quite shocked by how much we had – especially as most of our locos can’t pull such long trains. Still quite a lot of weathering, re-wheeling and Kadee-ing to be done though!
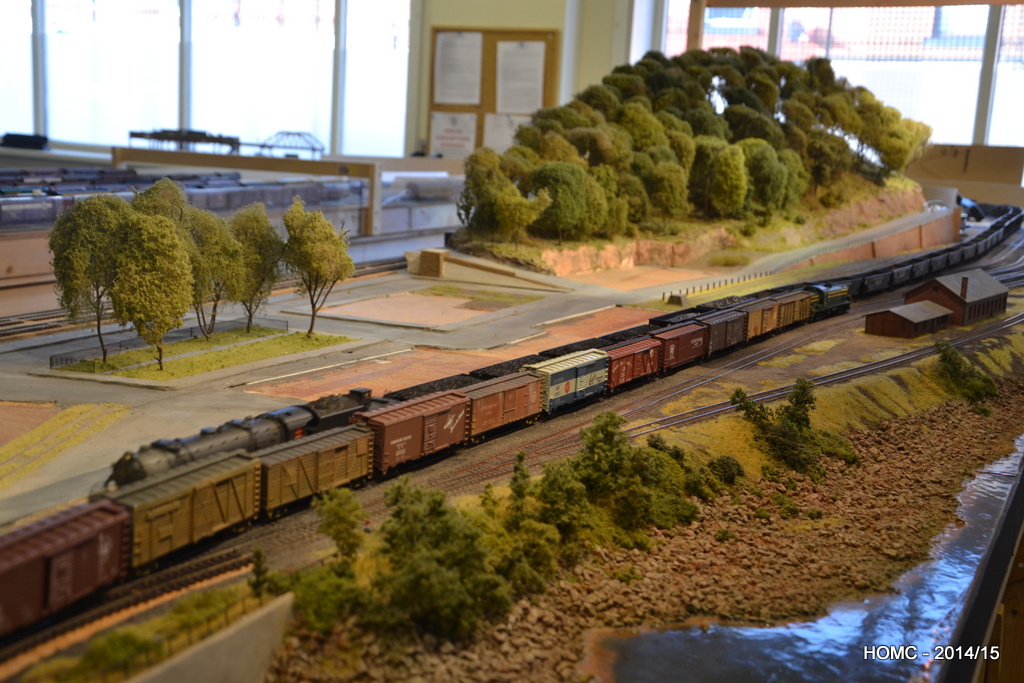
Finally a shot showing a consist of new (as yet undetailed) Athearn RS3s and then one with a N&W articulated interloper with a long empty coal train (note that the buildings have been removed for safe keeping). We are now moving on to add more hillside and roadway at the RH end, and then will work along adding detail to the scenery.
Despite my hopes that the updates to the site would become more regular after Gordon’s retirement in April and my continued life of leisure, what has actually happened is that we modelled at a high rate instead. As Doug is working a four day week, we modelled on Friday mornings as well and this made a big difference.
We had a good summer and used this to carry out repairs on our clubhouse – including demolishing a 120ft portacabin which also kept us pretty busy!
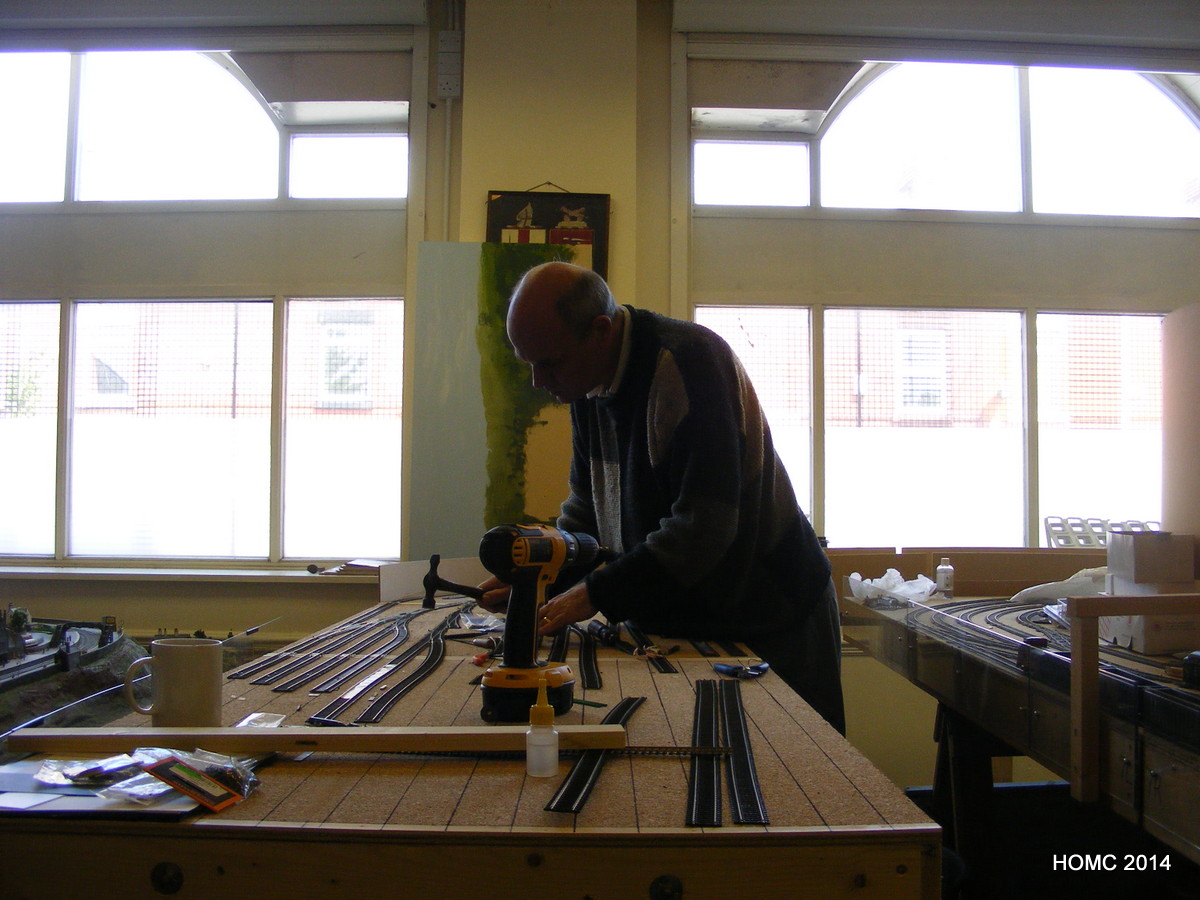
Here we are starting to lay track in the staging yard – if all else fails, hit it with a hammer! Even my daughter came in to lend a hand on a visit back from her midwifery course. The track laying progressed well. By August it had pretty much all been laid.
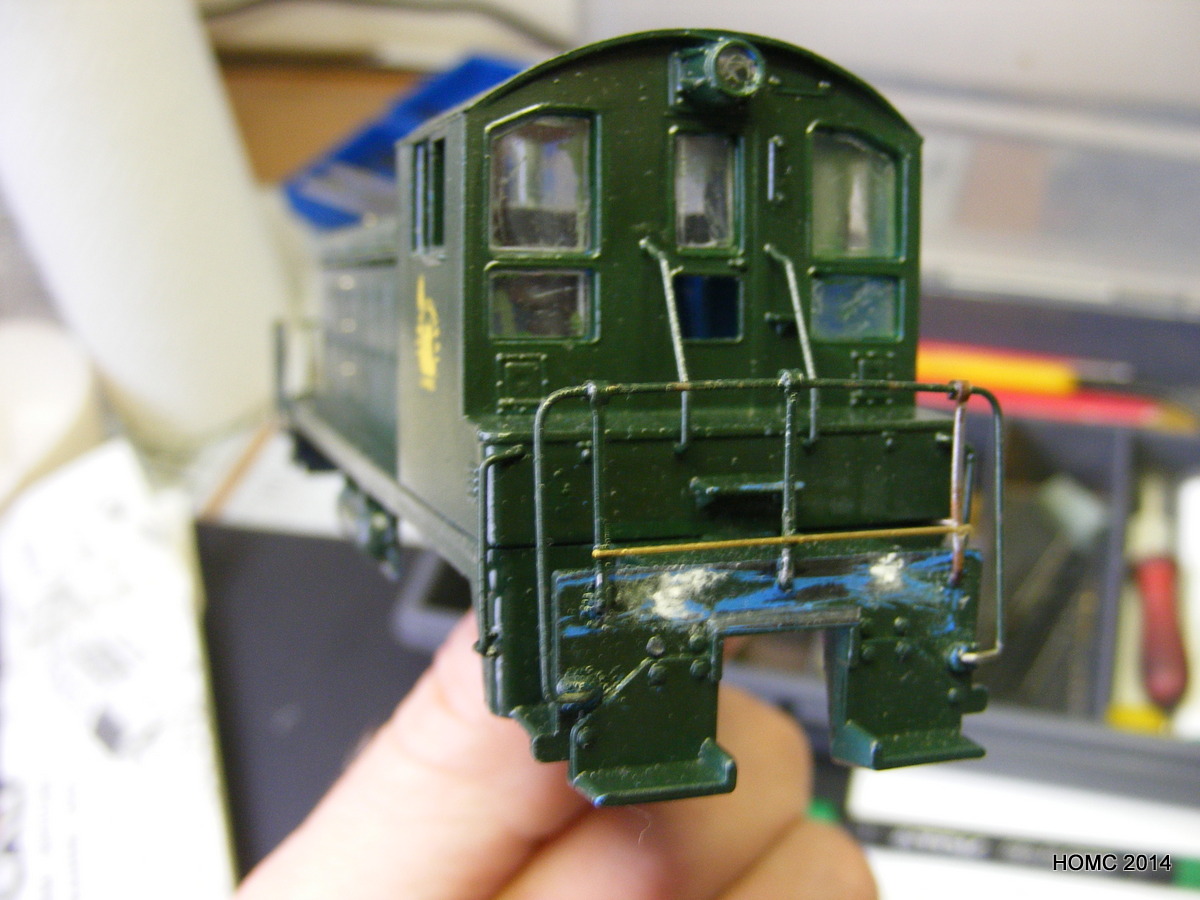
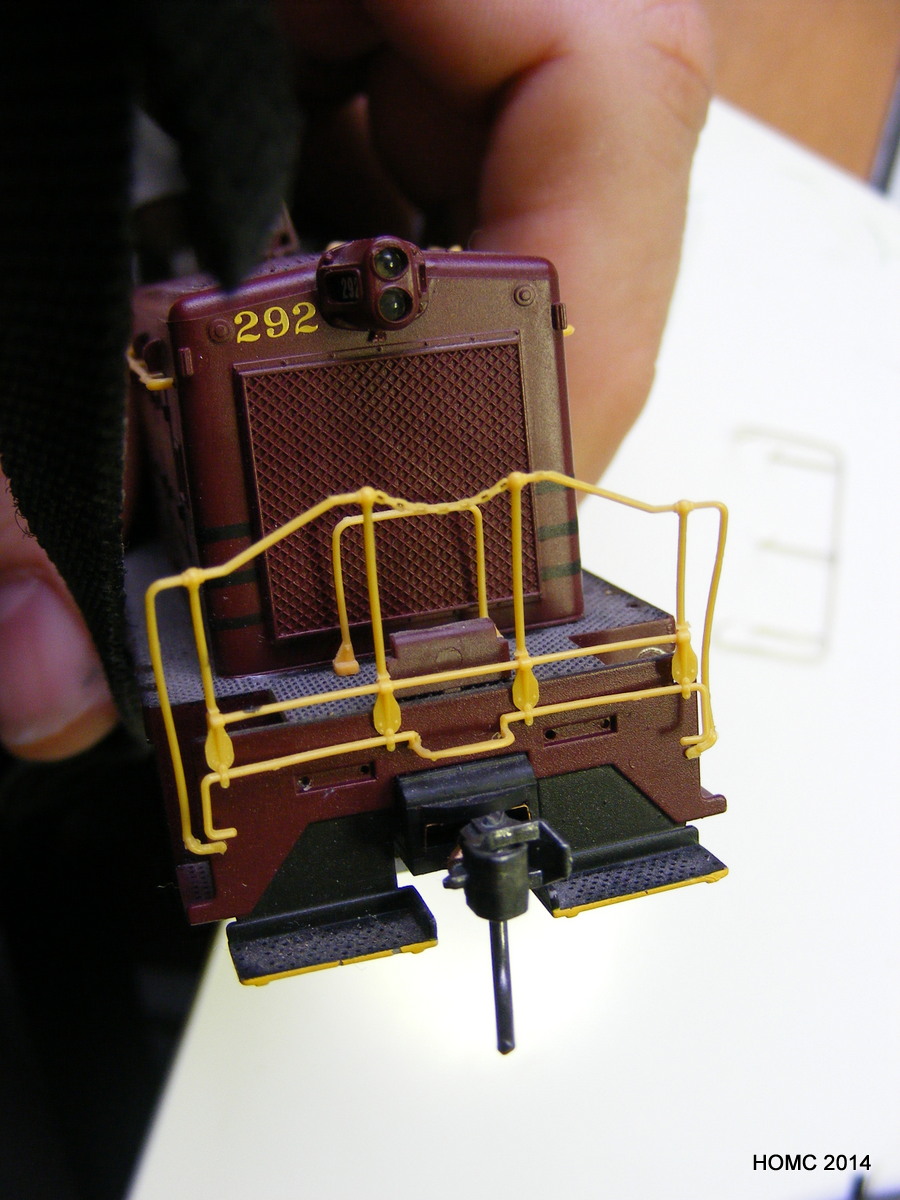
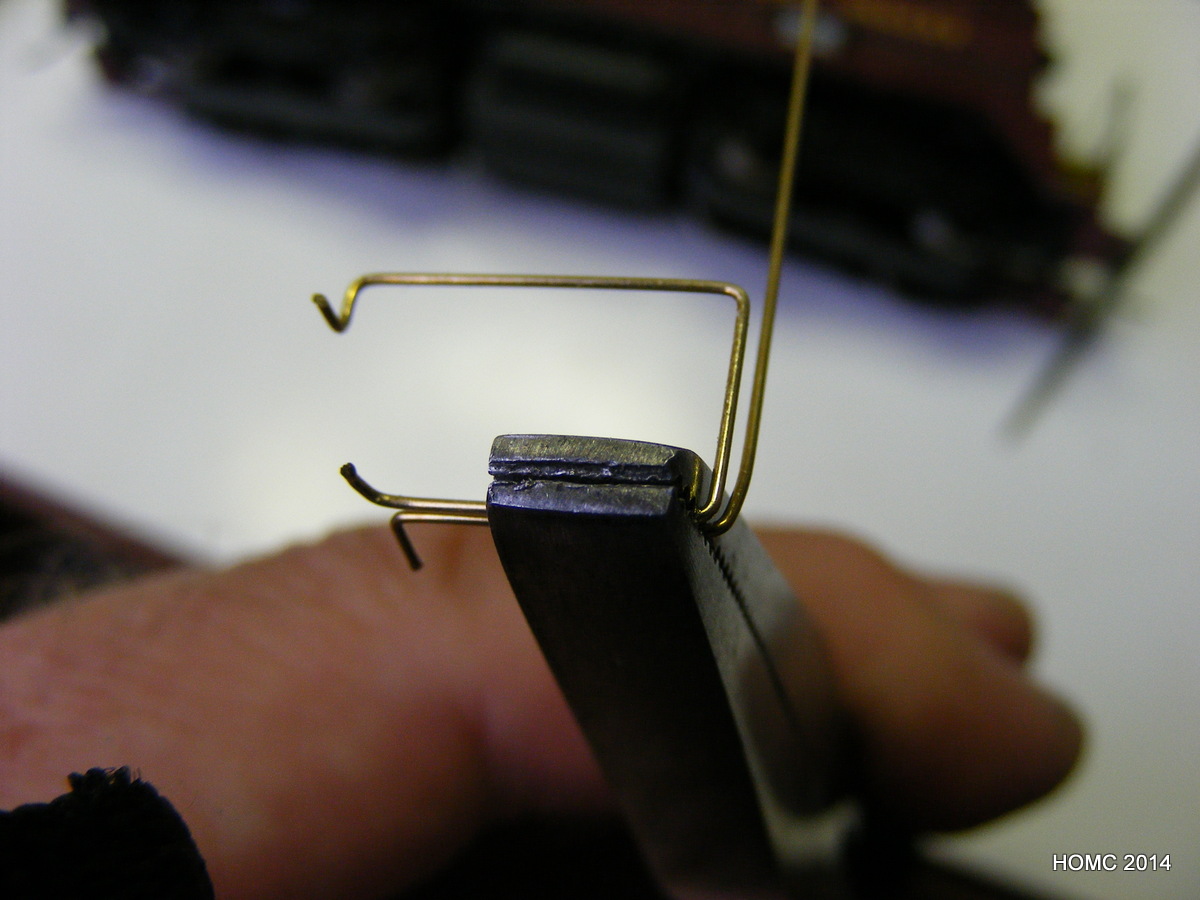
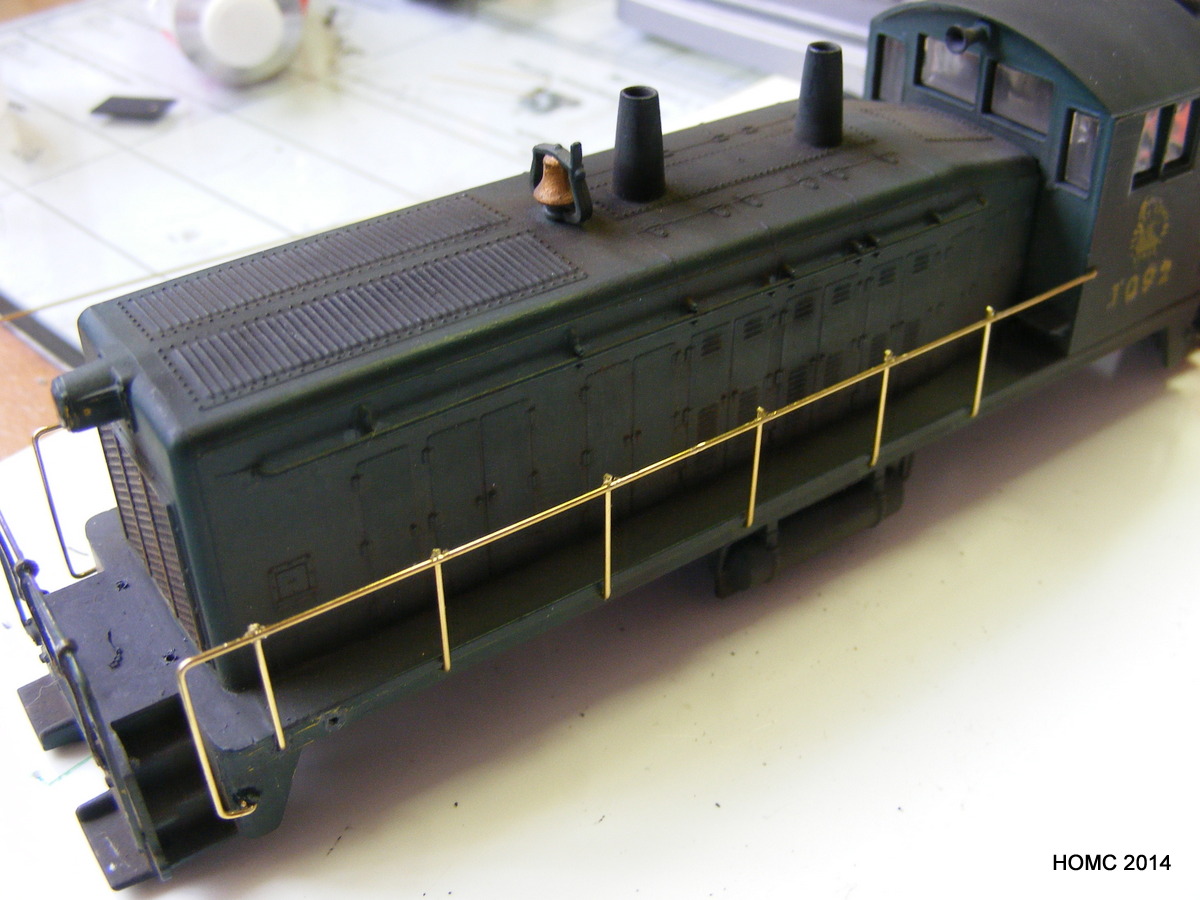
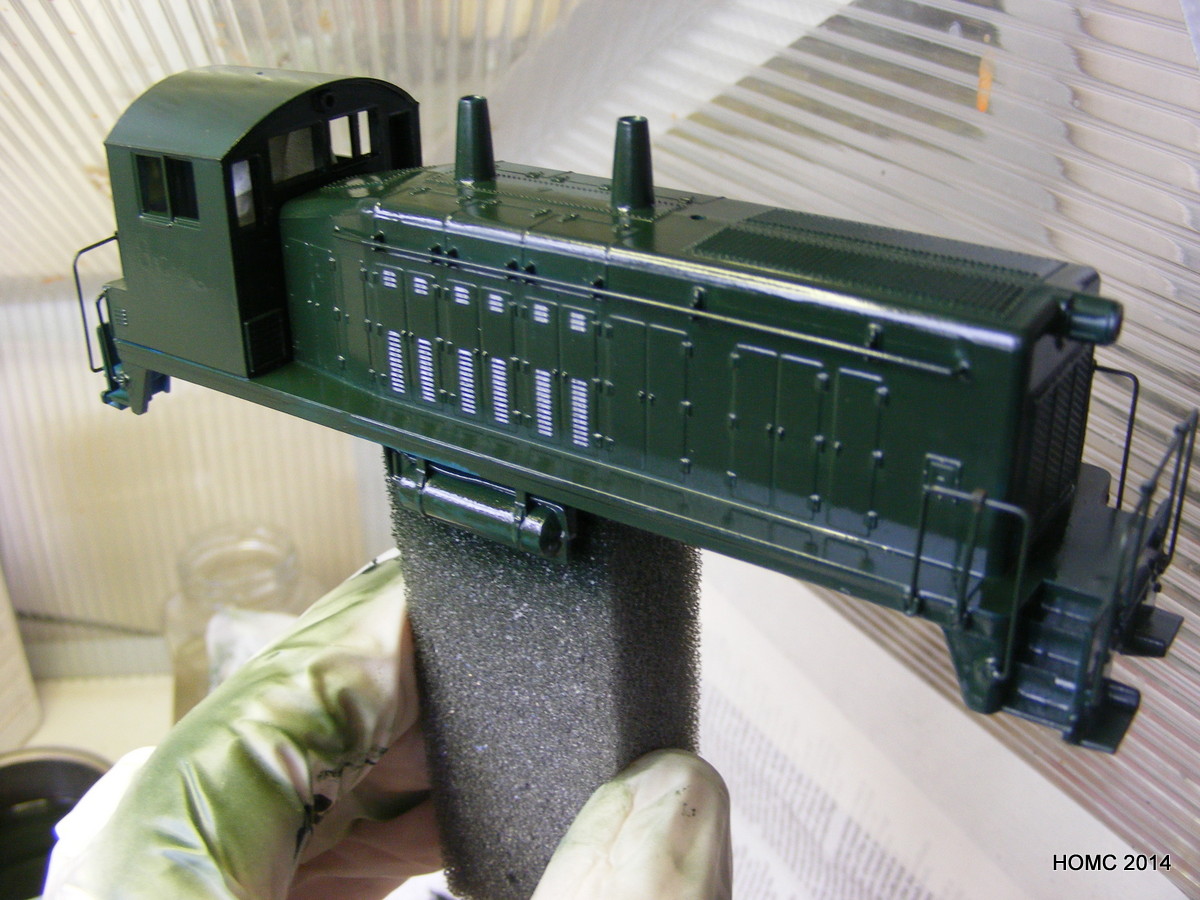
In the meanwhile, Steve was working on customising some SW7s and SW9s for the CNJ. Athearn and Proto-2000 stock was used as the starting point. Both jigs and hand bending were used to prepare the CNJ-style handrails – some were soldered, but most were superglued.
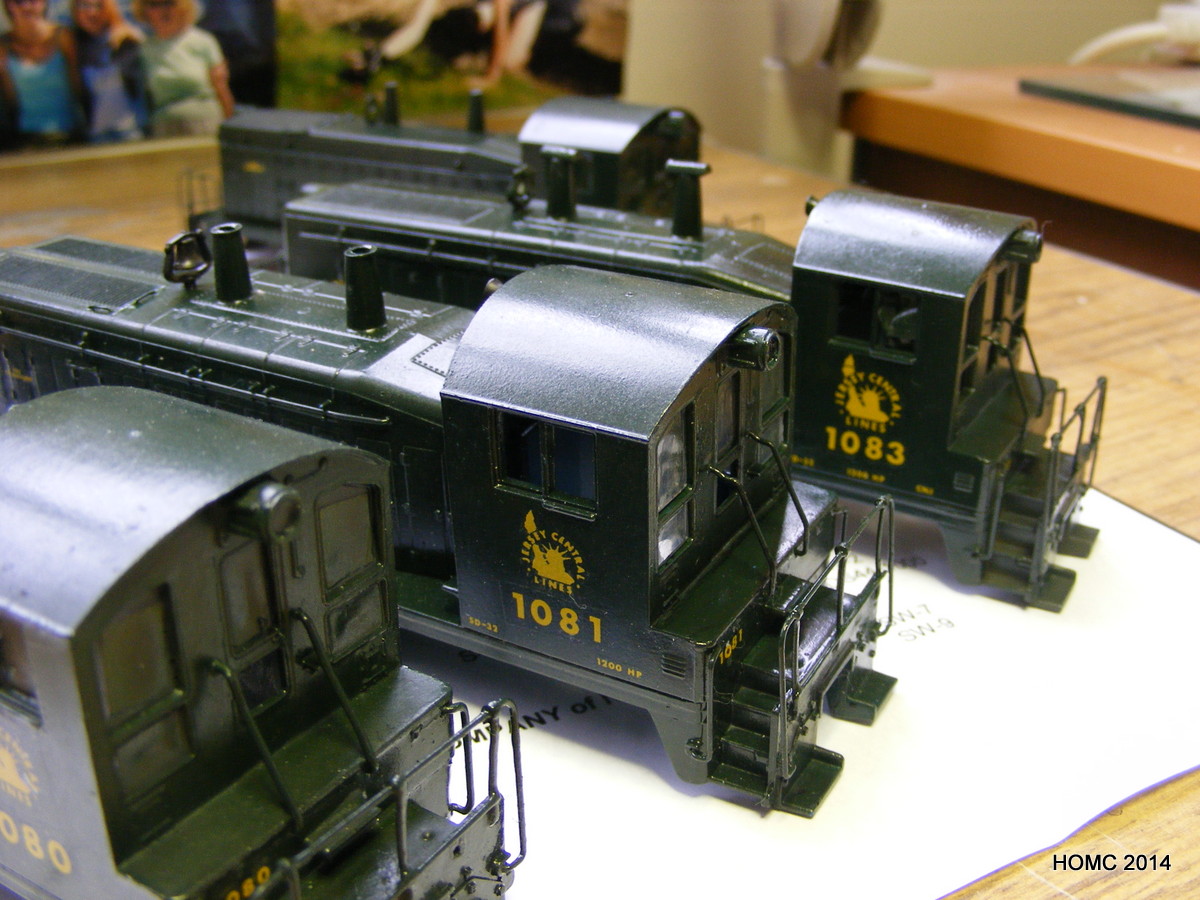
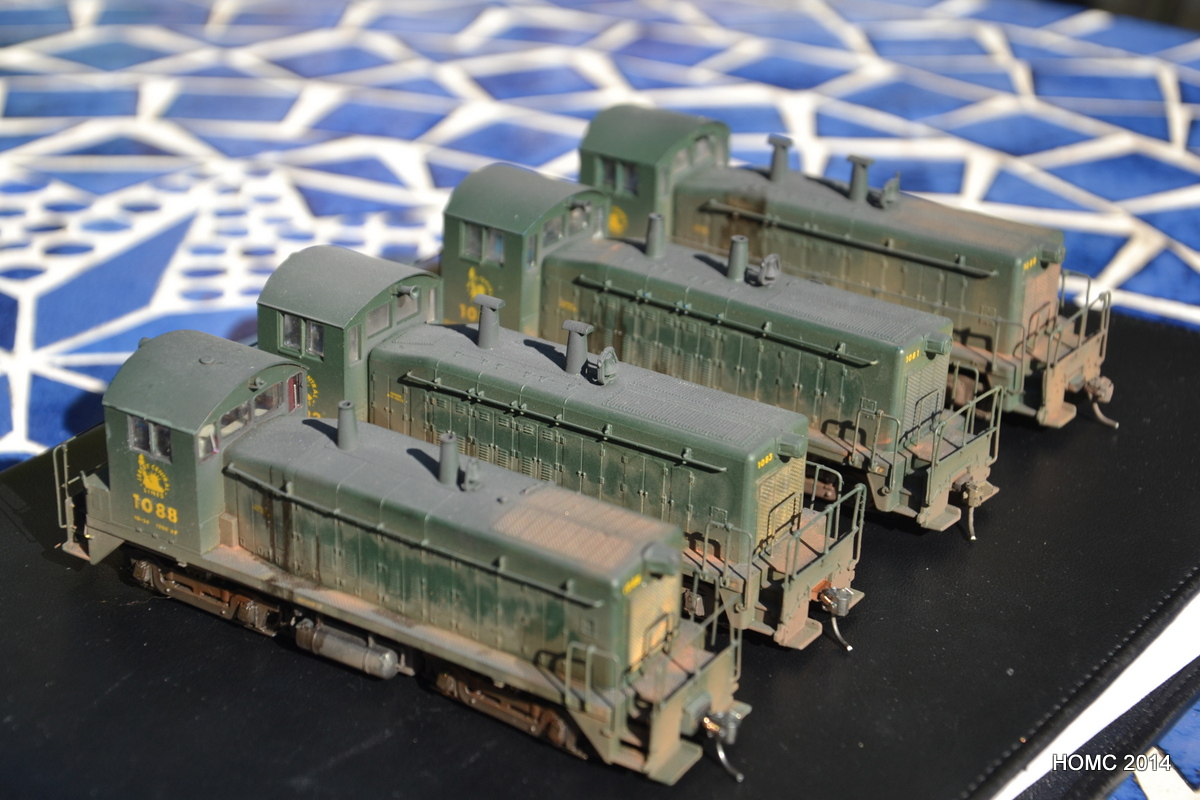
Handrails were added to different styles depending on the prototype, as were minor variation in the vent stacks. Once handrails (and some grab irons) were complete, the bodies were airbrushed with my own mixture of gloss green. RBH water slide decals were then applied carefully and the models were then sprayed with matt cote. Finally all were weathered with a mixture of techniques. Three were chipped and one set up as a dummy as not all the motors were usable.
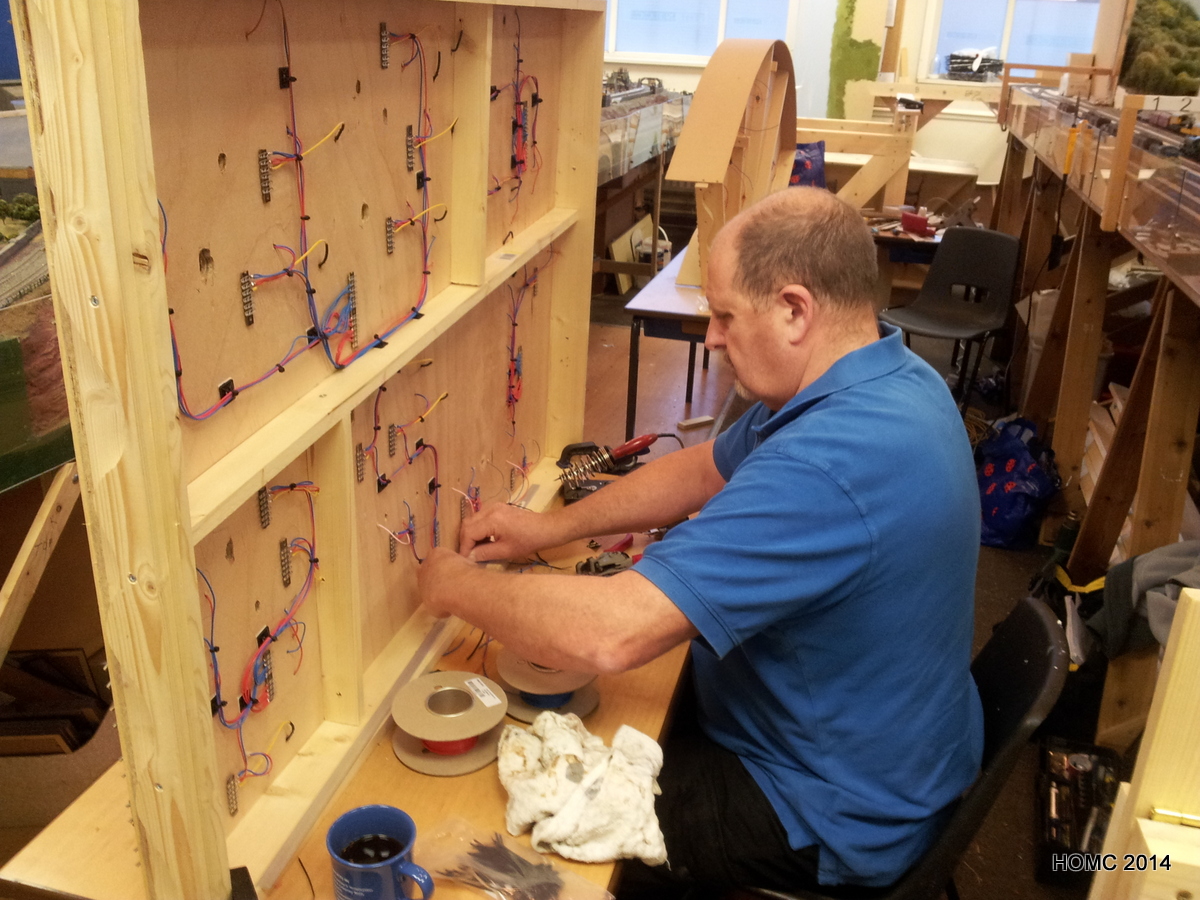
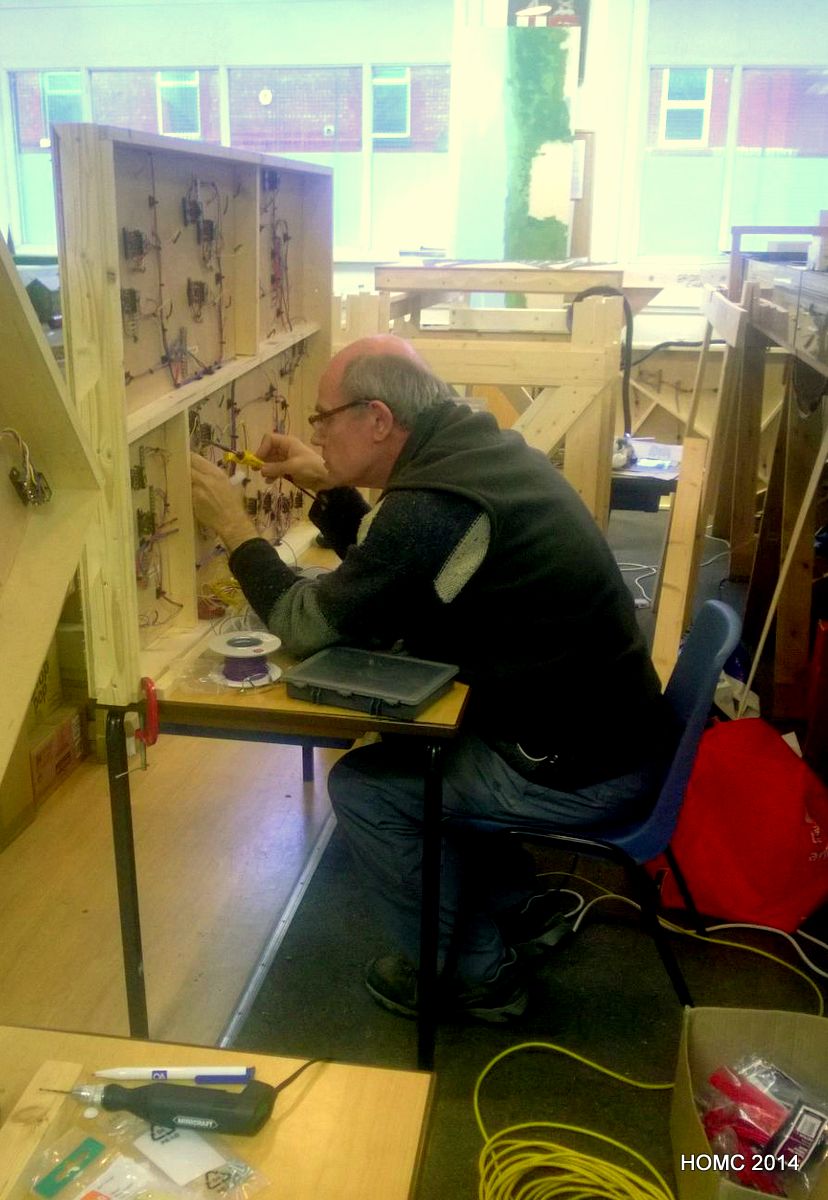
Meanwhile, back at the club, the hard work of wiring up the track and switches was proceeding – led by Doug, but with all three of us taking a share. Later, Doug withdrew from this exciting activity due to pressures of work and other interests, but we continued to fit and wire switch motors (Peco) with the help of Bill, and MERG DCC switch controller boards. These latter were mostly built by our club specialist (Derek) and wired in by Steve. Derek then configured them for us.
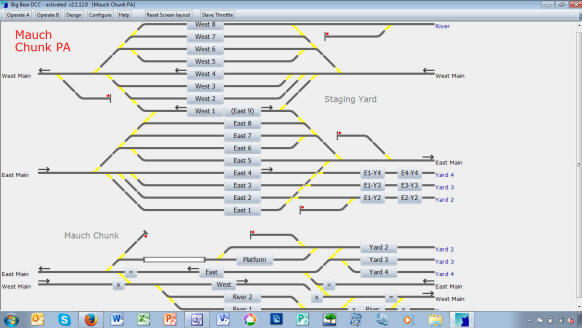
We set up computer control with the Big Bear software package – which works well. The track panel component (left) can be downloaded for free.
..and all the time the trains kept running round! We are now cutting and reconfiguring the old baseboards, removing the old staging yard, and hope to have finished this stage before Christmas.