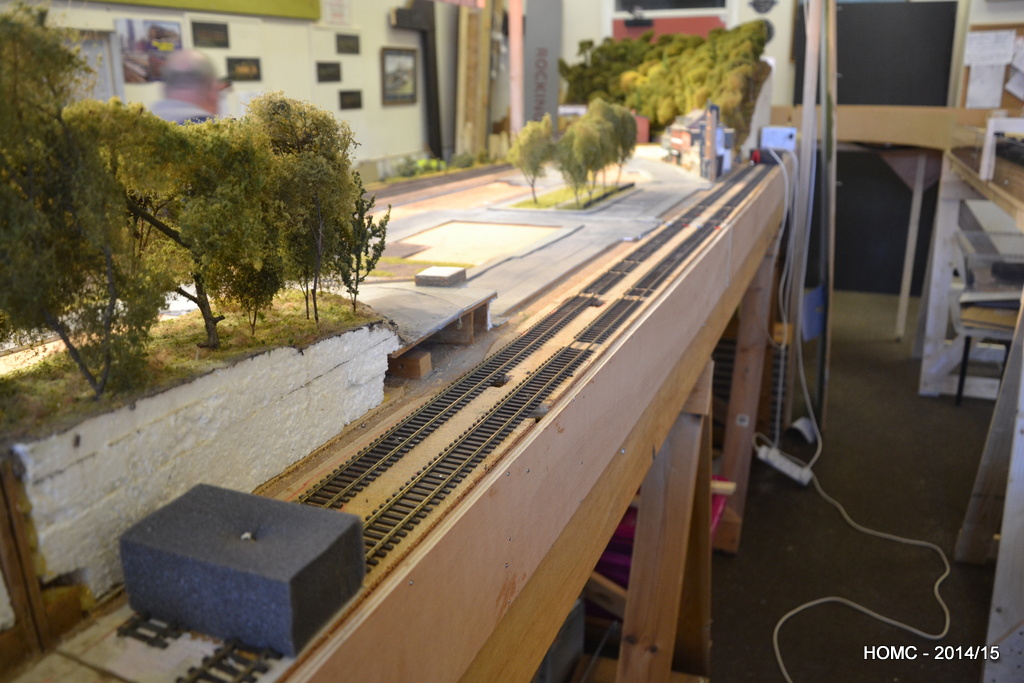
The 20 foot of scenic boards is being modified to bring it closer to the standards of the Barrowmore MRG and also to allow for the (near future) extension of scenic work around the curve leading to the Nesquehoning Yard.
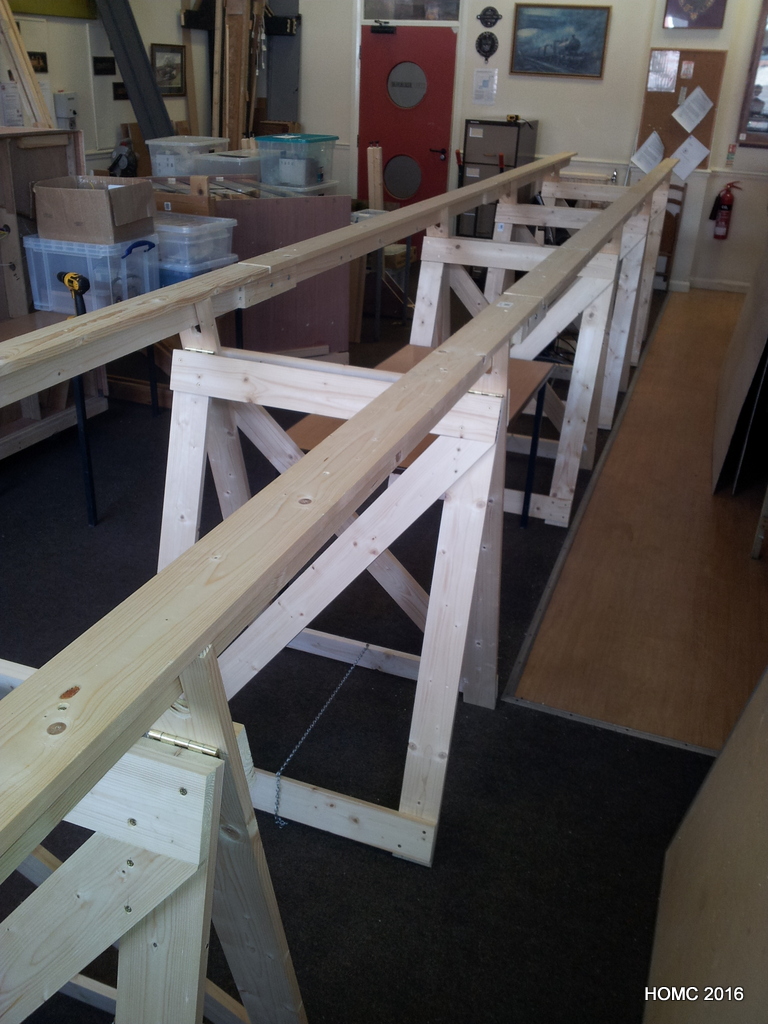
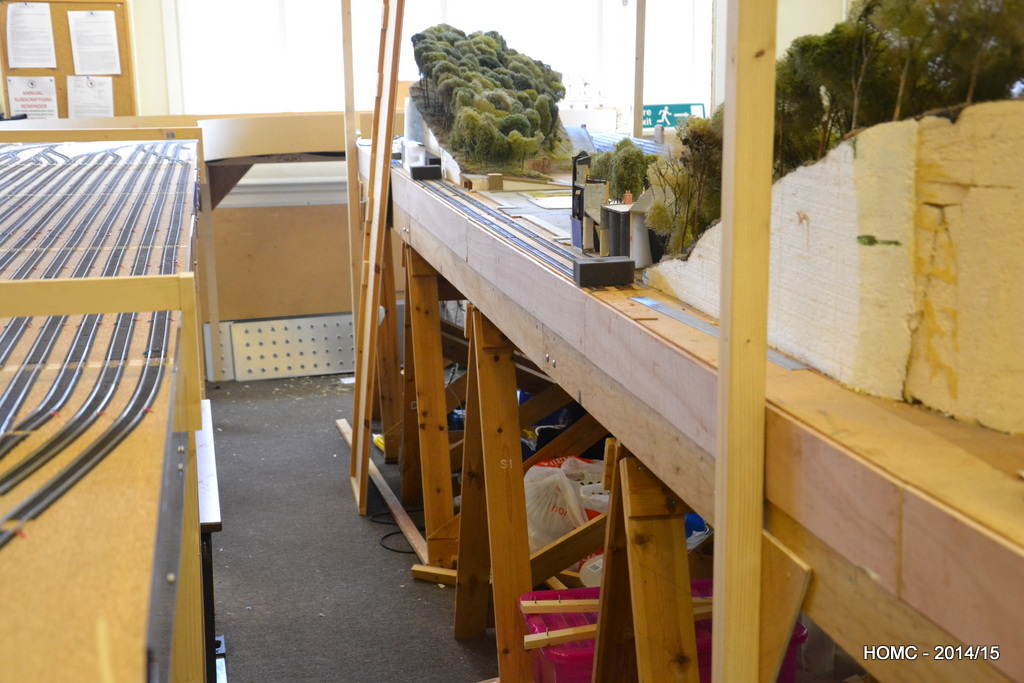
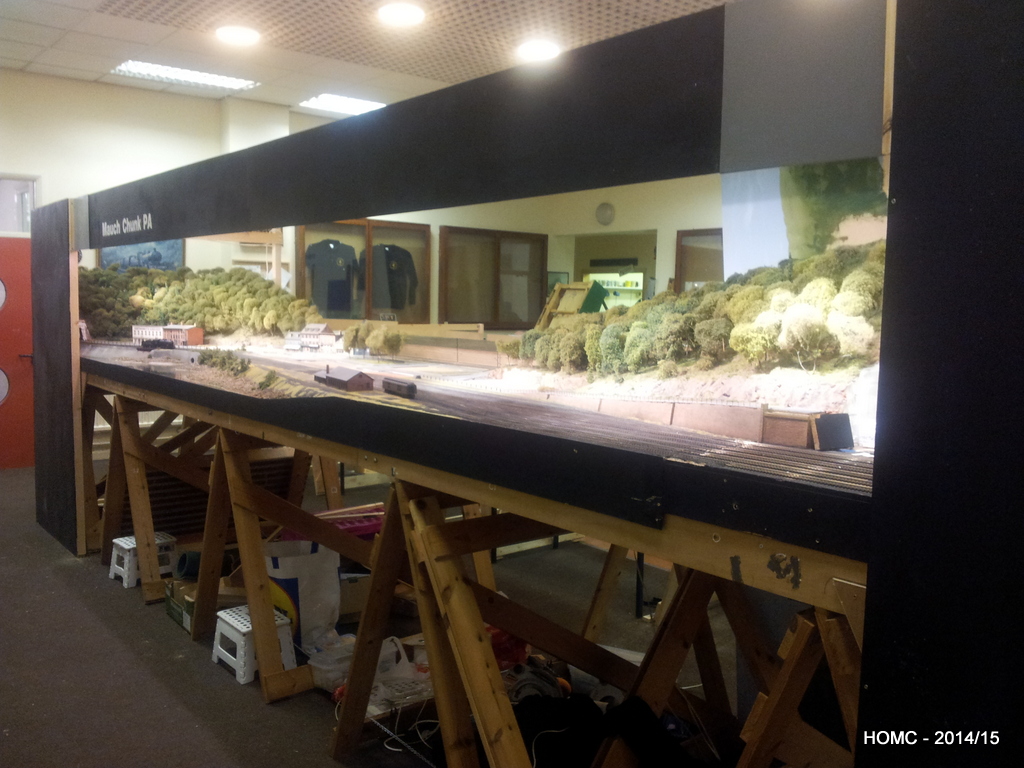
In particular, the main four 4ft x 4ft boards were orignally built to mount on trestles supporting three beams and, after much consideration of building legs for these boards, Gavin and Richard decided that the only viable option was an updated version of the beam design. This would involve beams mounted on legs rather than trestles – which would support just this central scenic 16 foot. The remaining original two small end boards (18 inches and 2ft 6 inches respectively) would be replaced by two 2ft wide boards for ease of transport and construction.
Three beams were constructed – to support the back and front edges of the boards and the location of the joint where the (historical) join between the front and back boards had been. This is to compensate for any weakness this might cause.
A the start of April, Gavin completed the beams and legs and also built the first of the 2ft boards. Photos show this process including the scenic boards finally standing on the completed structure.
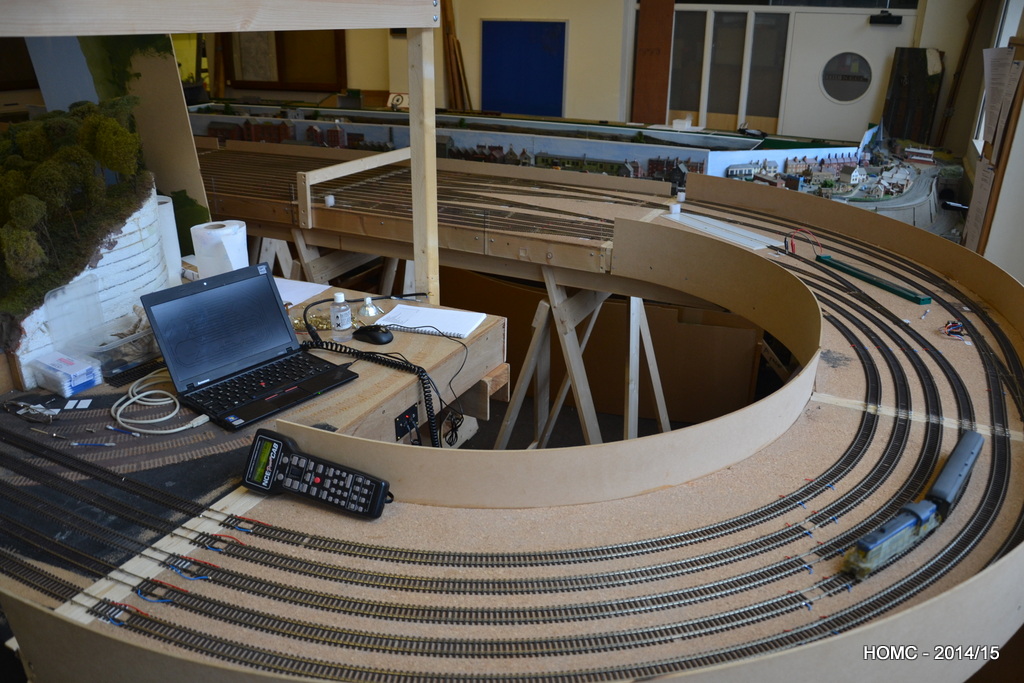
In January, Gavin finished the staging yard board joints using ‘EM joiners’ (see earlier posts). All the boards could then be erected, joined together and finally levelled and any small imperfection sanded off. It’s a monster!!
Following this the last few legs were painted and other painting was touched up. Lastly, Richard and others laid the cork, using variations of PVA and lots of weights. After sanding smooth, the cork was twice varnished with matt varnish to protect it. Gareth is lurking in one of the pictures.
Gavin’s work is not yet done however, as we intend to rebuild the two small scenic end boards from 18 inches and 30 inches respectively, to two 2 foot boards. The four large (4×4 foot) scenic boards will also receive legs – more details to come.
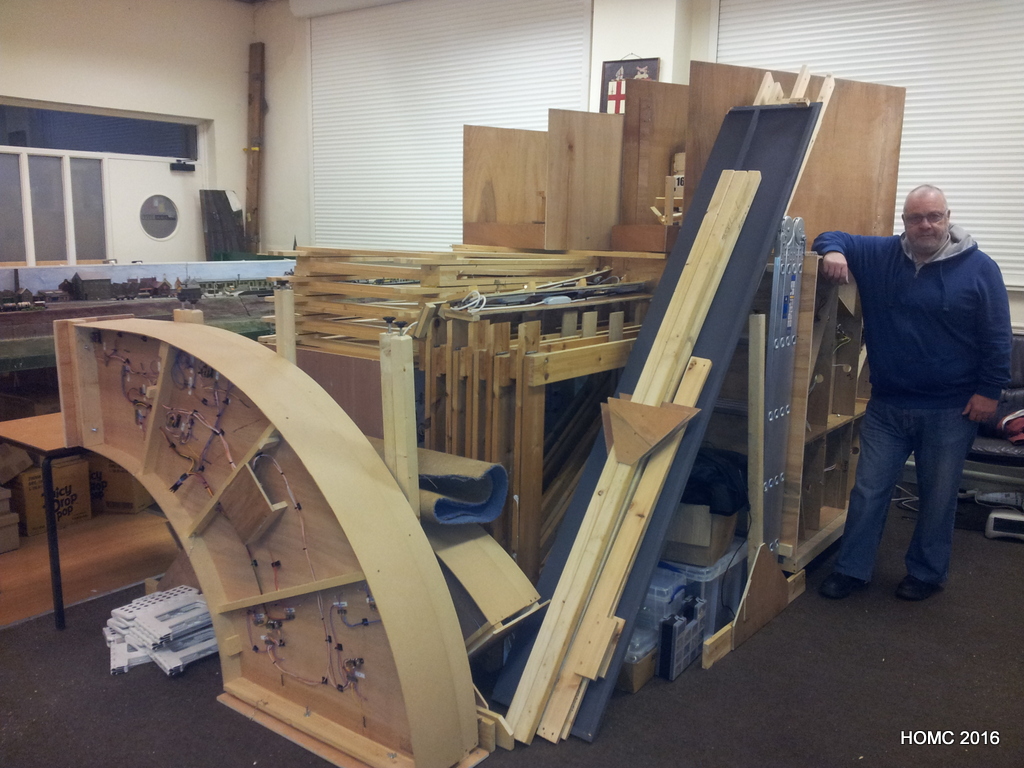
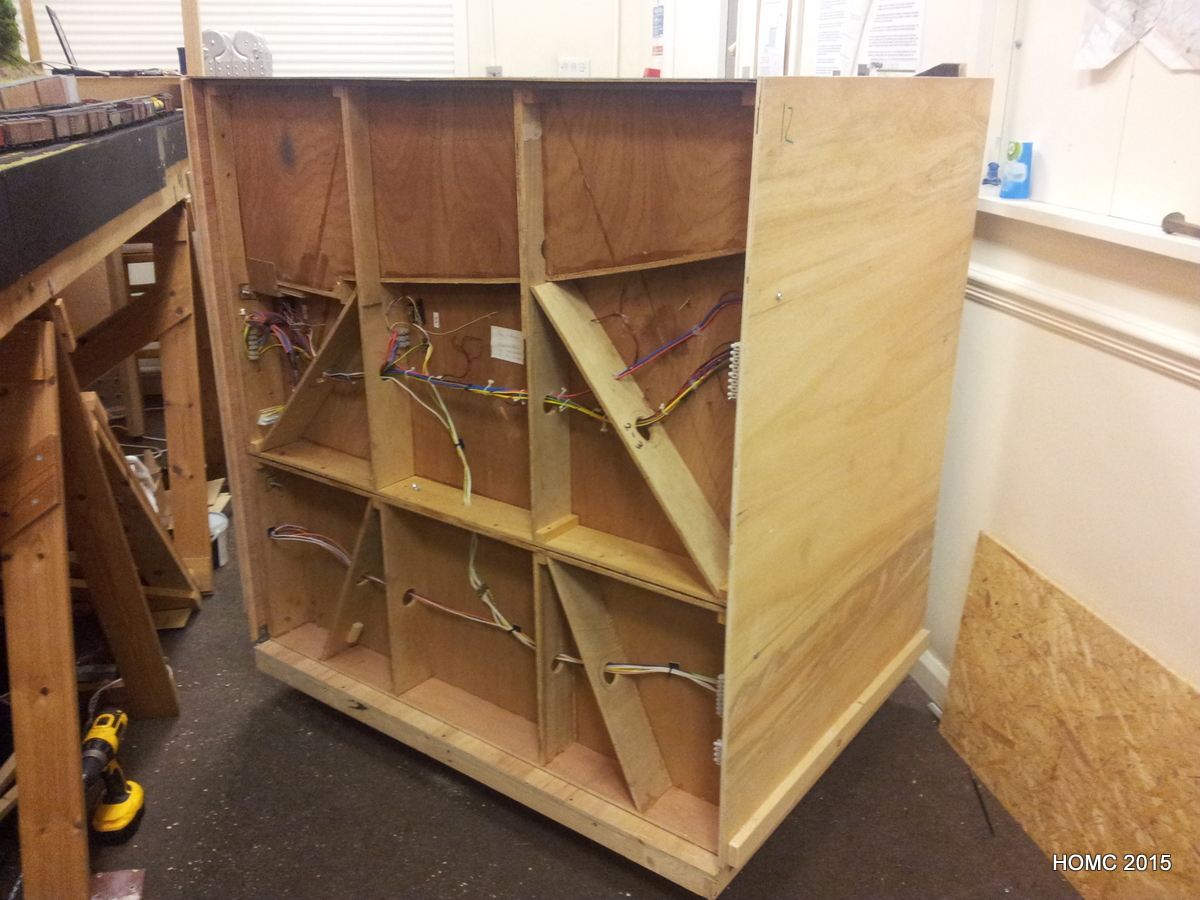
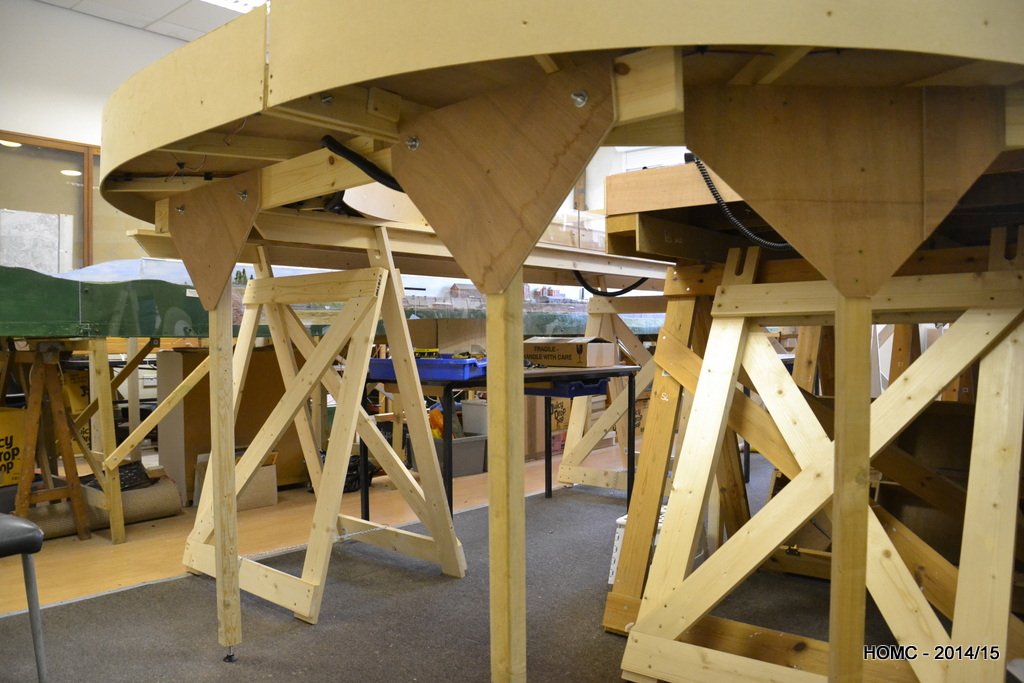
Moving towards Christmas, Gavin again had some free time and used it very productively on the ‘difficult’ corner baseboards with rounded sides. These had already been planned with some very involved angled bracing but with the appropriate tools, these all fell to his skill! Photos show the construction of the two rear corners and then the slightly larger front corner board. Legs were also constructured to fit each.
A good end to the year with lots of work to complete in 2017. Many thanks to Gavin, Richard and the rest of the Barromore team for all their help.
In early December Richard and I painted legs, and painted legs – and then painted baseboards. All while Gavin earned a crust with his big yellow machine.
The rush was on to get as much done as possible before Johnstown Road, Barrowmore’s O-gauge layout, needed to occupy the space for preparations before going to Warley exhibition.
All the legs for the seven boards now constructed are finished and were undercoated by Steve and Dave. While this was going on, Gavin and Richard worked on the first, non-scenic corner board. This is huge (4ft x 4ft3in) but relatively simple being almost square.
In October, Gavin had forged ahead with the rectangular baseboards, finishing the set and adding the cross braces to stop them flexing. The photos include shots of him using Brownlow’s table saw. Steve has been painting the undercoat on and the legs have all now been built from 2″ by 1″ pine.
In November we will move on to the more difficult corner boards, finishing the painting and then installing the joiners and leg adjuster.
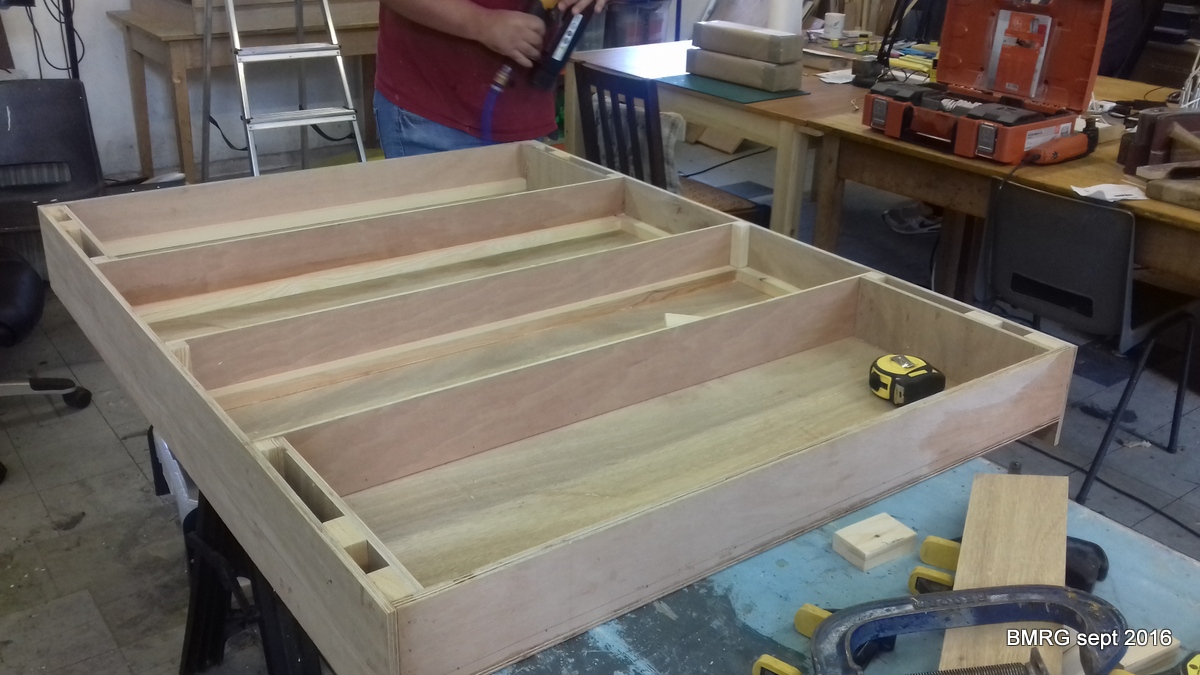
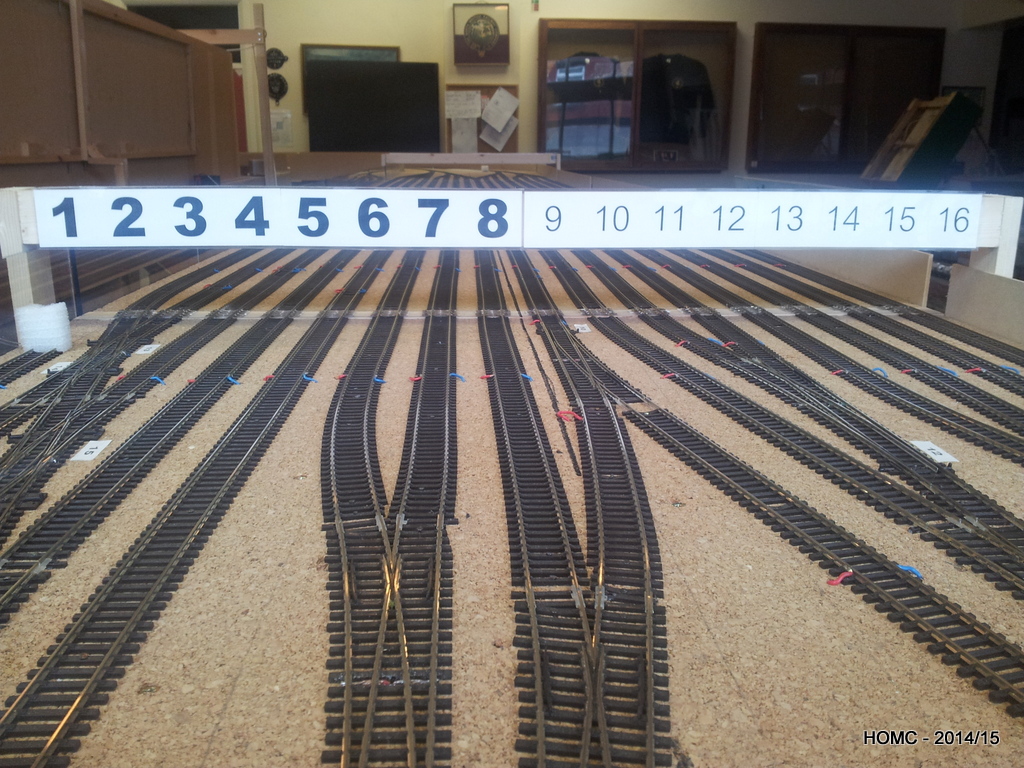
We have finally started the new baseboards for the third phase staging yard. These will be of a higher standard than previously – being built by and in the Barrowmore MRG – and will use a trackplan custom designed to meet exhibition operating requirements. See the ‘Track Plan’ pages for more details.
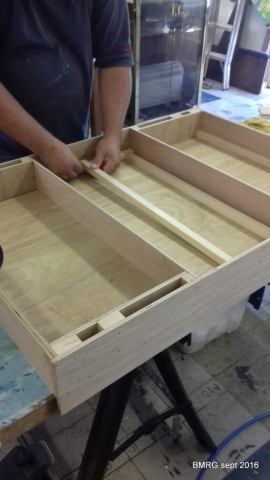
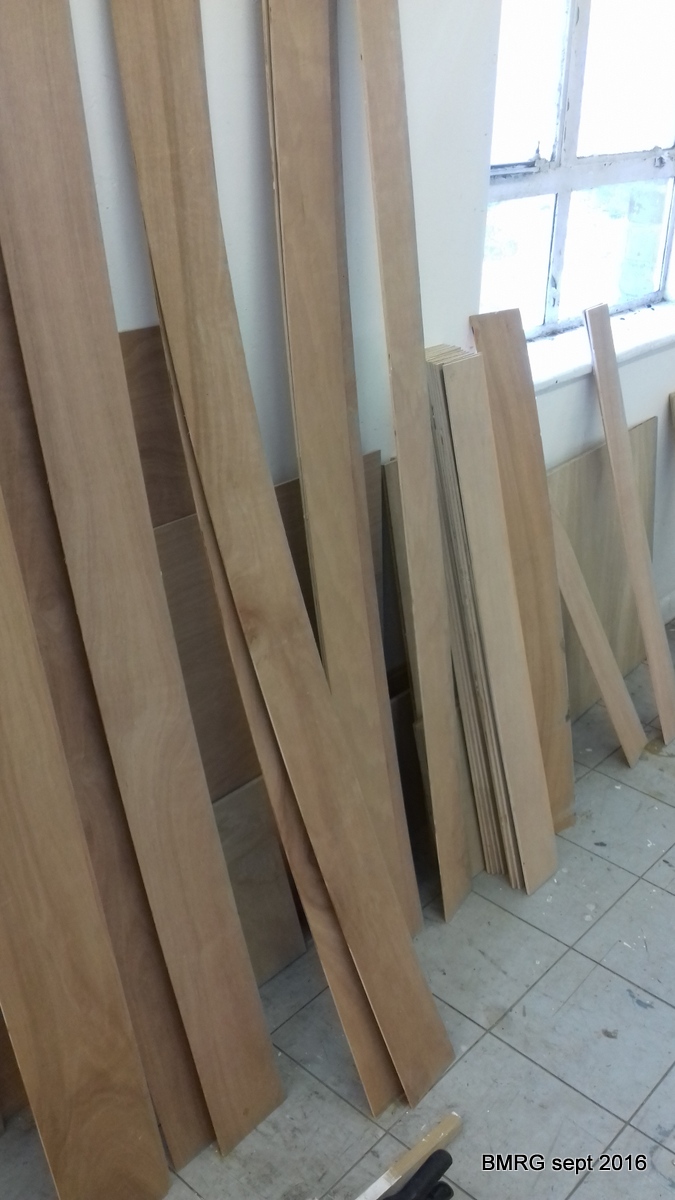
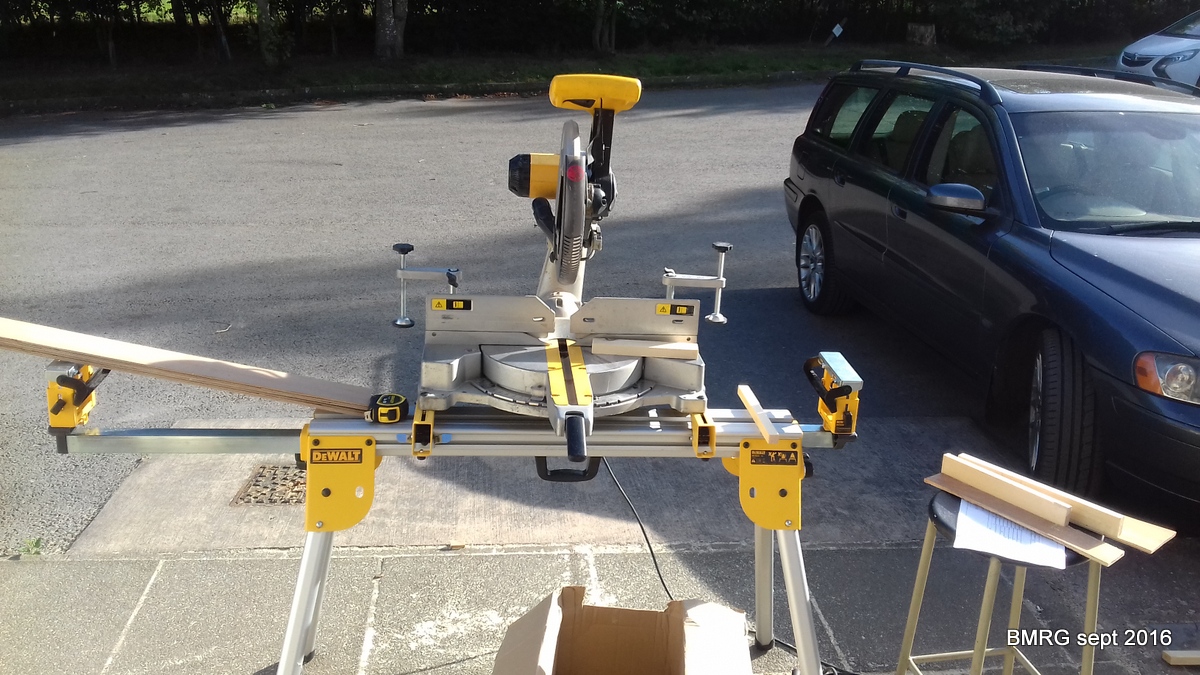
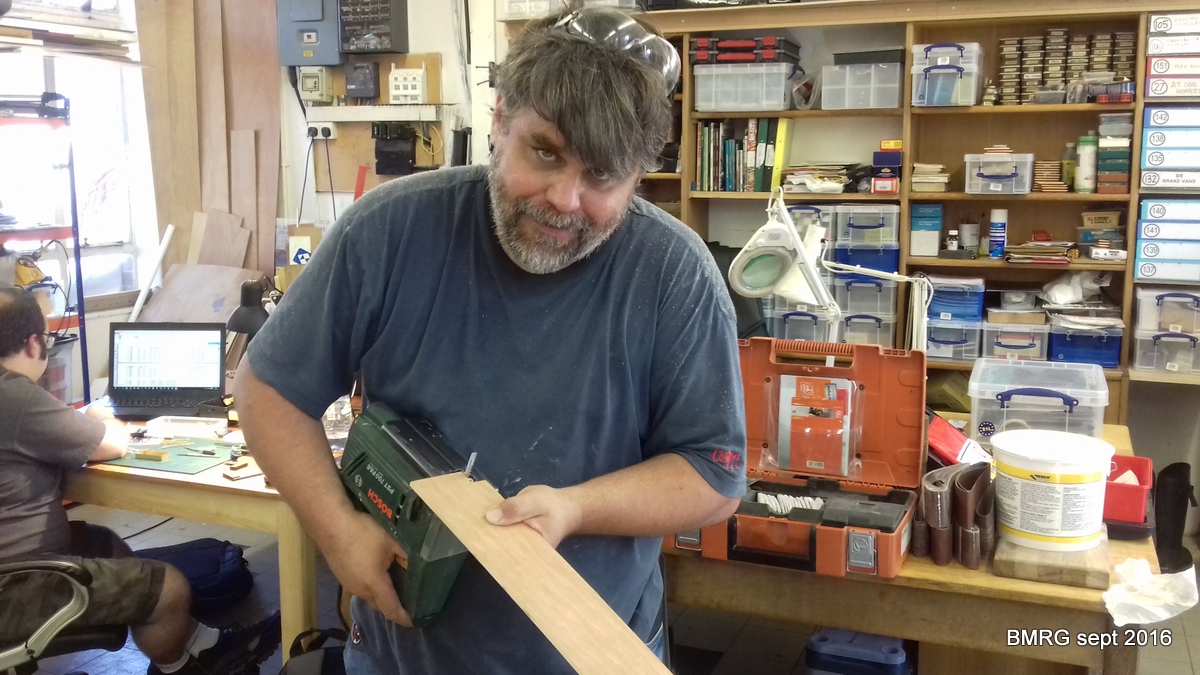
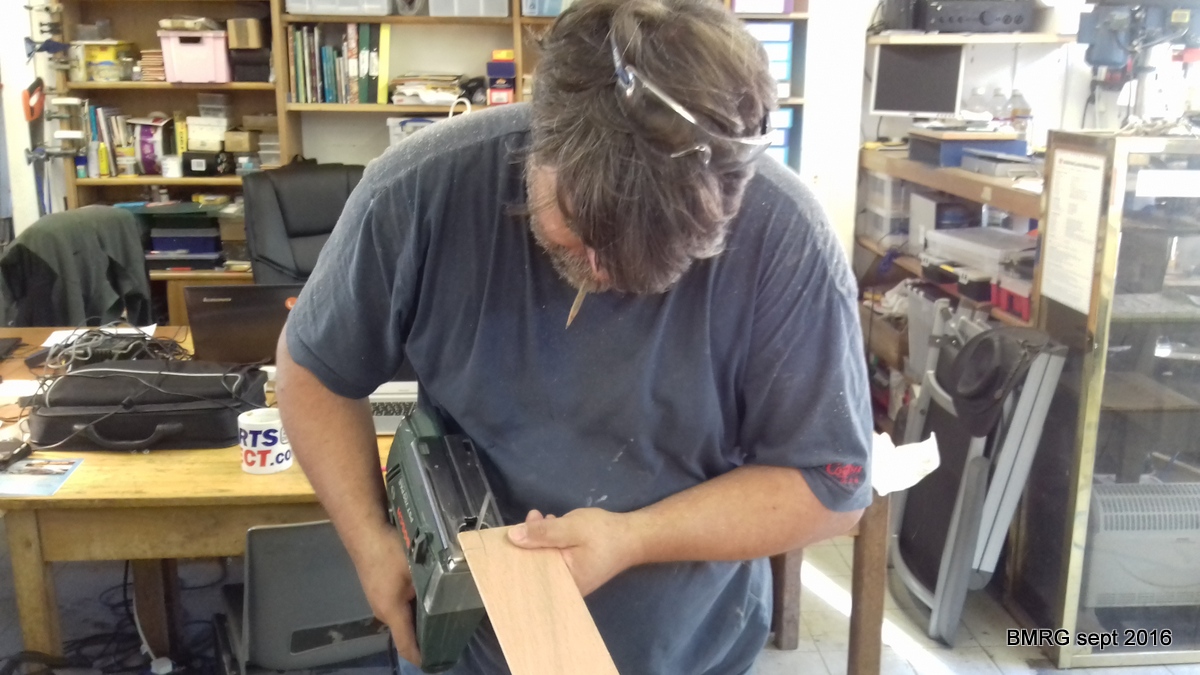
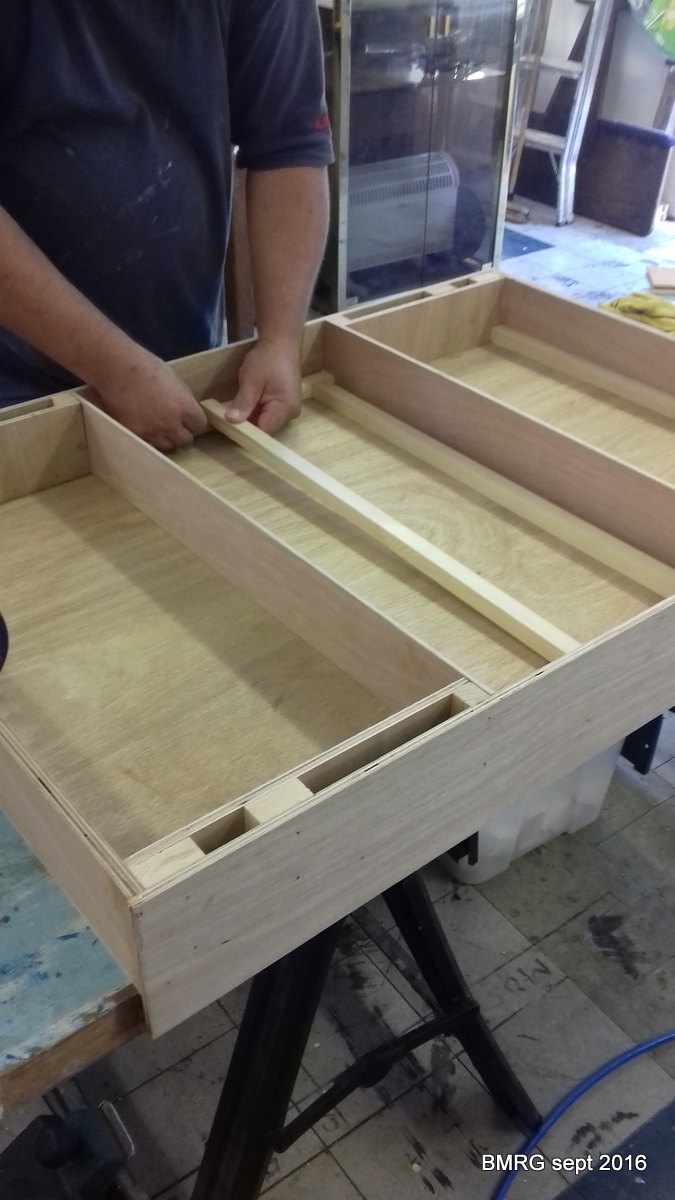
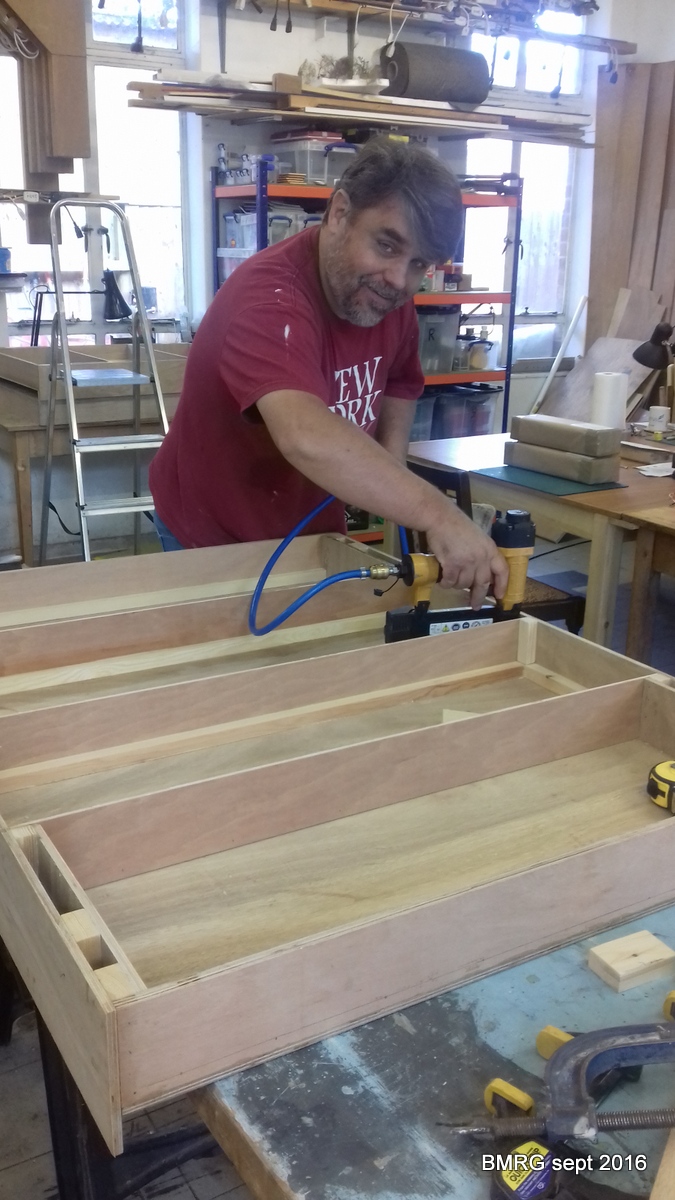
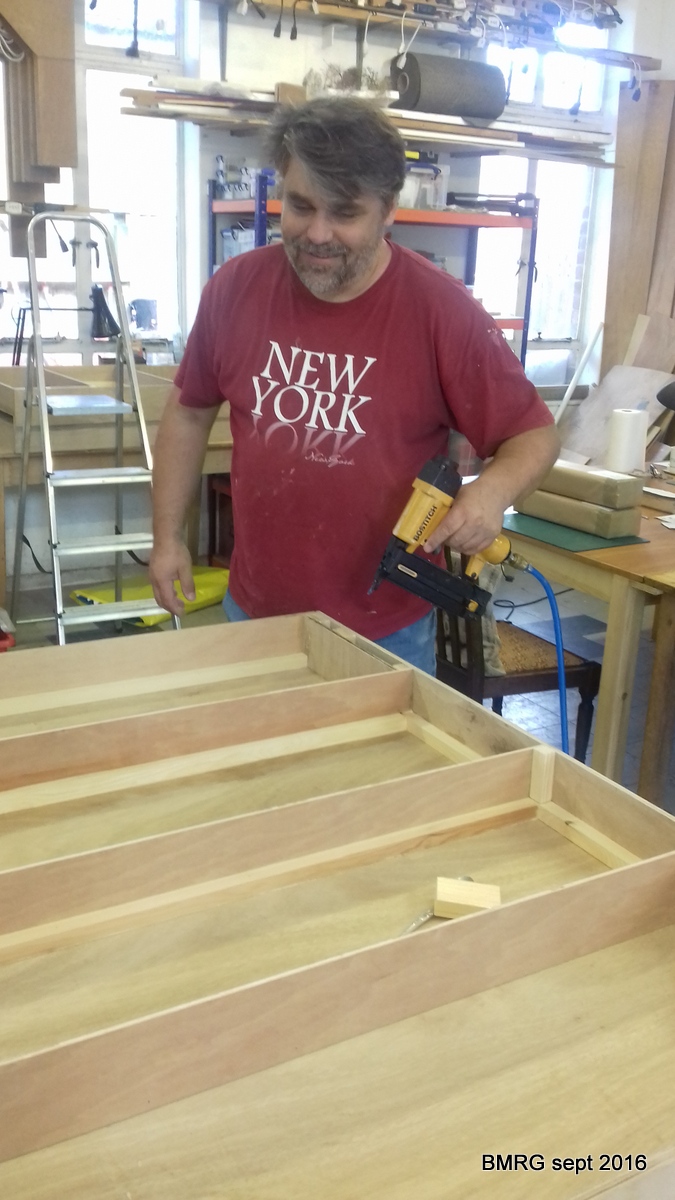
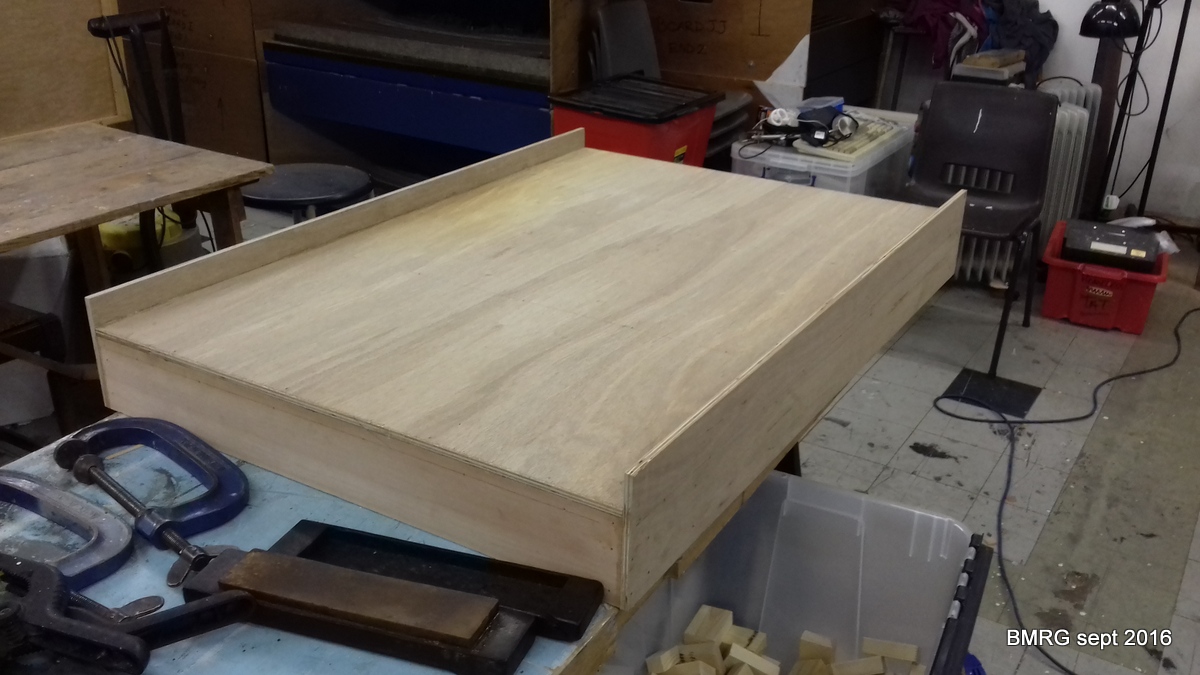
Photos show Gavin building from three different thicknesses of ply. These have been cut on a professional table saw (with thanks to Brownlows Cabinet Makers, our neighbours here at Barrowmore) to a cutting list we generated. Any final cutting is done on Gavin’s sliding compound mitre saw which is very impressive – see the photo.
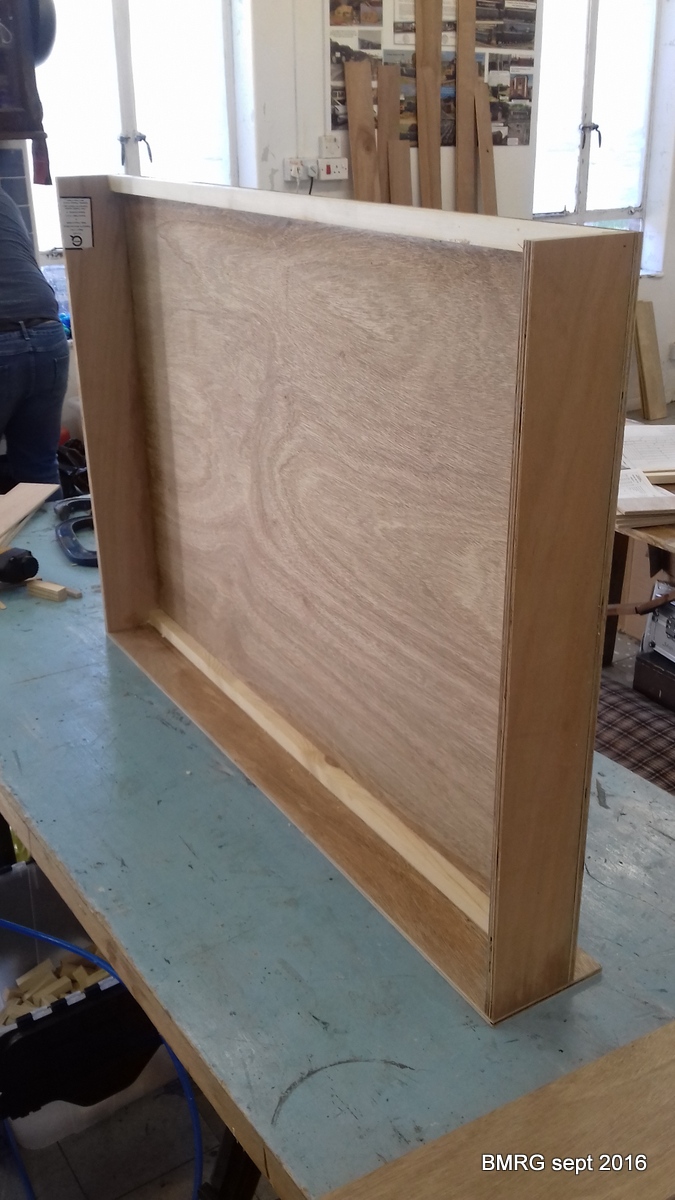
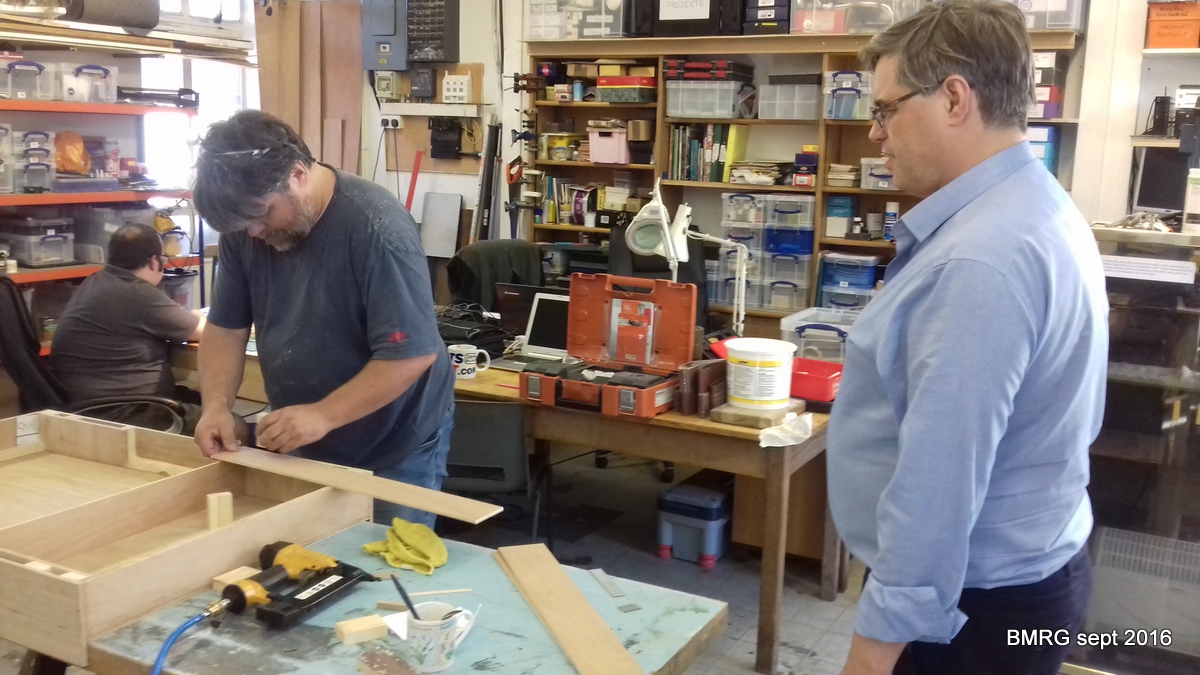
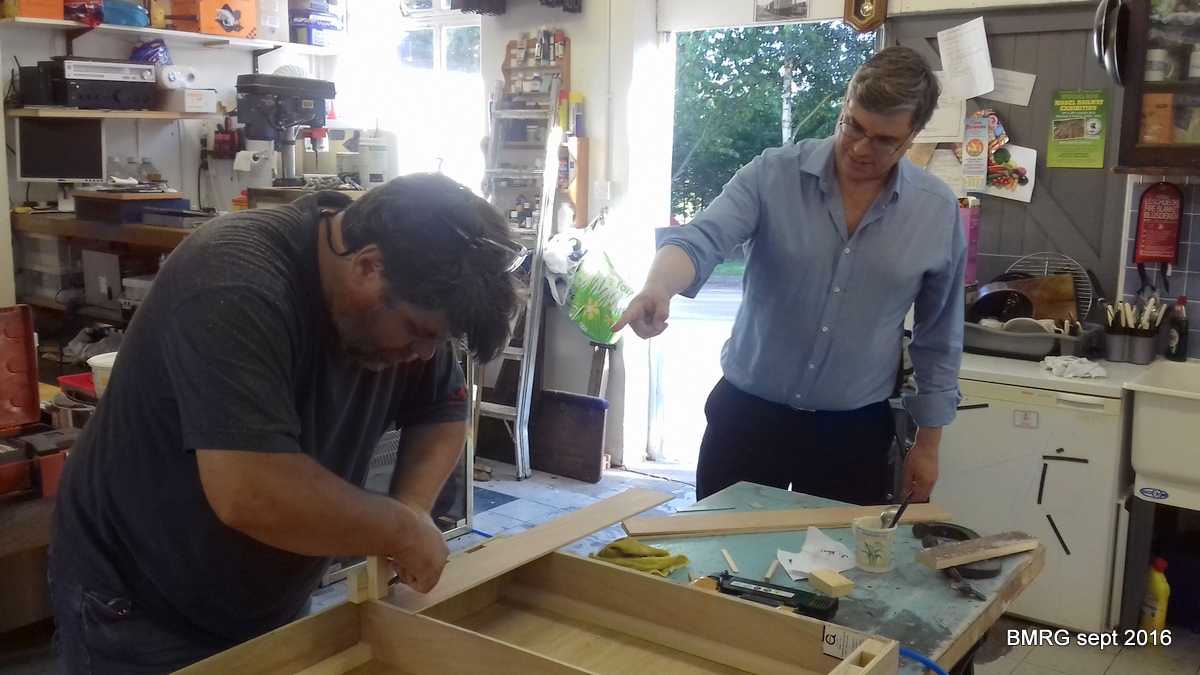
Sheets of ply are glued with urea-formaldehyde resing wood glue and then held with nails from a nail gun. Overall this is a very quick process although the complexity of design, with pockets to hold the legs and bracing, slows it down. Richard of course is seen giving expert direction!
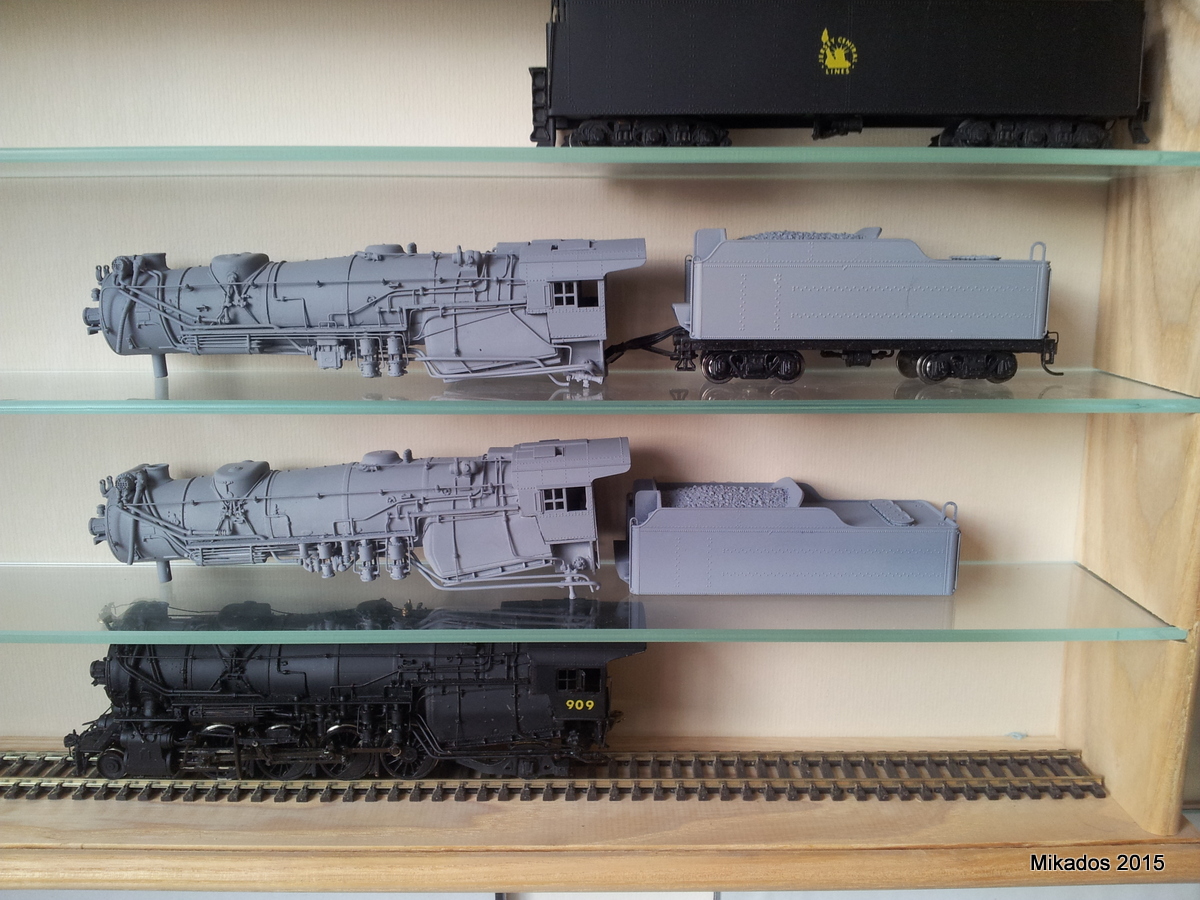
This last six or so months has seen Gordon and I finishing the trolleys, checking they fit in a Luton van (as we will use to transport them to exhibition) and finishing work on the BLI USRA Mikado conversions to CNJ M3 Miikados. A lot of hopper cars have also been completed, ready now to be weathered and loaded. Finally, work is now starting on building a working signal gantry for the west end of the layout.
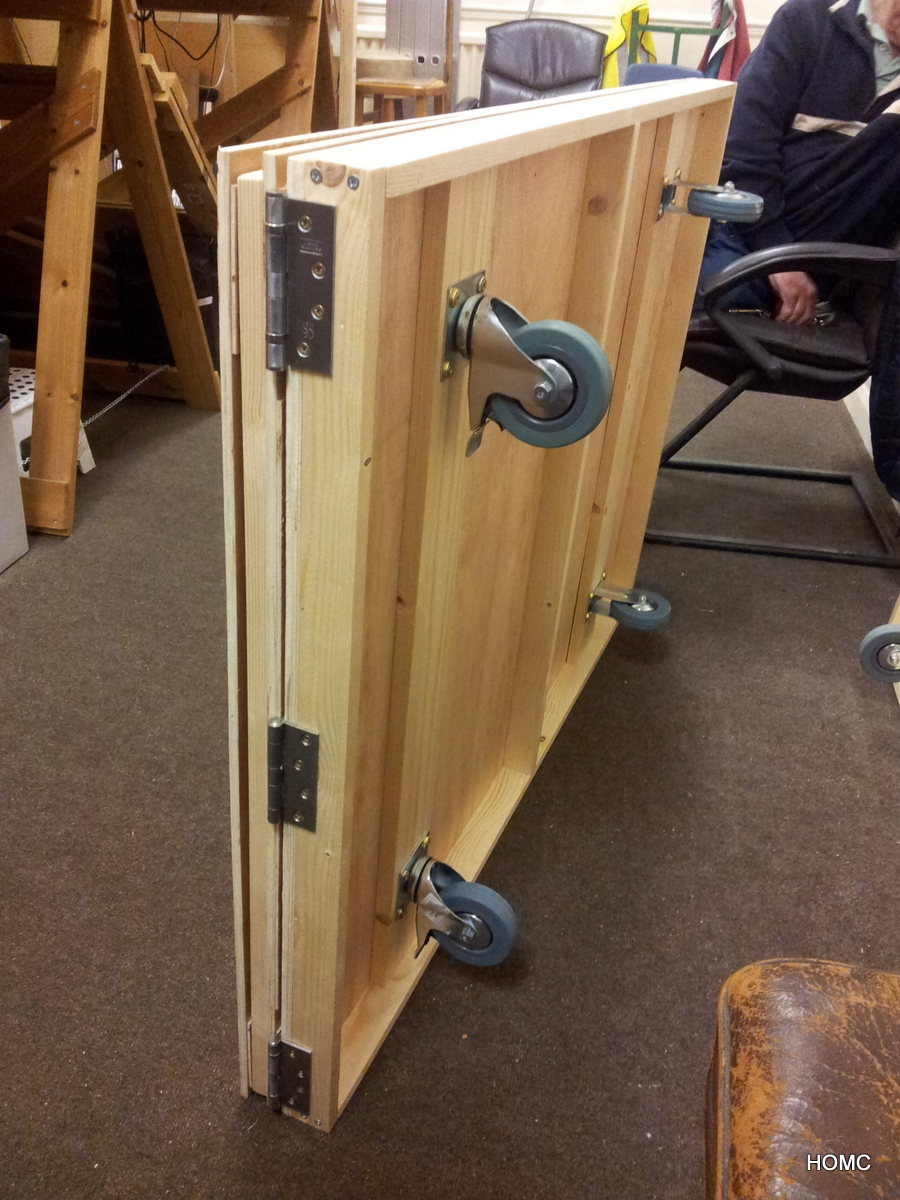
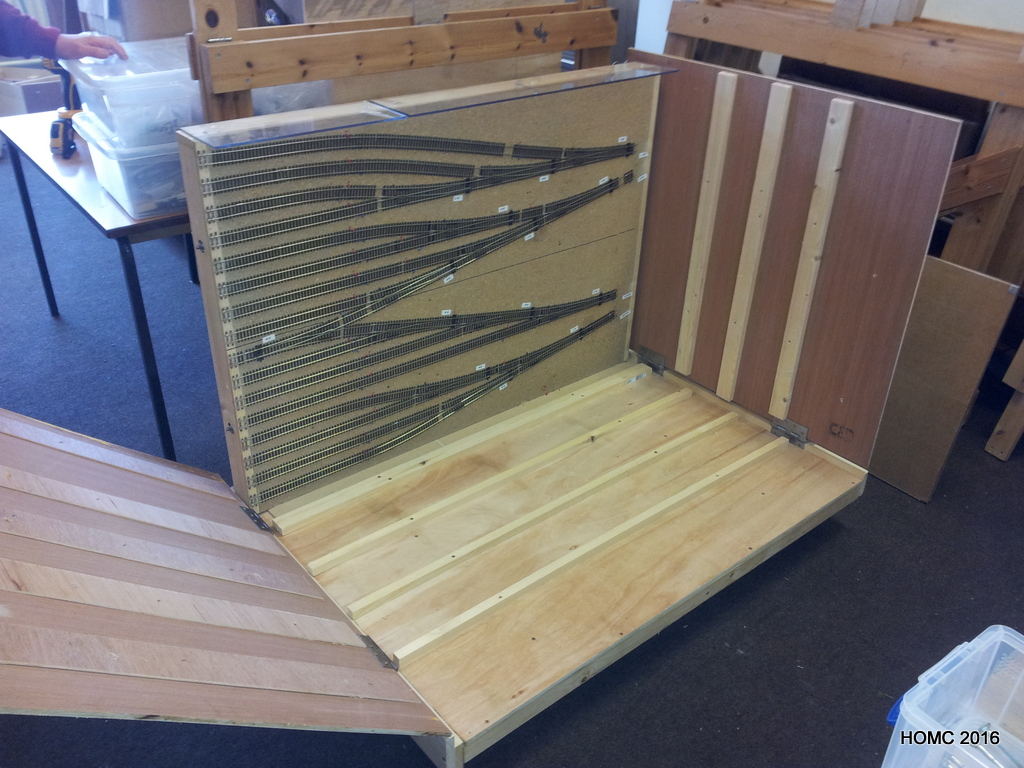
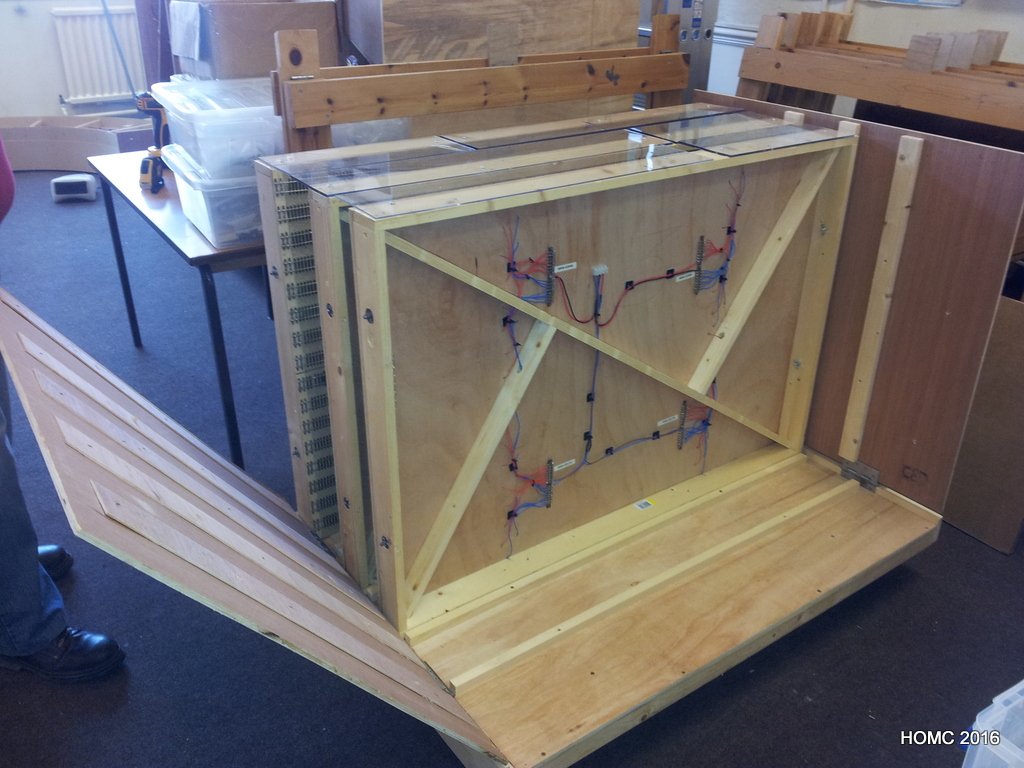
These first five photos show the trolley purpose built for the storage yard. All five 3ft x 4ft boards fit into grooves in it and when the ends are both closed, are secure for transport. The unloaded trolley folds up into a small space – first photo.
Once all the scenic and storage yards boards are packed into their trolleys and, the end boards are folded into each other, they were stacked into a space the size of a Luton van to make sure we could transport the layout to exhibition. Here are two photos showing the ‘stacked van’! Not very exciting but very important. Finally we reassembled the layout in a couple of hours (well, almost).
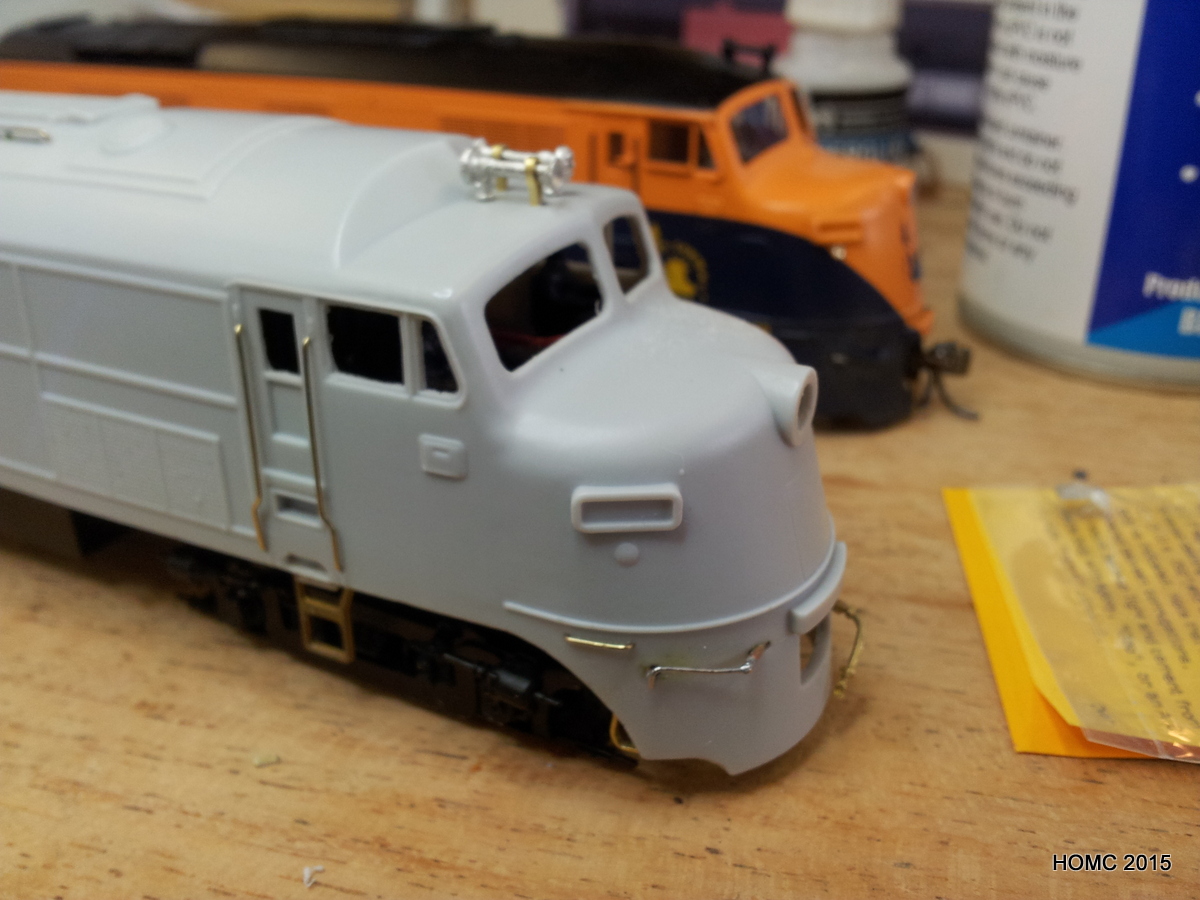
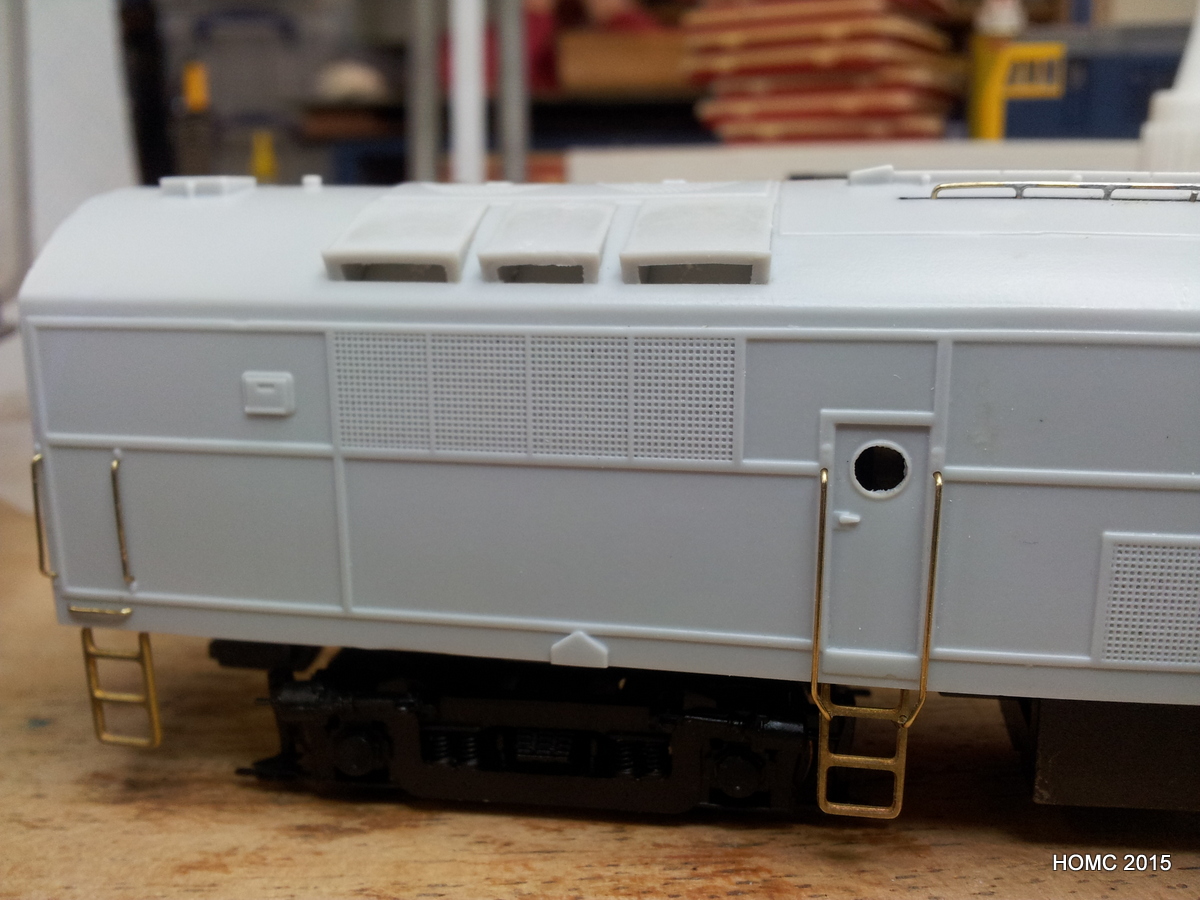
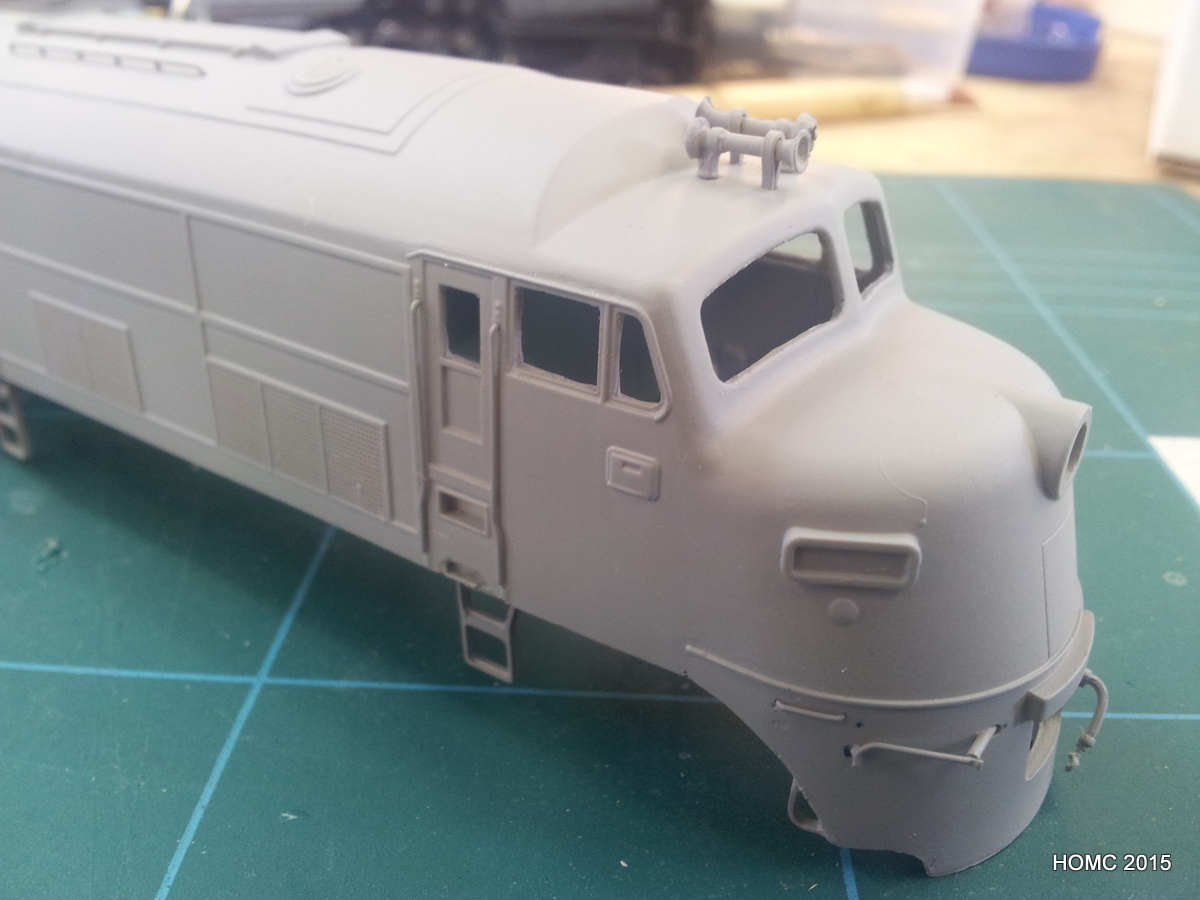
Another result of this resolution was a visit by Steve to the local Barrowmore Model Railway Group, which turned into a membership there. The BMRG is way ahead of the Merseyside club in stock building and Steve’s first project there was to build the ARHS Babyface A-B-A set that were sitting in boxes in a cupboard. This was mainly a case of adding grab irons and other ironwork. The most complex piece was a roof rail, which was build by Richard Oldfield. The final shot shows the effect of priming ready for painting – which will be done in the new year. I should comment that fitting the recommended underframe from Proto 2000 Alco FA2s into these bodyshells required a lot of grinding away of the weight and also the insides of the bodyshell. One of the bodyshells was so thin in one spot, that it blistered when painted, and has to be rebuild with plasticard and superglue. However, these little obstacle are to be expected when kitbashing and building!
Steve then moved on to kitbashes of two M3 Mikados from BLI USRA Mikados – a project started several years ago with the late Chirs Bennett. This is now nearing completion and will appear on the project page once finished! Just one photo as an appetiser – the complete model at the bottom of the shot is an Overland brass M3s.
Meanwhile, back at the Merseyside club, construction of three trolleys was underway by Gordon and Steve: The new 4ft by 4ft baseboards are so heavy that they cannot realistically be carried any distance as when moving them to an exhibition. Therefore plywood trolleys are being built that can be wheeled from the clubhouse into a van (with a tail lift) and then from the van into the exhibition hall on arrival. Two of the trolleys each take two front boards, and the third takes all five staging yard board. This last is still under construction, but the first two are now complete.
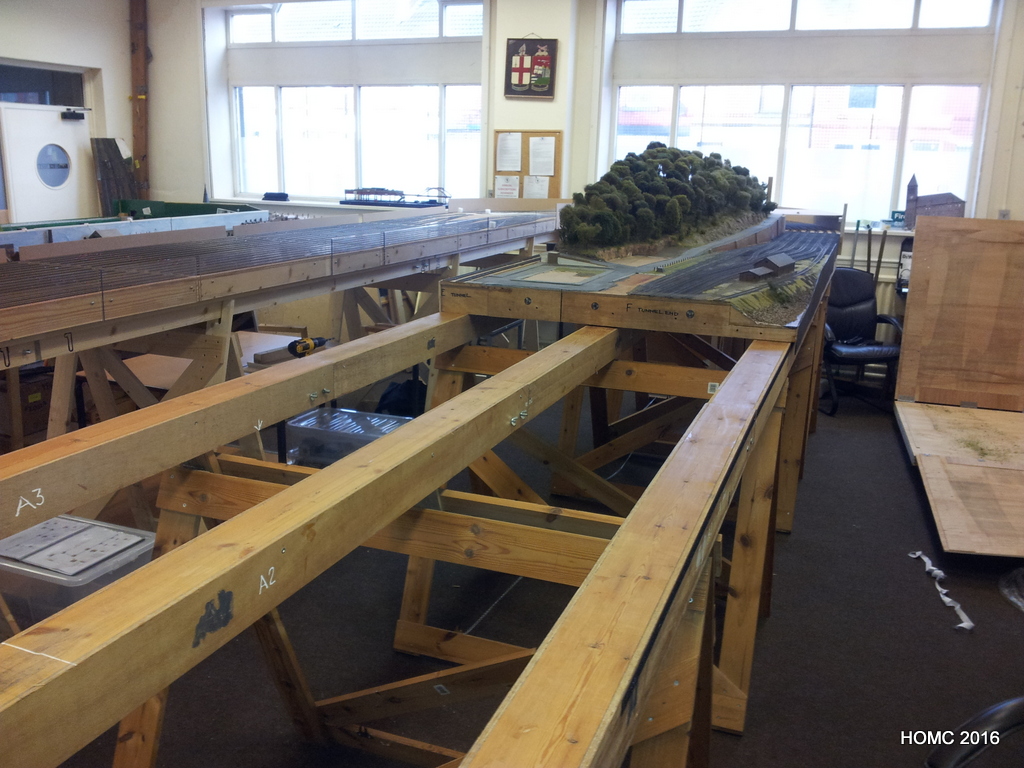
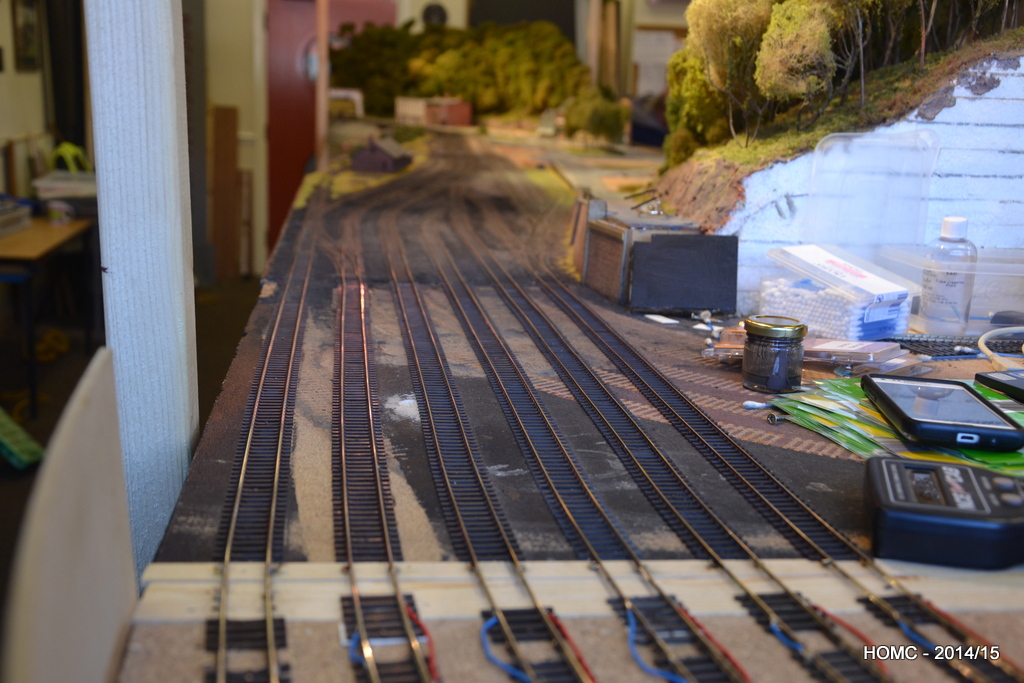
We’ve carried on working hard since last November and have pretty much completed all the baseboard work now. It’s not shown in any detail, but we cut the old staging yard off the back of the main baseboards, leaving just two tracks, which are for testing and programming – one will be DC. A 1ft strip was also removed from the left hand (tunnel) end to give a total modelled board length of 20ft to match the staging yard.
The cutting was done with a rotary saw and finished with a hand saw. The edges were then faced with fresh plywood, suitable braced, glued and screwed. To finish this part of the reconstruction the remnant rear main boards (now about 4ft x 1ft6in) were permanently attached to the front main boards (the original 4ft x 2ft6in) using PVA glue and screws through the bracing points. This means that we have four boards 4ft square and two narrow end boards – one 4ft x 1ft6in and one 4ft x 2ft6in – slightly awkward but – hey!
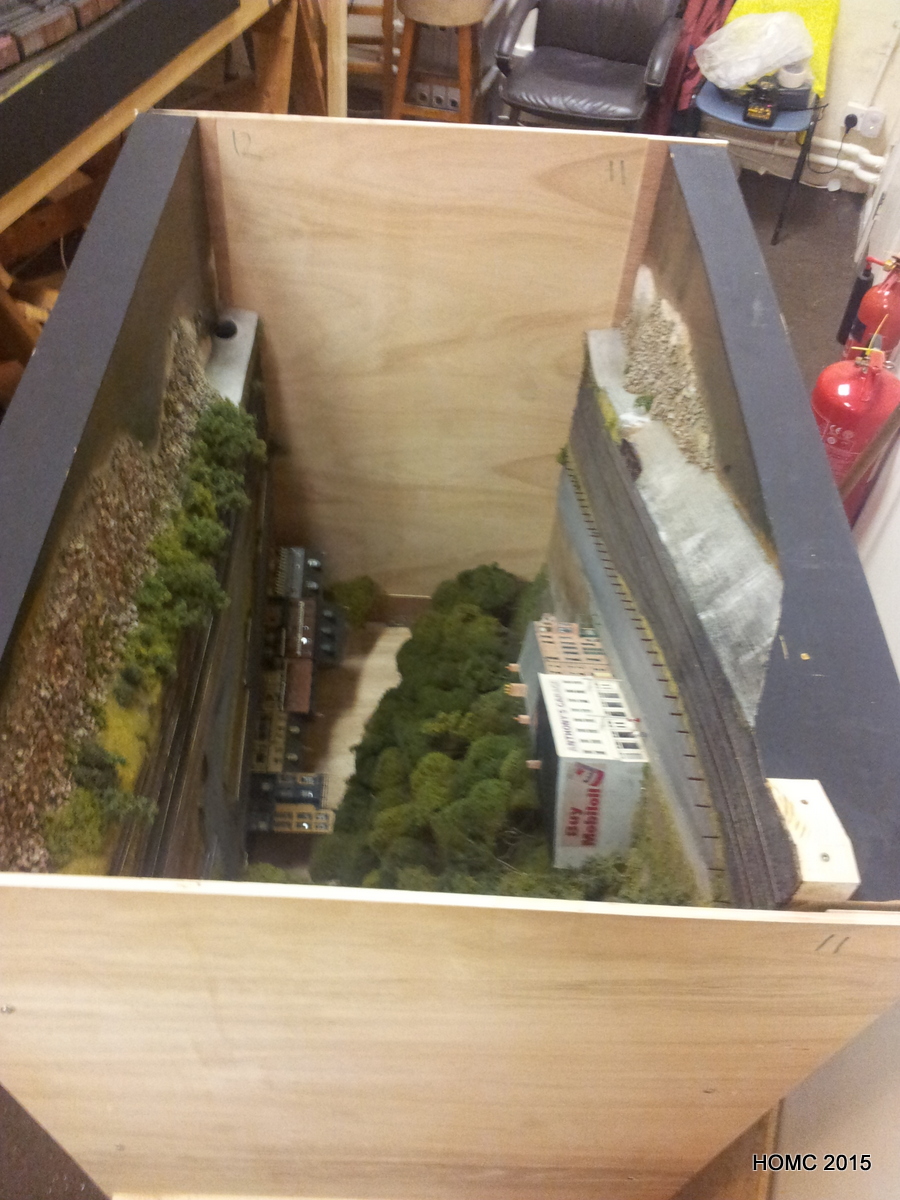
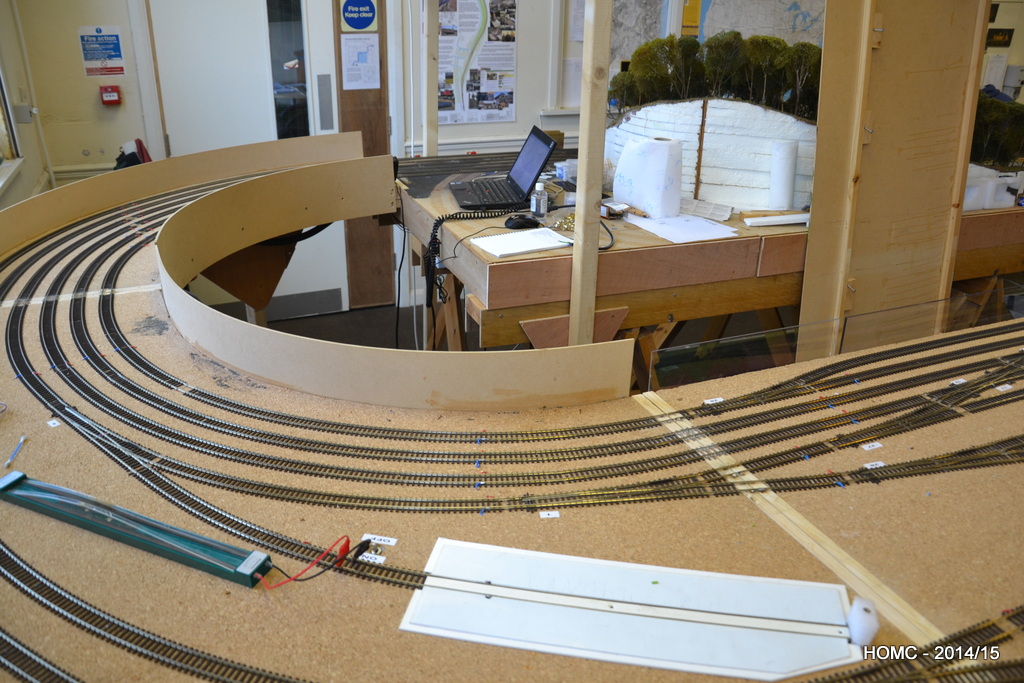
The photos show the new centre well that this configuration gives us – big enough for even the larger of us (I won’t say who that is!) to move comfortably along, although we can’t easily pass except in the ends.
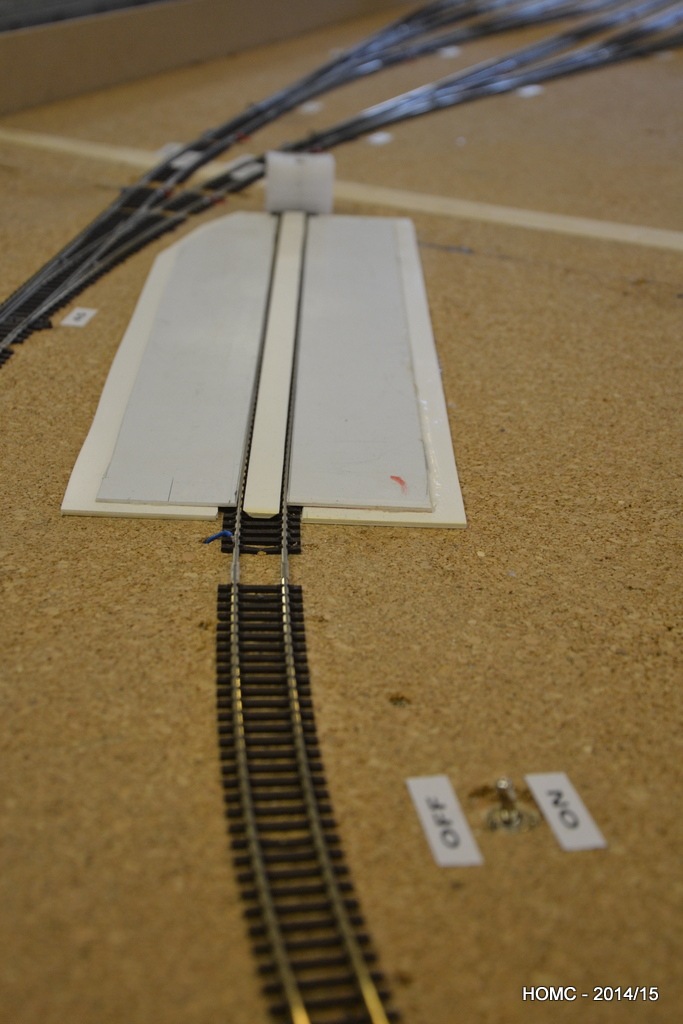
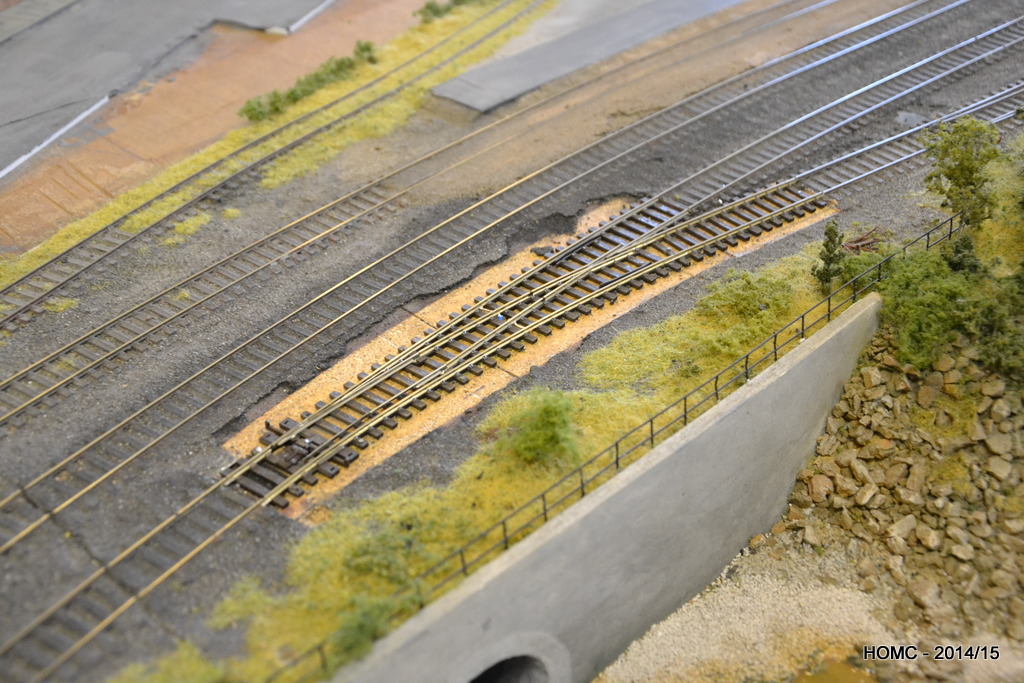
New legs were constructed for the end curves. Also shown above and below is a (re-) railing track which is switched to avoid shorts. Connecting the boards up in the final configuration meant that we could finally lay the connecting track at both ends – shown below.
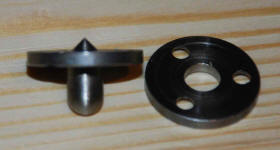
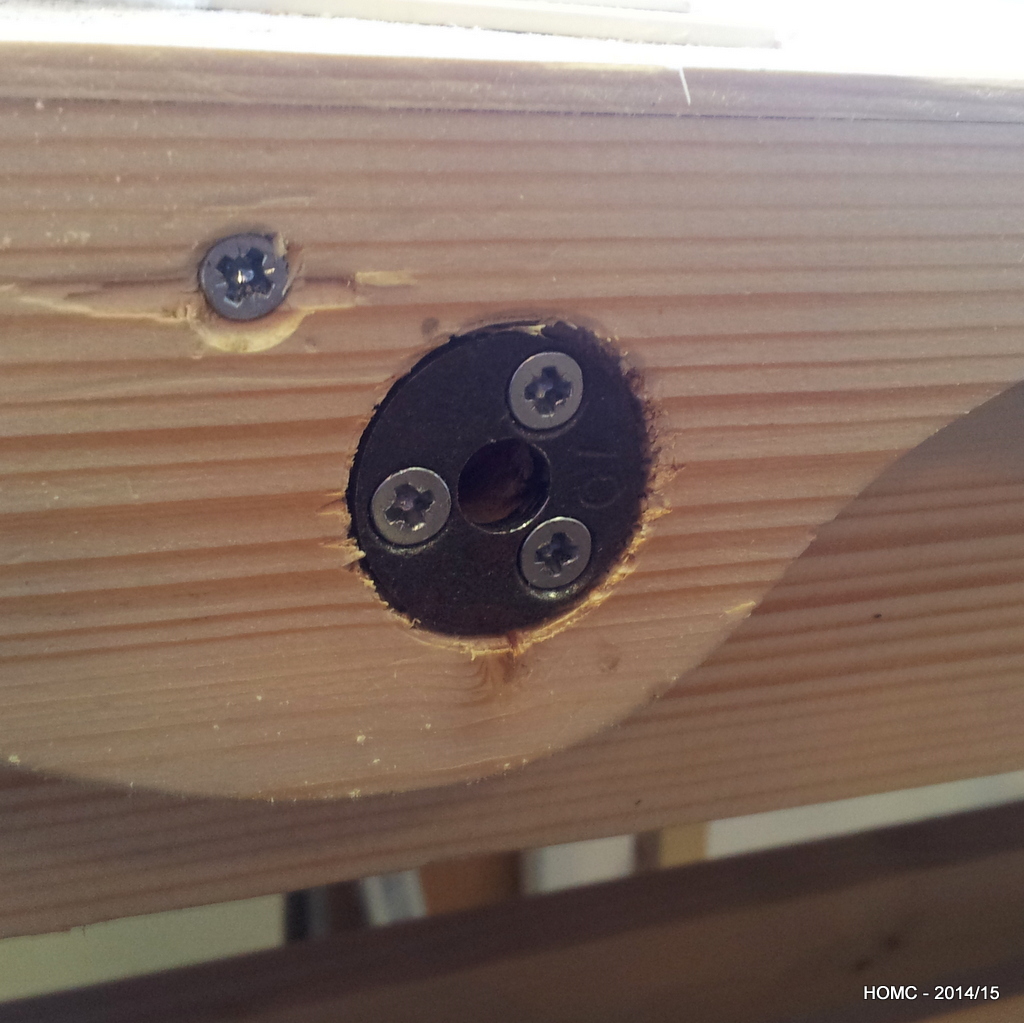
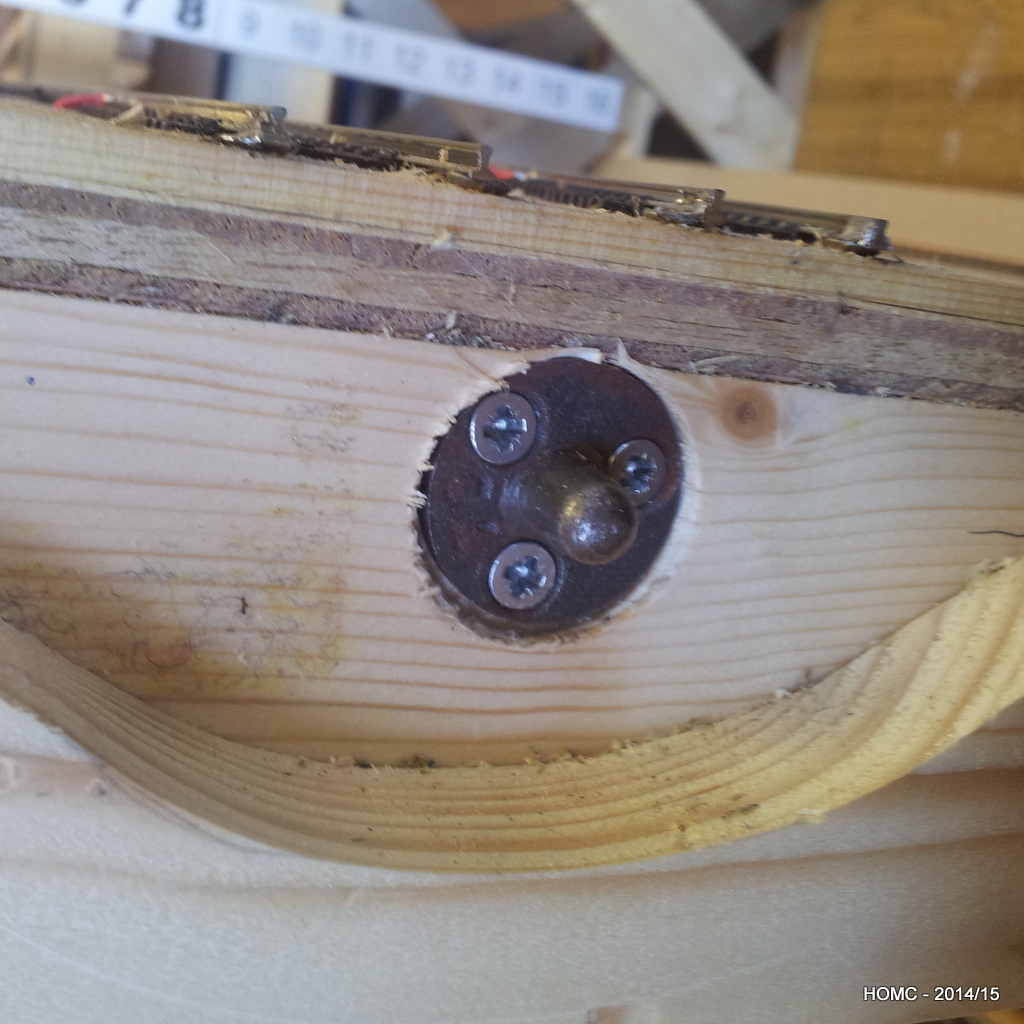
A brief diversion here into the techniques used to ensure that where the track crosses a baseboard join, the stock doesn’t derail. Portable baseboards are the norm in the UK and so this is a major problem. Critical to ensuring that track stays aligned is ensuring that baseboards align in the same position each time they are reattached. The best way to do this is to use board alignment dowels. The best ones have a point in the back of one side that lets you align the two sides for drilling. The second and third photos show these in our board (after the curvy edge system had failed to align the boards well enough!).
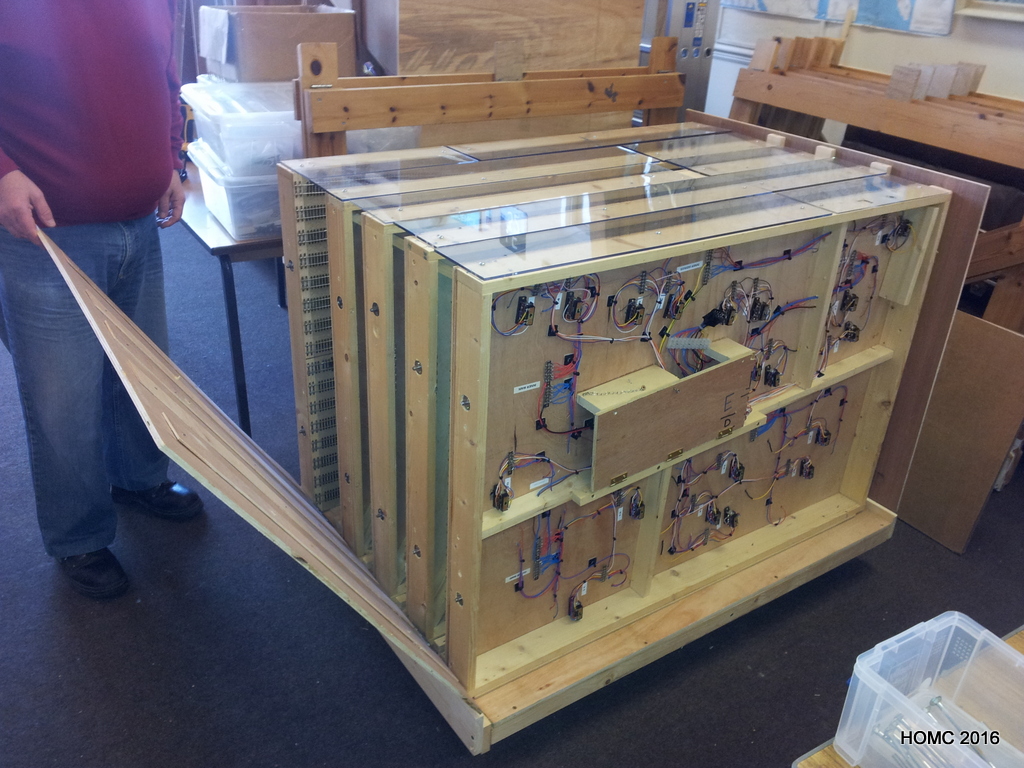
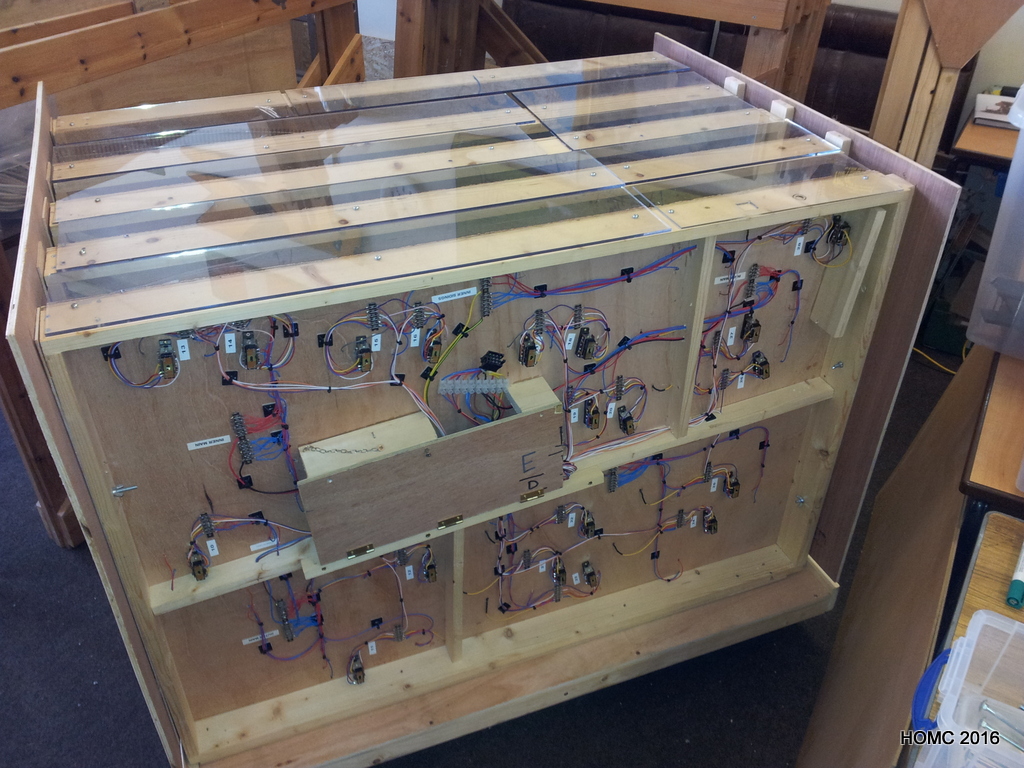
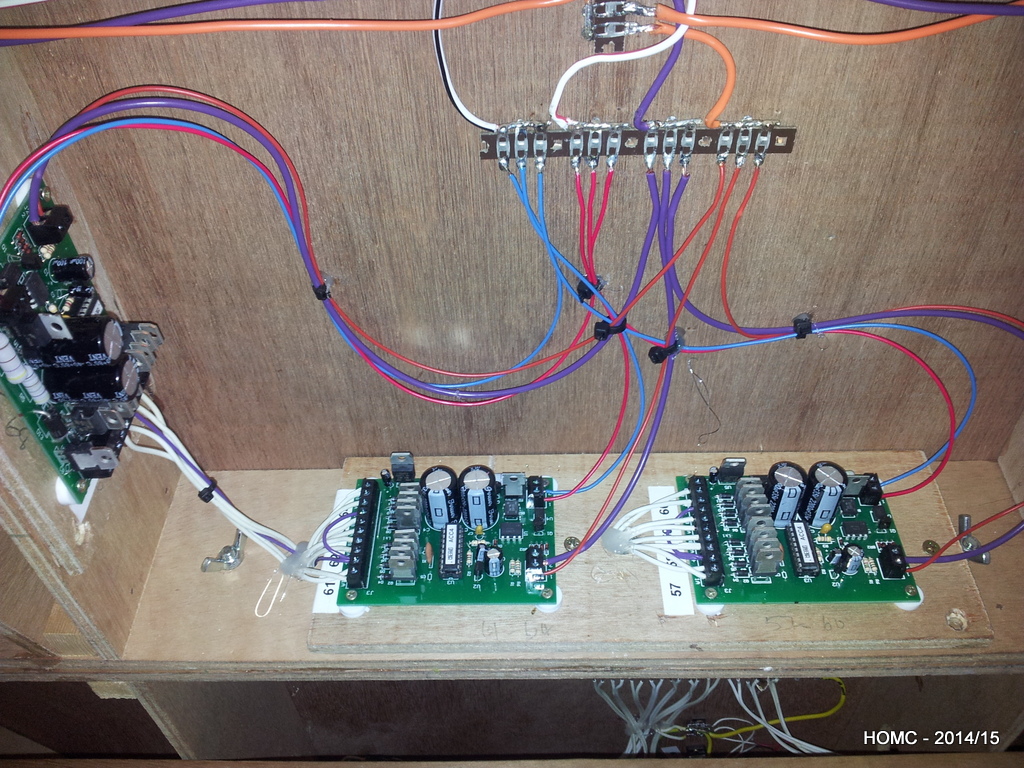
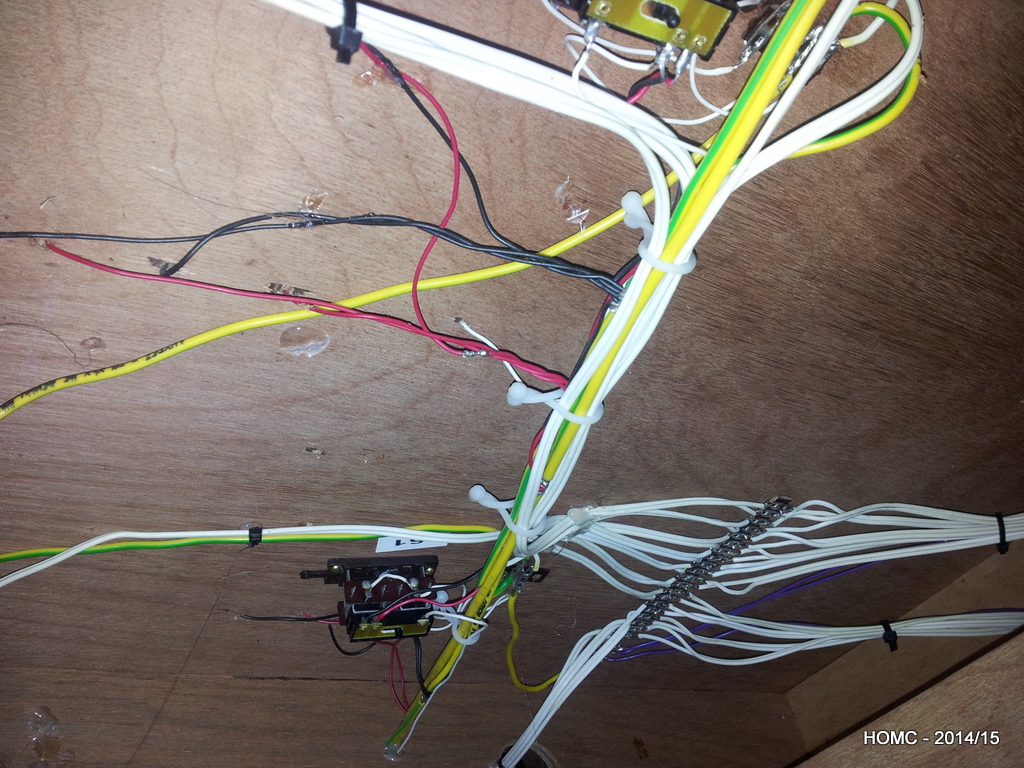
The wiring on the front had been installed many years ago, and so the switch control wiring was disconnected and then rewired to MERG DCC boards to give the same switch control system as in the staging yard. Note that the DCC switch control boards are always attached to a vertical surface to make maintenance easier. One switch on the front (on a curve) was replaces with a commercial Peco switch – which has proved better, but not perfect.
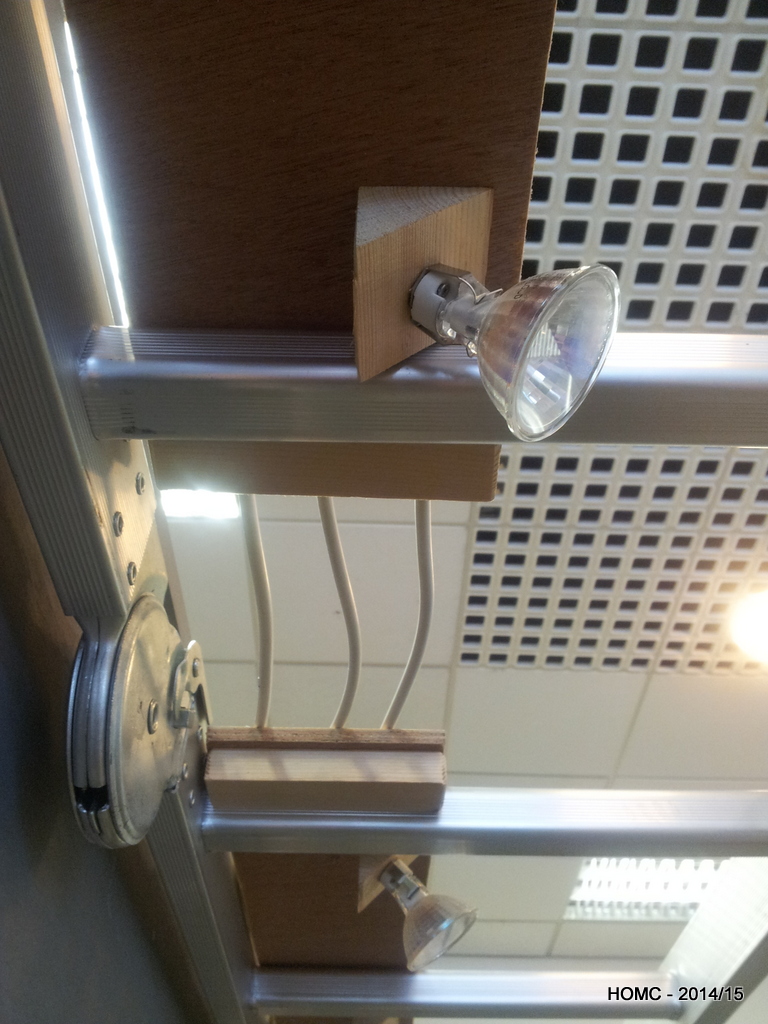
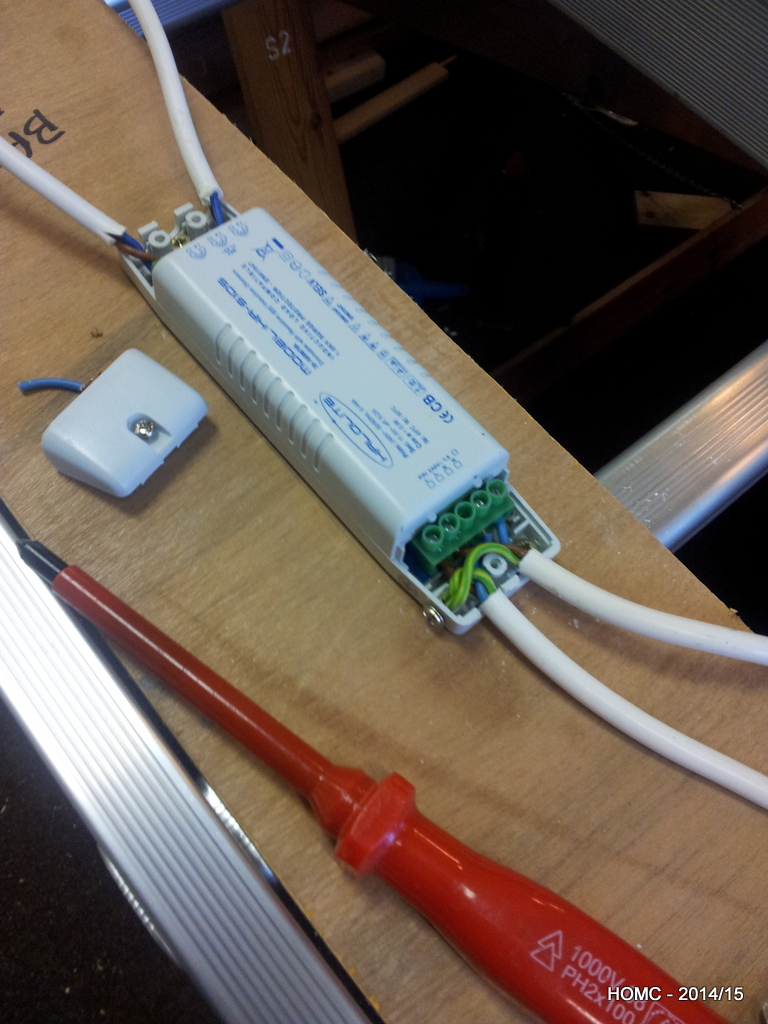
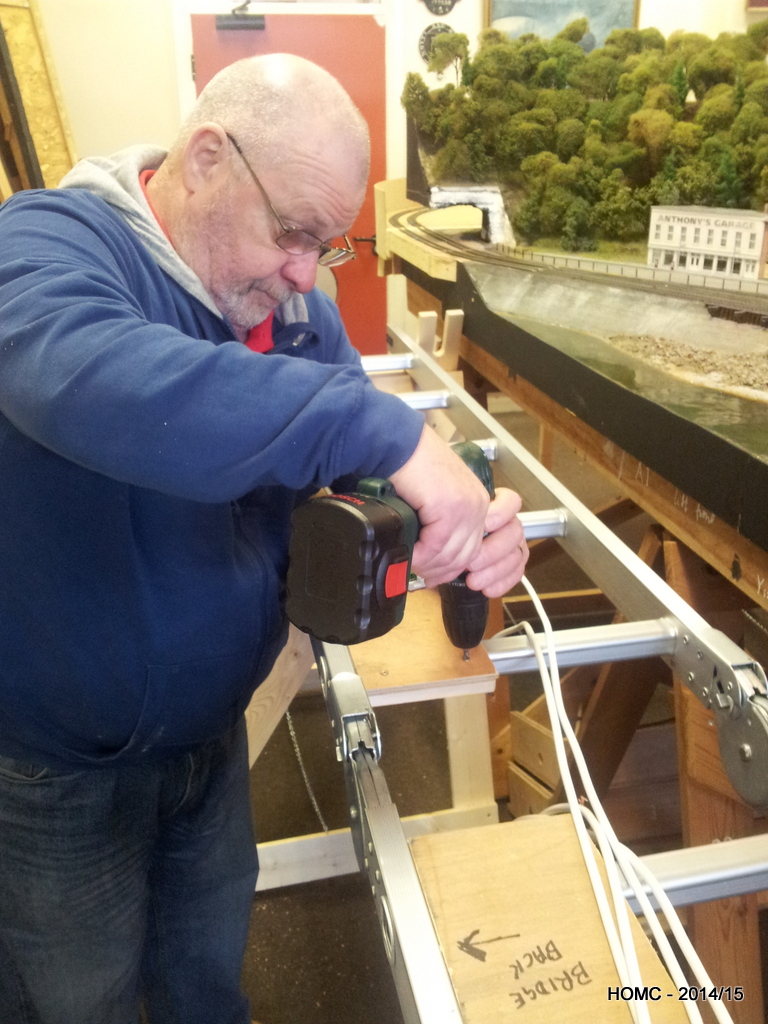
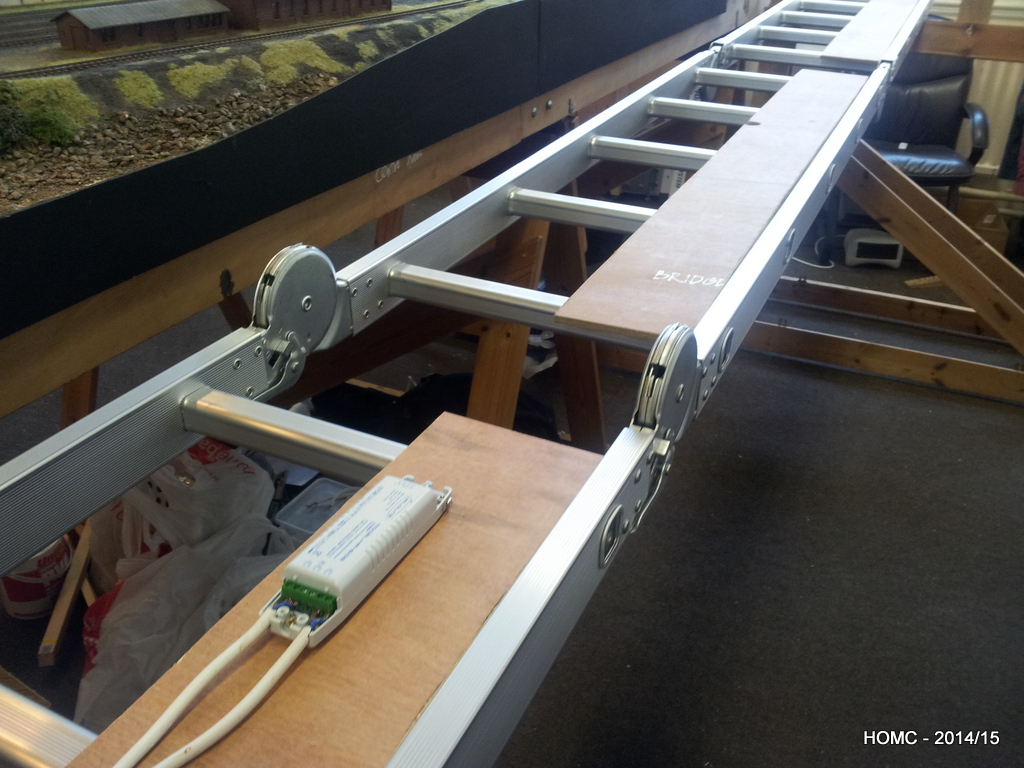
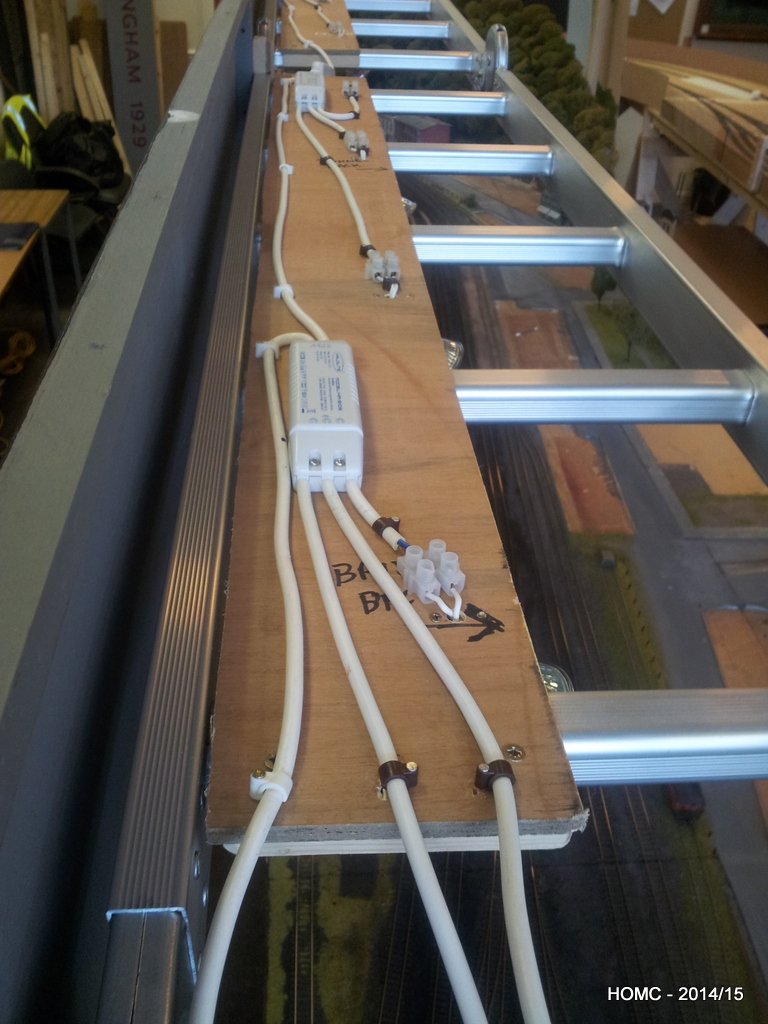
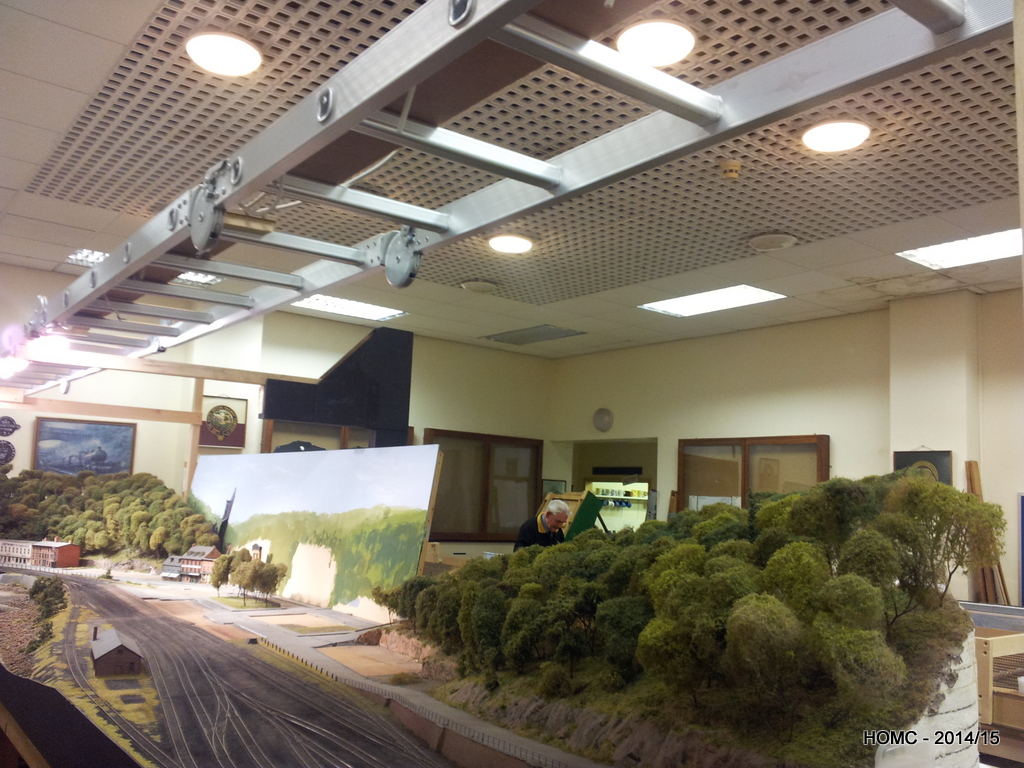
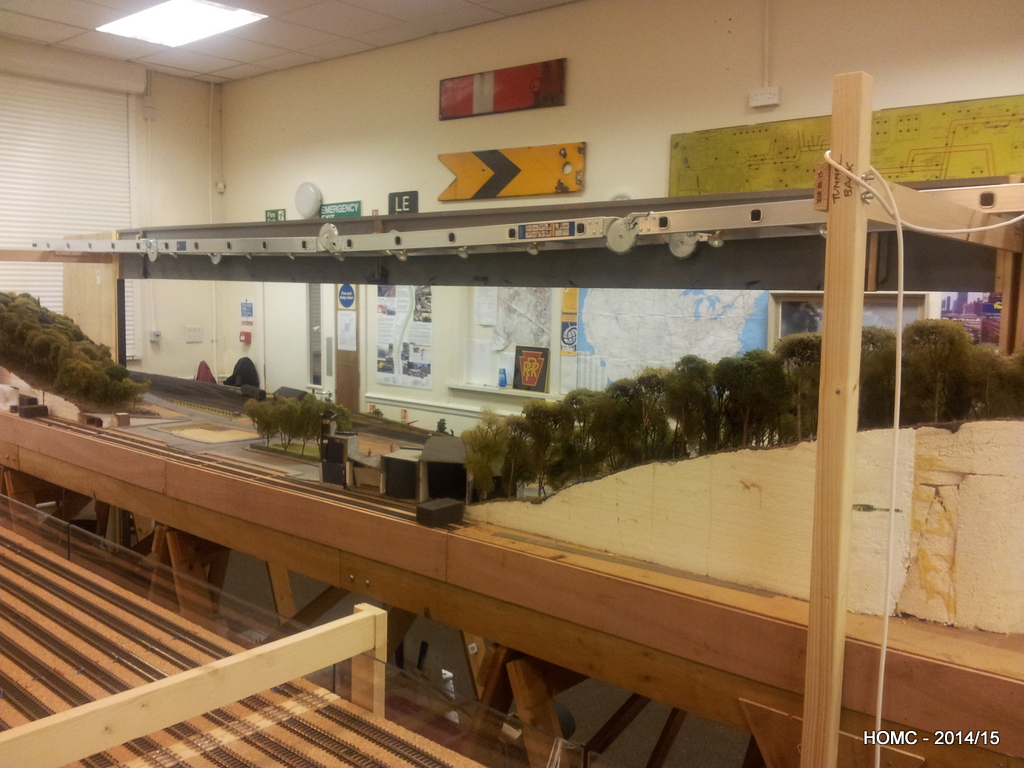
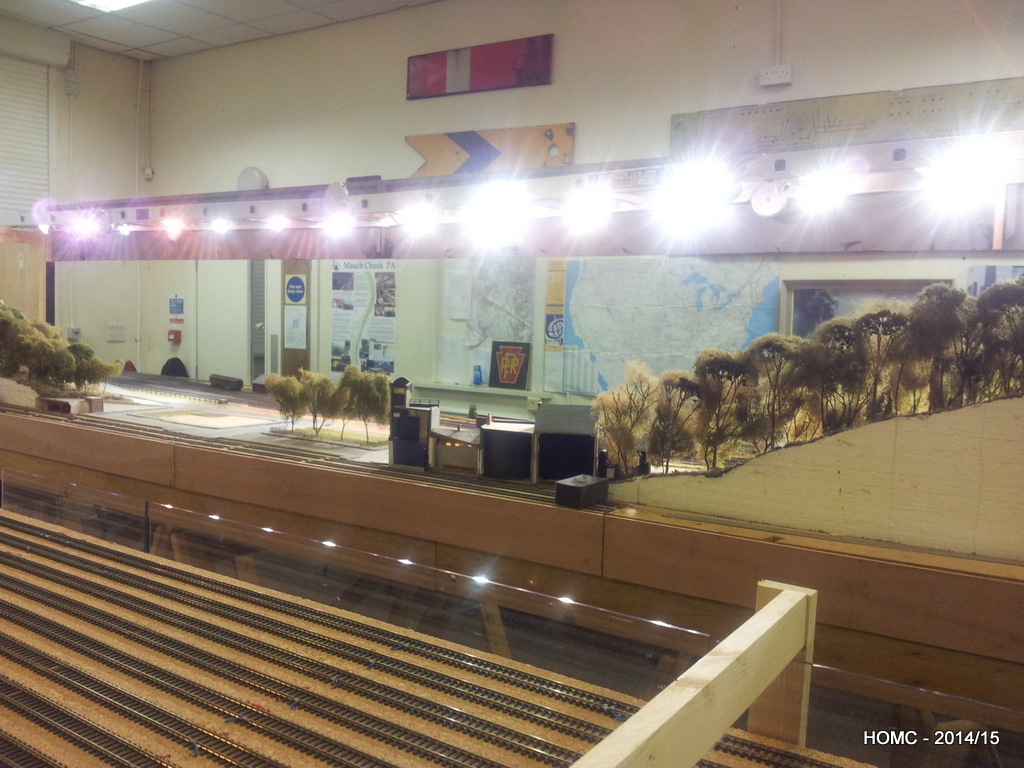
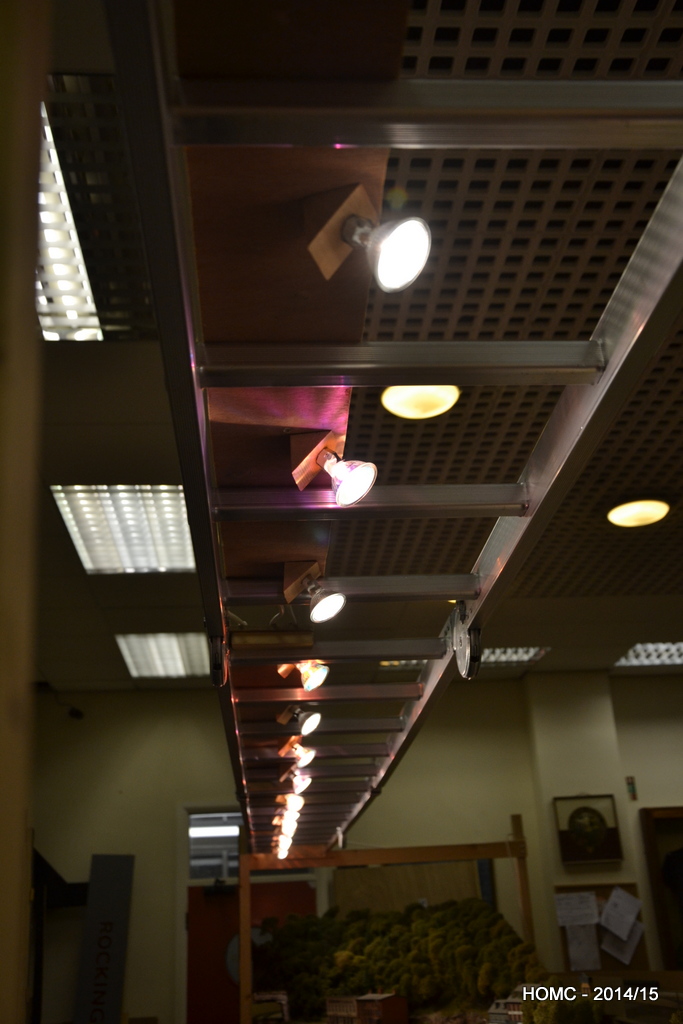
Everything working on the boards, we then moved on to the lighting and the gantry. After seeing a layout at the Mickleover (Derby) club using an aluminium folding ladder to support the lighting, we managed to purchase a 20ft ladder that would work for us. Although it was not completely level when supported at only the ends, it was rigid and so the slight central dip could be accommodated when mounting the fascia boards.
Lights are DC (12v) halogen, wide angle floods of 20, 35 and 50 watts. We attached these to the bottom of strips of plywood at 45 degree angles with basic lampholder bases. Along the top of each board were the transformers and the wiring. The plywood simply rests on top of the ladders and the fascia hangs off the front. A simple H frame at each end supports the ladder.
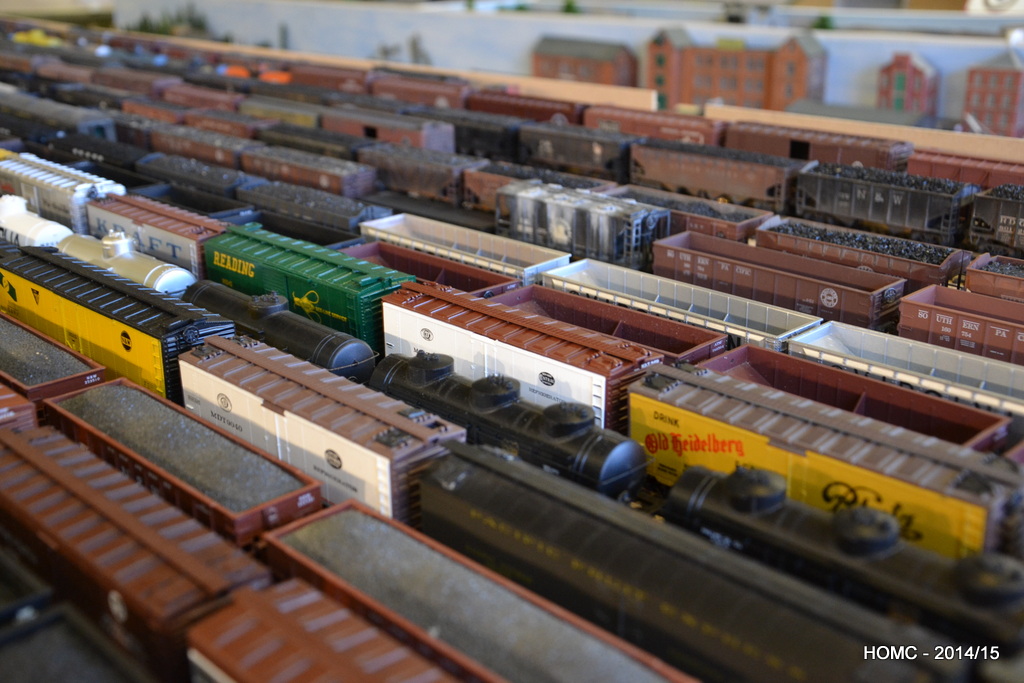
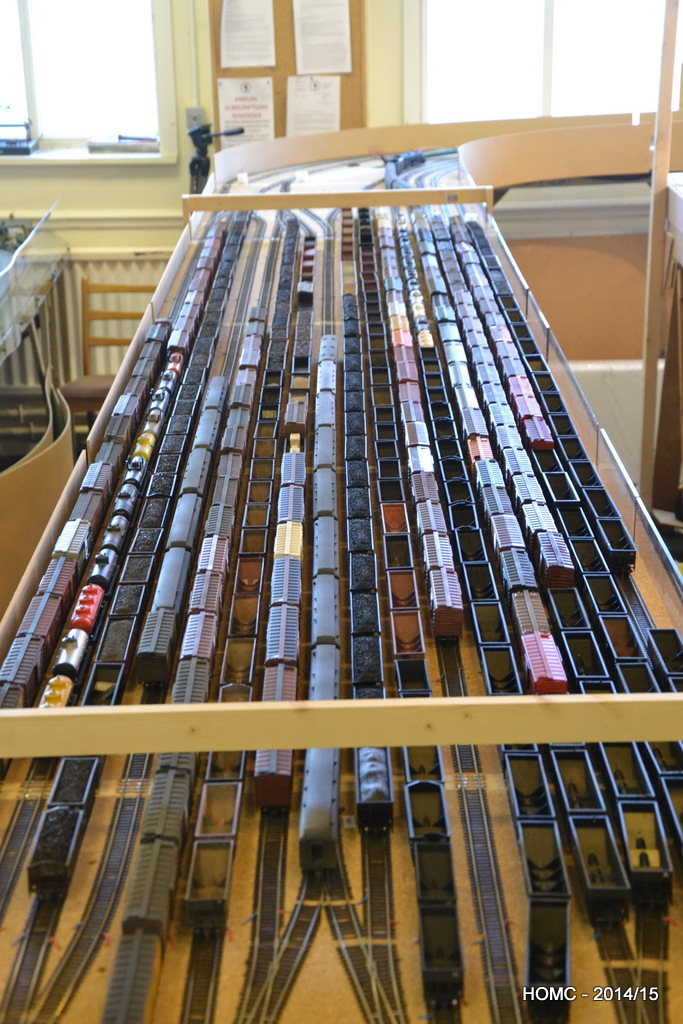
All this work completed, we decided to put our stock out on the staging yard and were quite shocked by how much we had – especially as most of our locos can’t pull such long trains. Still quite a lot of weathering, re-wheeling and Kadee-ing to be done though!
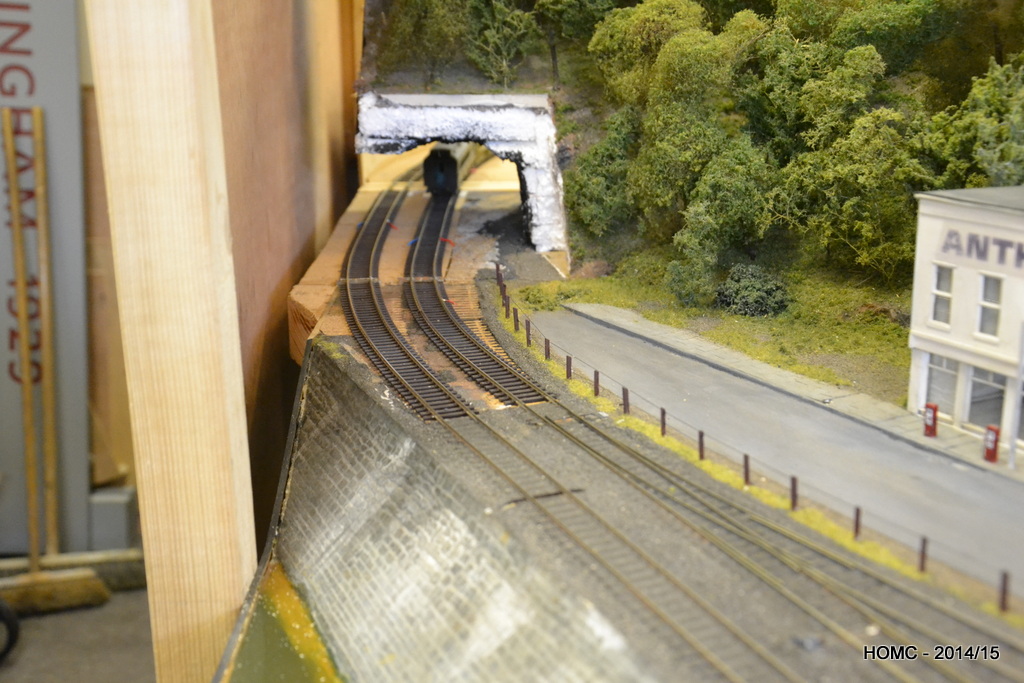
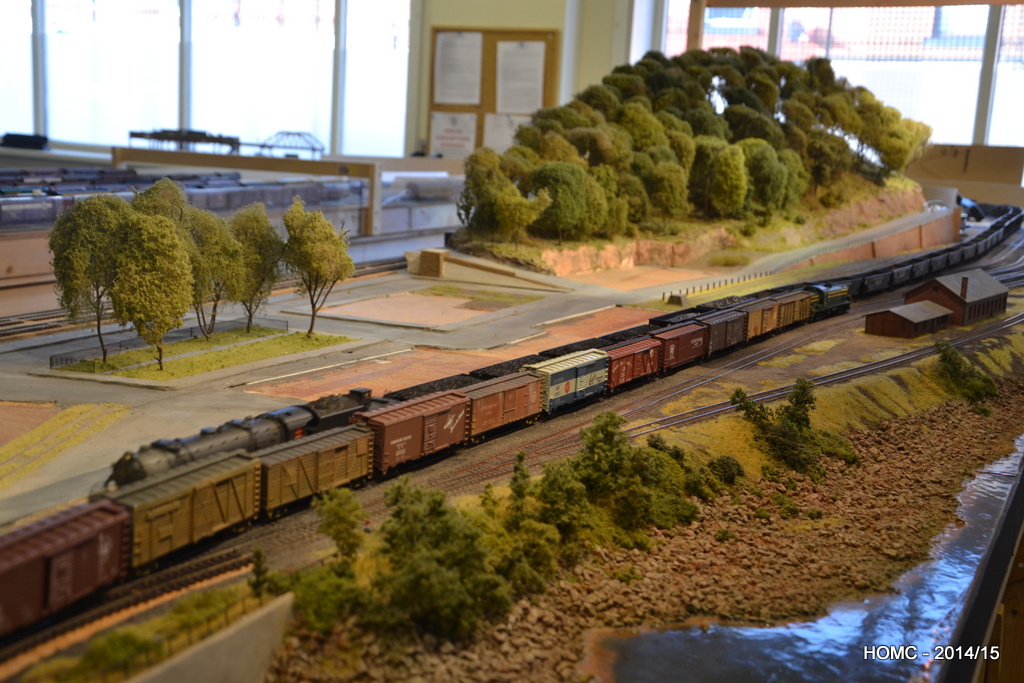
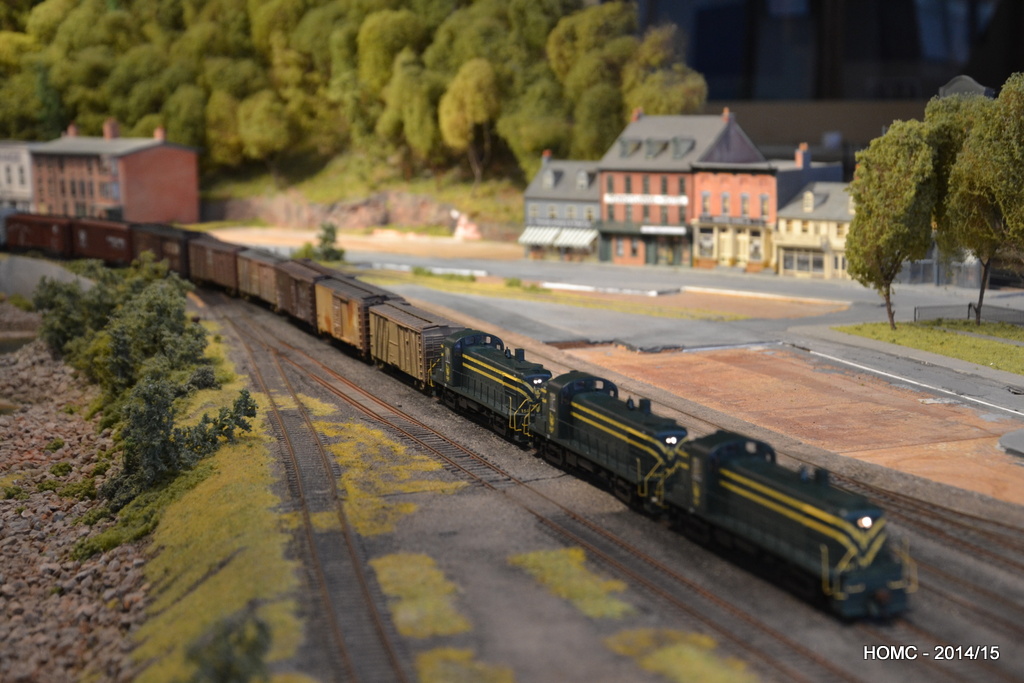
Finally a shot showing a consist of new (as yet undetailed) Athearn RS3s and then one with a N&W articulated interloper with a long empty coal train (note that the buildings have been removed for safe keeping). We are now moving on to add more hillside and roadway at the RH end, and then will work along adding detail to the scenery.