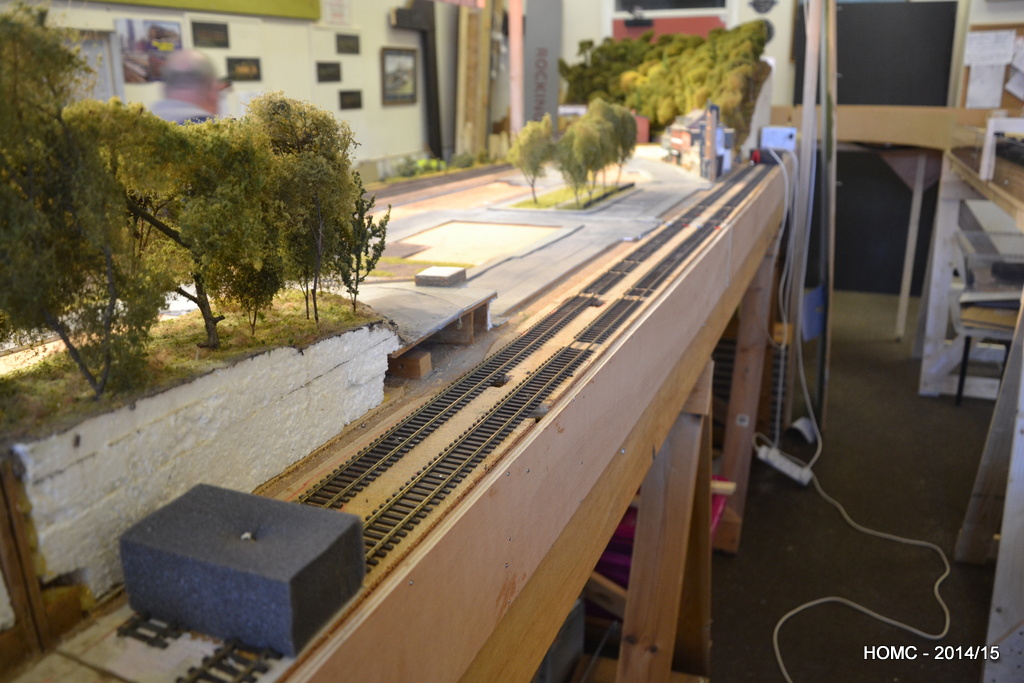
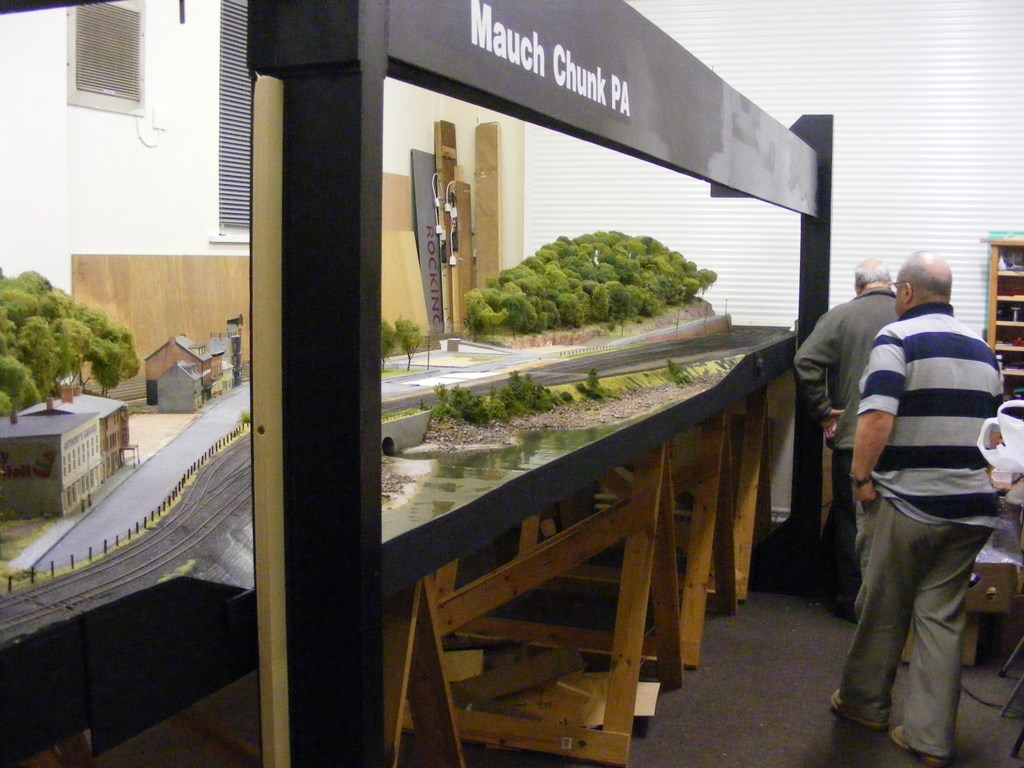
Since my last post, we’ve been storming ahead with getting Mauch Chunk ready for the CMRA show in Stevenage on January 13/14th.
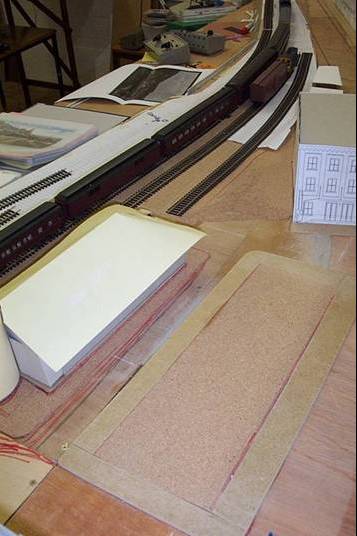
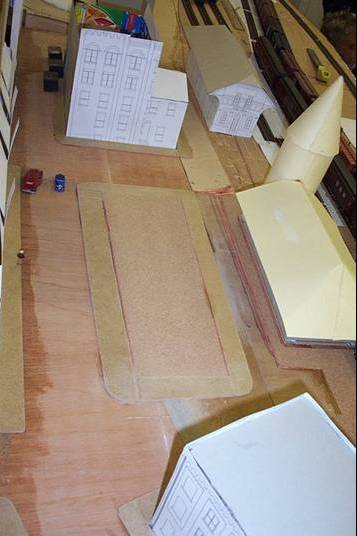
Mike has been getting stuck in with improving the scenery and has done some work on the statue of the unknown soldier, as well as starting to relay all the roadways and extend them onto the new boards.
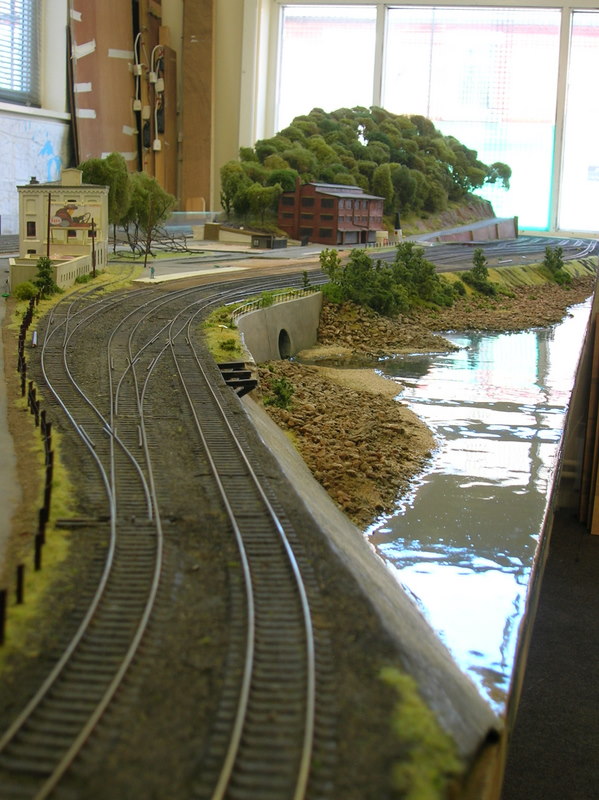
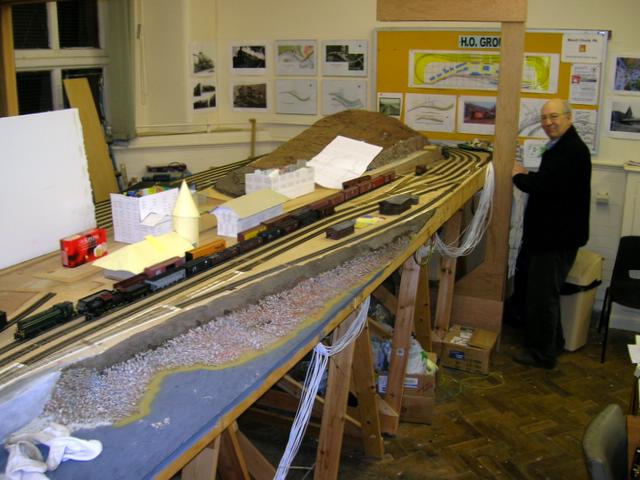
Steve has been continuing to work on the walls – painting them – and is modifying the ‘river’ bridge extending it to cross the new, increased track witdth.
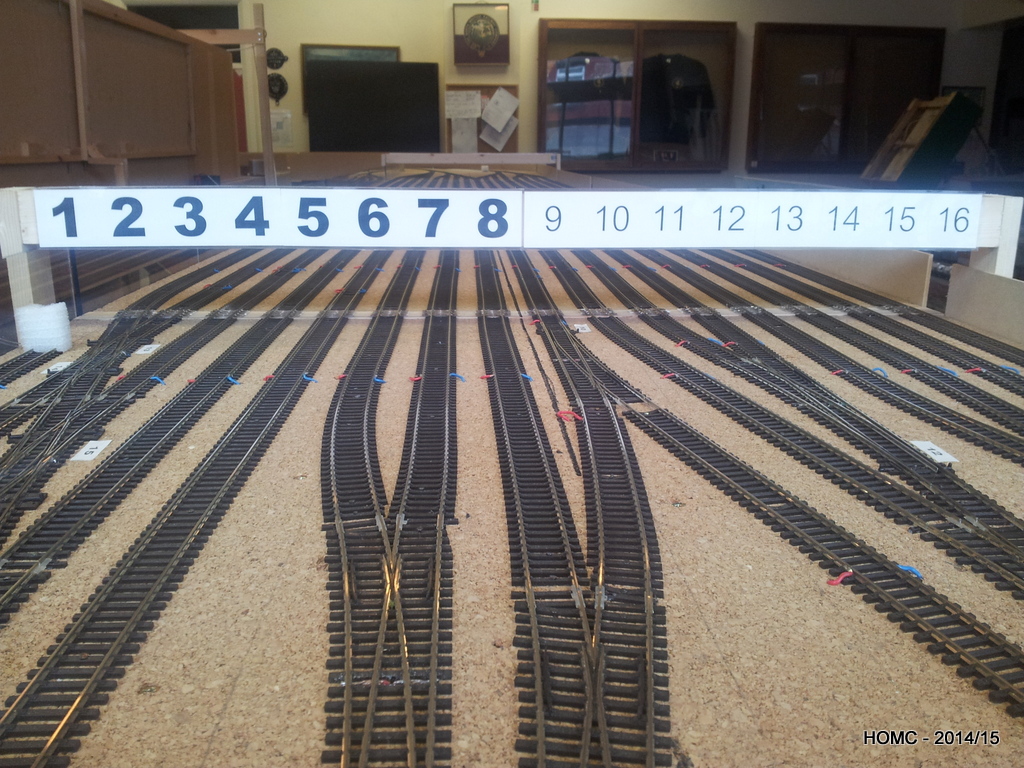
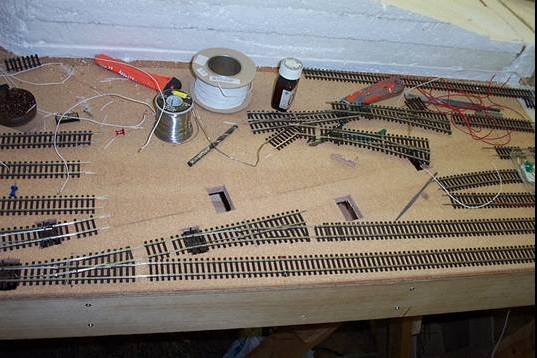
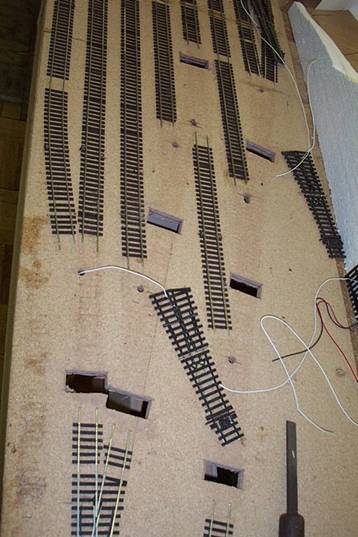
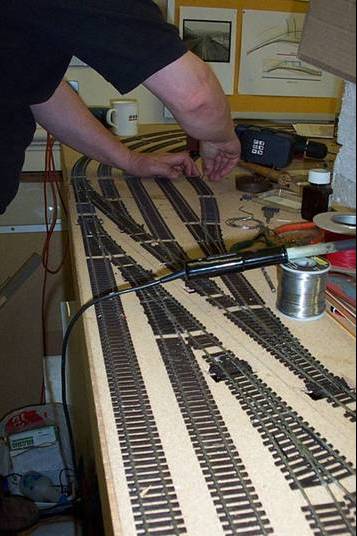
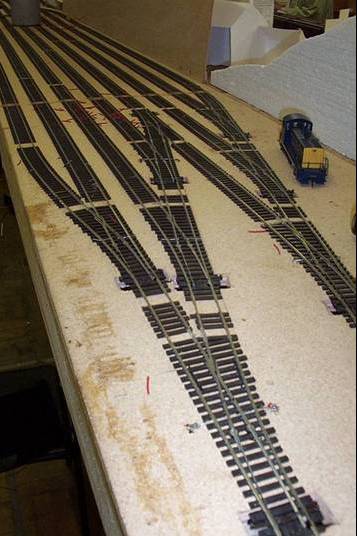
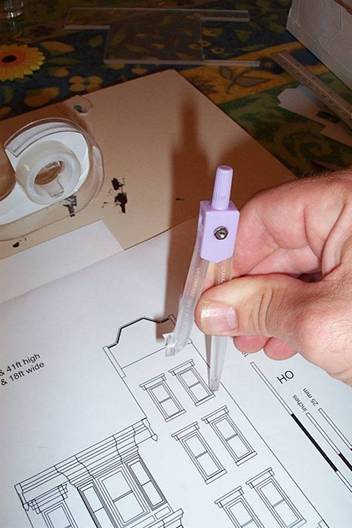
Richard has been measuring up and re-templotting much of the pointwork and is now building a full replacement set to ensure flawless running. Some or all of this will be relaid before CMRA depending on time available.
Gavin has started to build new backscenes to fit the new, extended scenic section, ready for Steve to paint in the early new year.
Peter, of Big Bear fame, has reworked the software for us to allow operation on 1024×768 screens which will allow us to use ex-‘Point of Sale’ touchscreens if time allows.
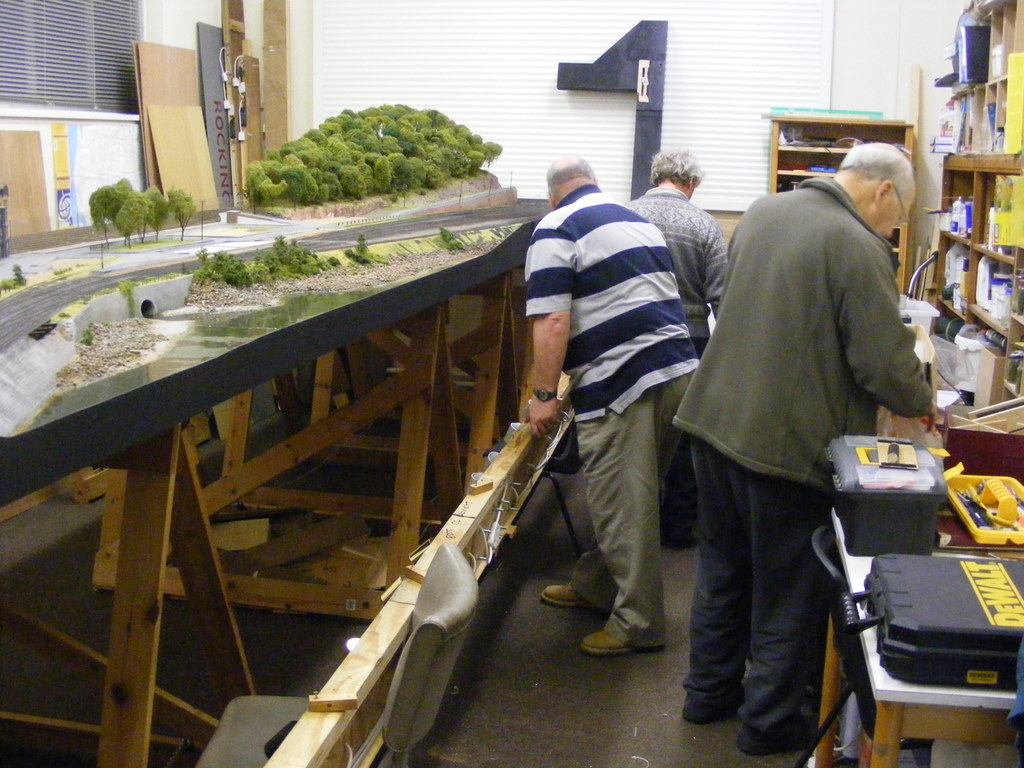
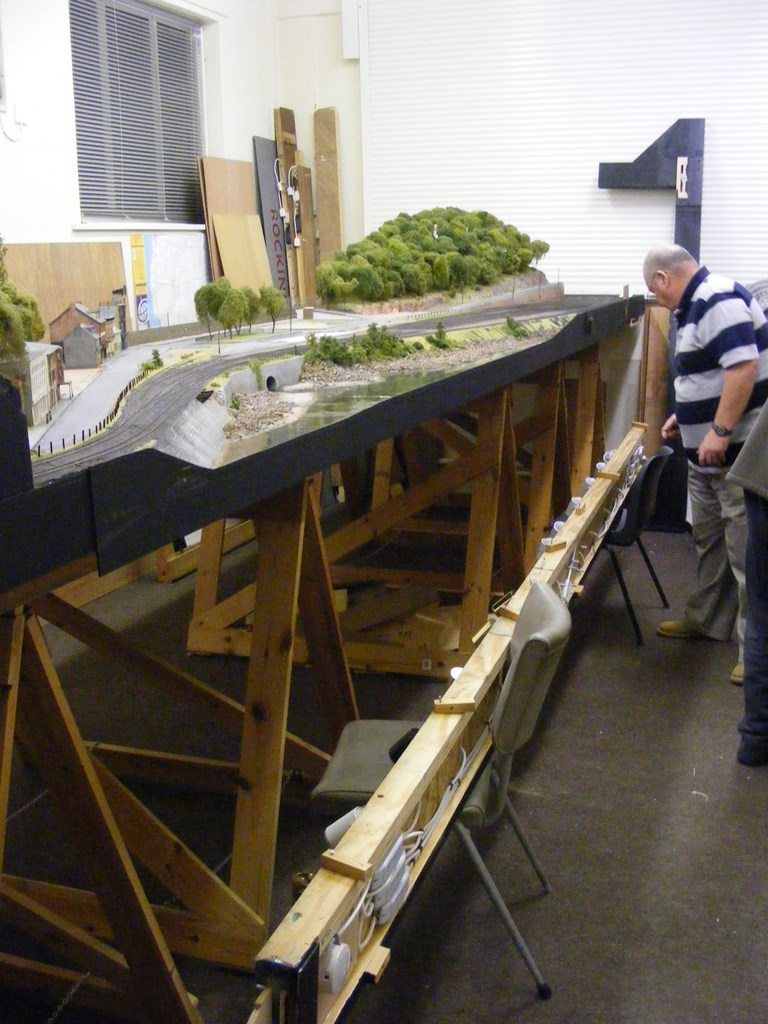
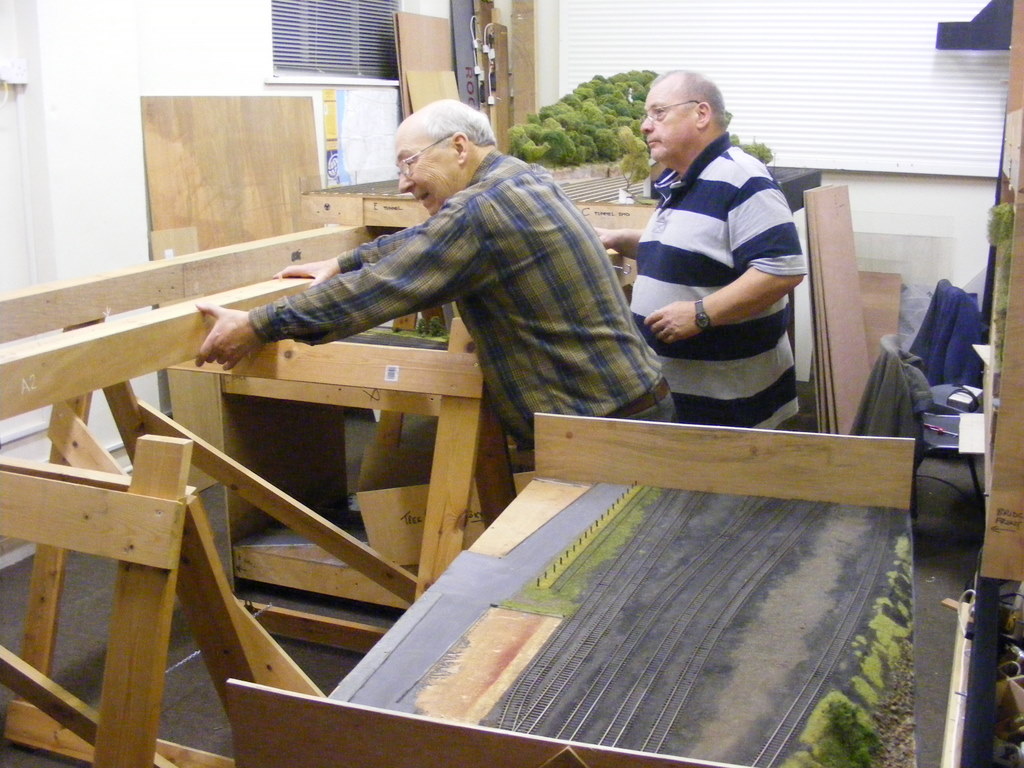
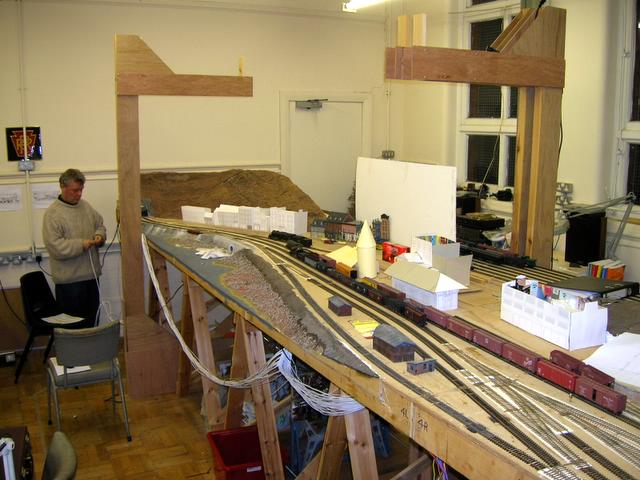
Having returned from taking Mostyn to the Great Electric Train Show at Gaydon at the start of October and stacking all the boards away, we have now re-erected (most of) Mauch Chunk.
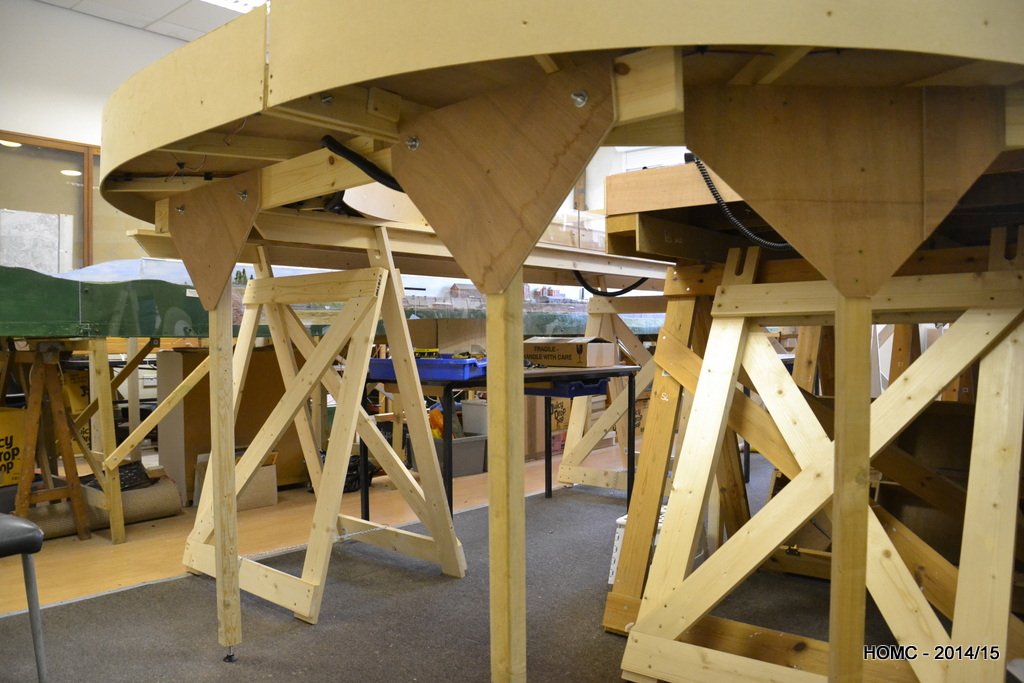
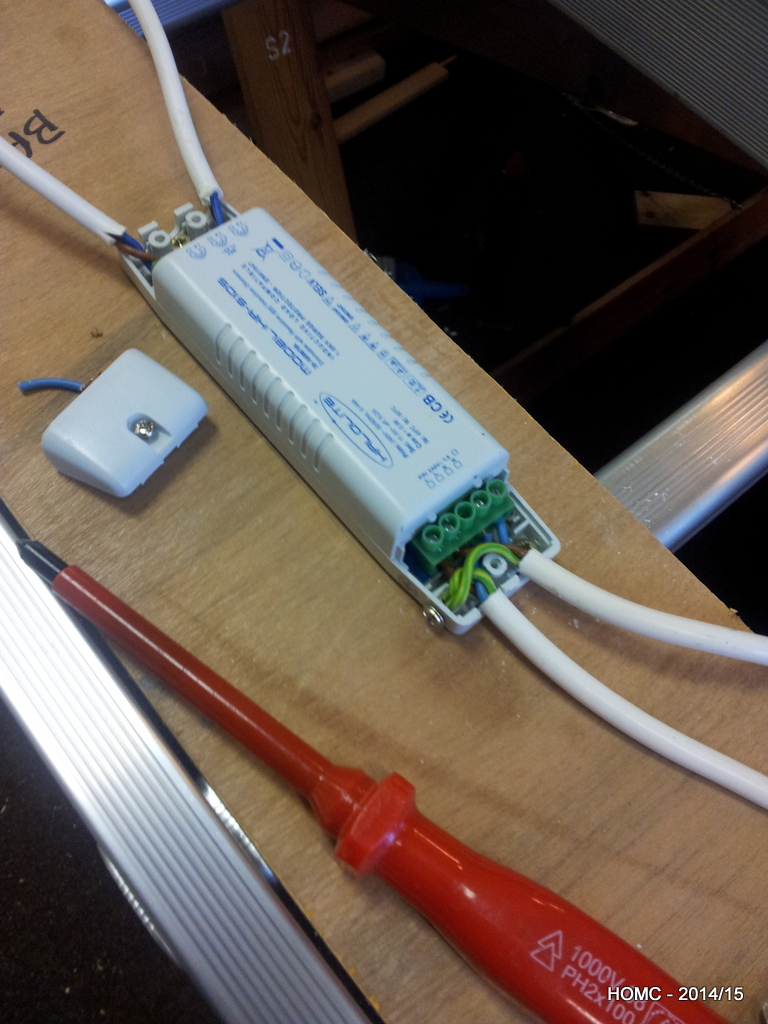
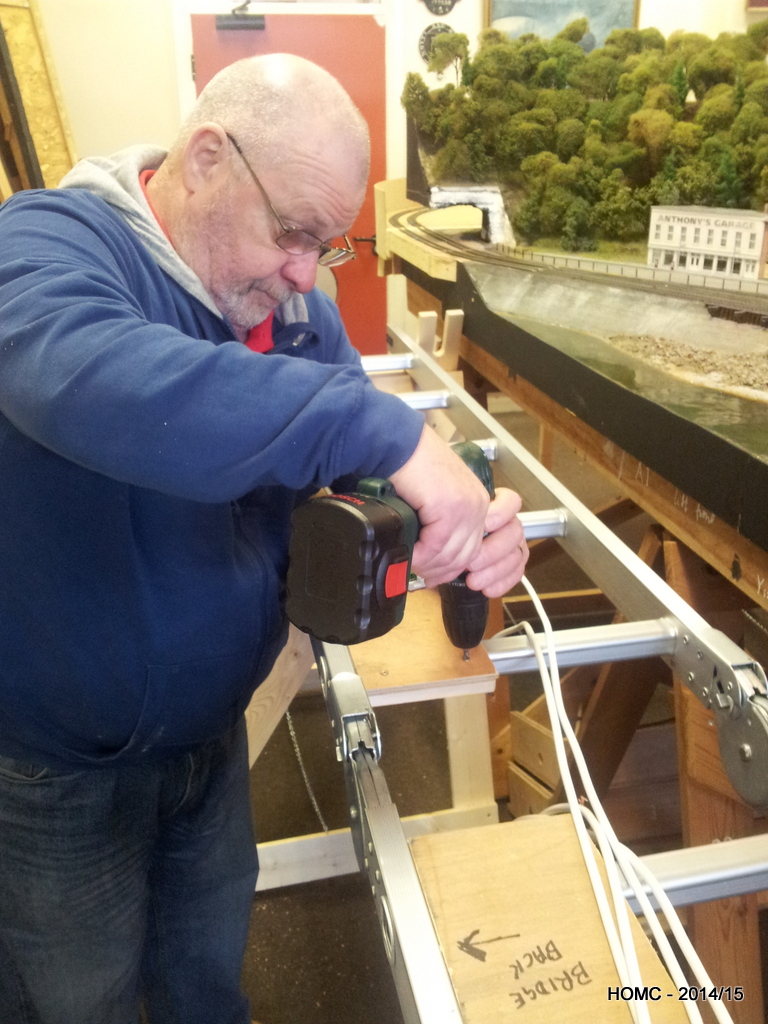
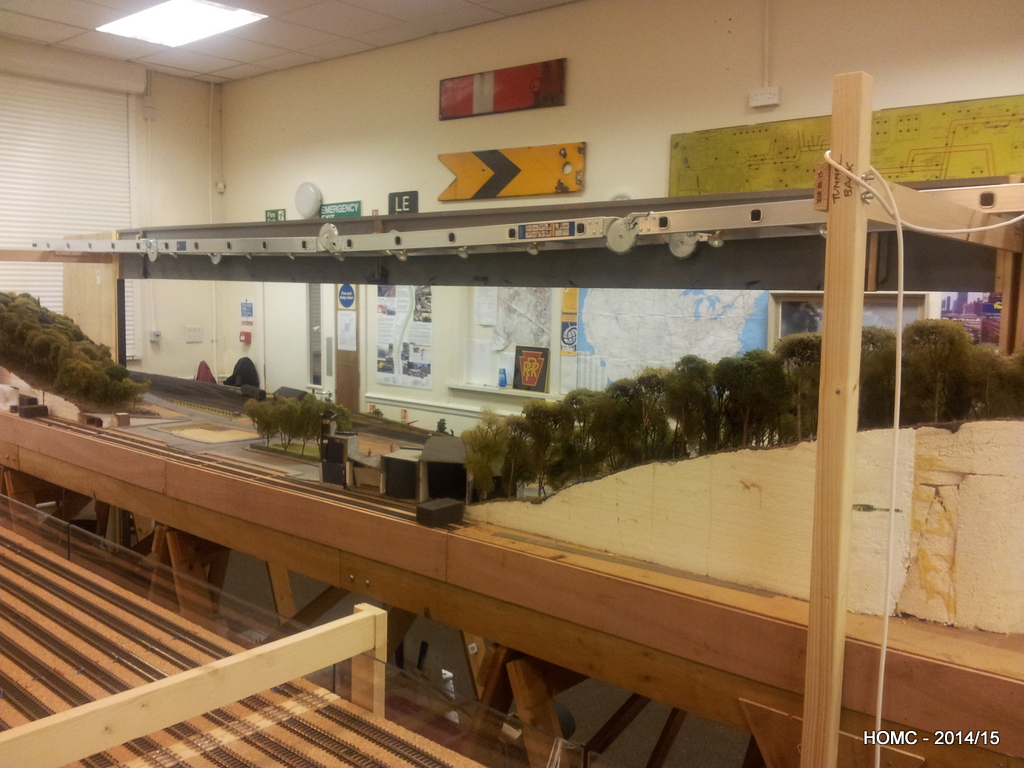
Gavin has completed the curved fascia and mounted the light sockets and connected the mains supply using Wago 3-way connectors. A single ‘Bennet’ upright is enough to support it with one end braced by the adjacent fascia.
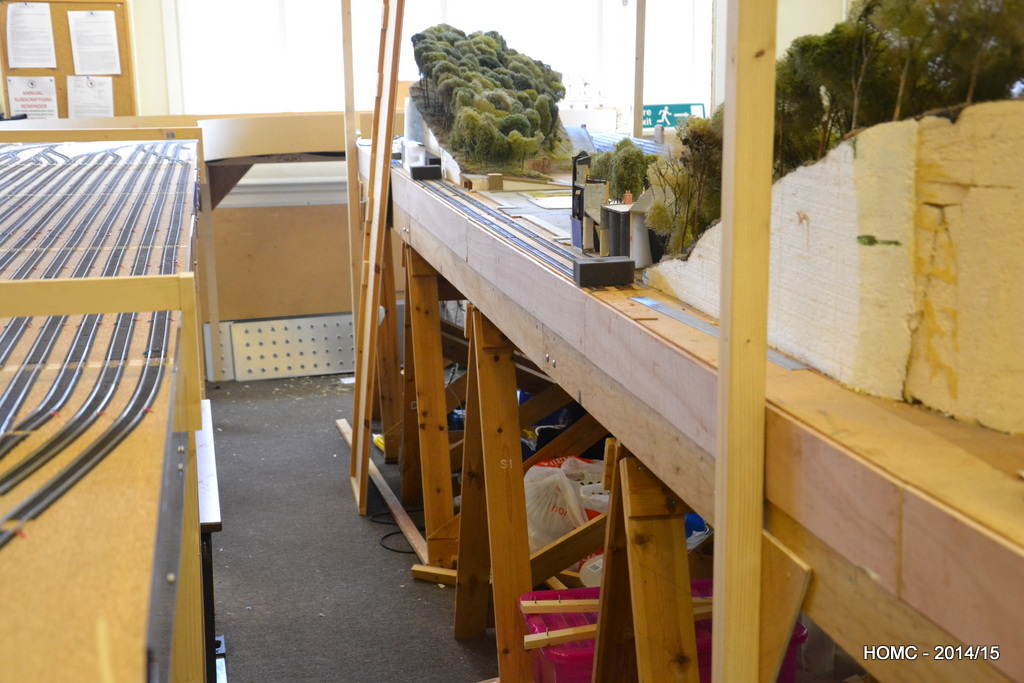
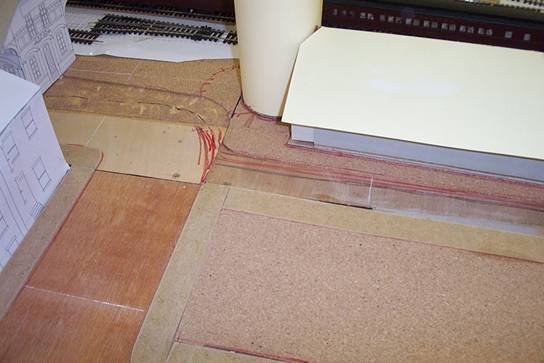
The ‘dry riverside’ on the bend has been filled and Steve has also been applying plaster and clay (DAS modelling) to the wall supports at both ends of the layout. The clay was rolled out using a mini-rolling pin. On the RH curve, the rockface was carved using photos of the prototype taken as stills from YouTube videos.
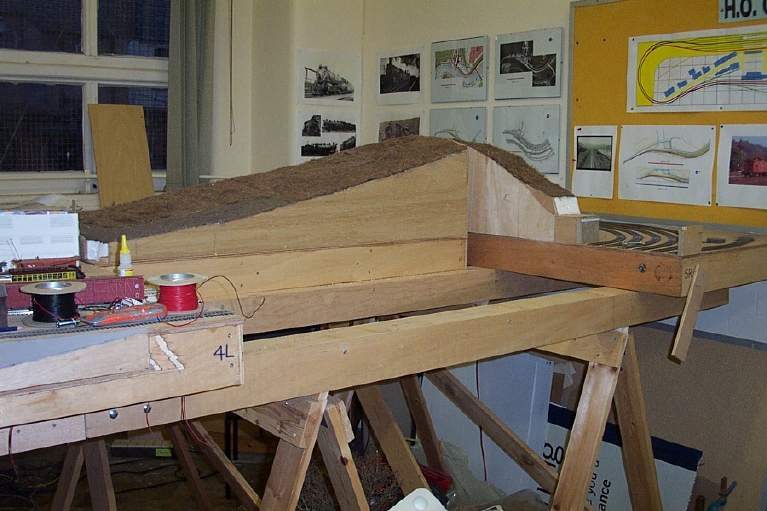
In the past month I have plodded on with the two hilsides: Photos show initially Flagstaff mountain which has been made considerably higher and four inches has also been added to the back to make full use of the boards – this widening has been done all along the layout.
After building with the polystyrene and carving, the polystyrene was covered with a plaster/PVA/paint mix. This was then further painted a brown earthy color. Finally PVA was again painted on and old-fashioned carpet underlay was glued down – and pulled off once the glue was dry to give a layer of undergrowth to go under the floc that will fall from the trees! This will be trimmed with my beard trimmer.
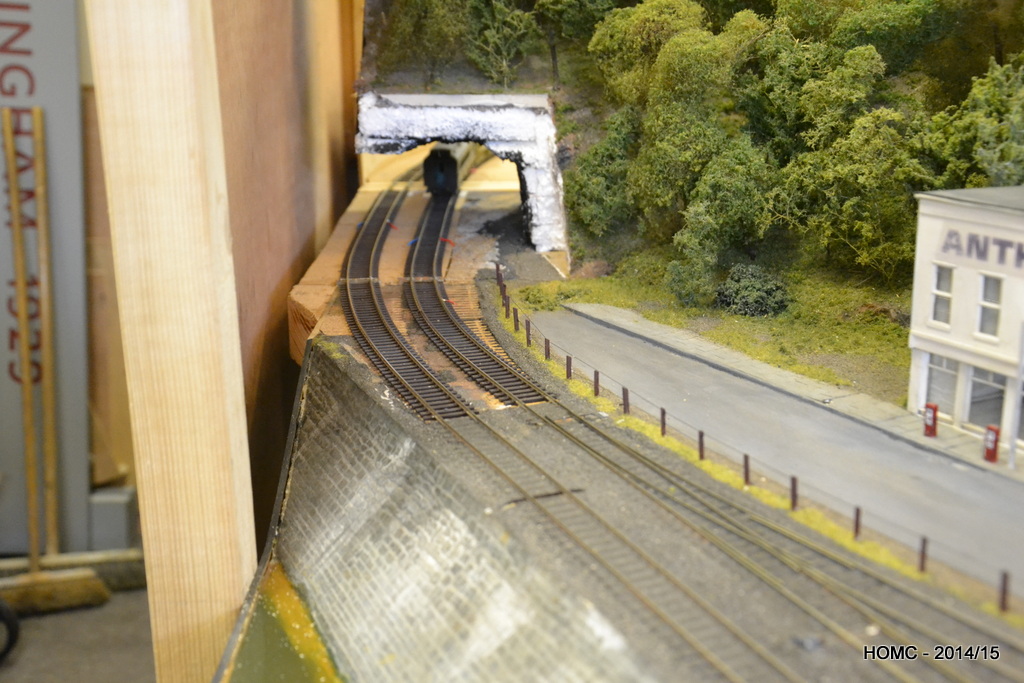
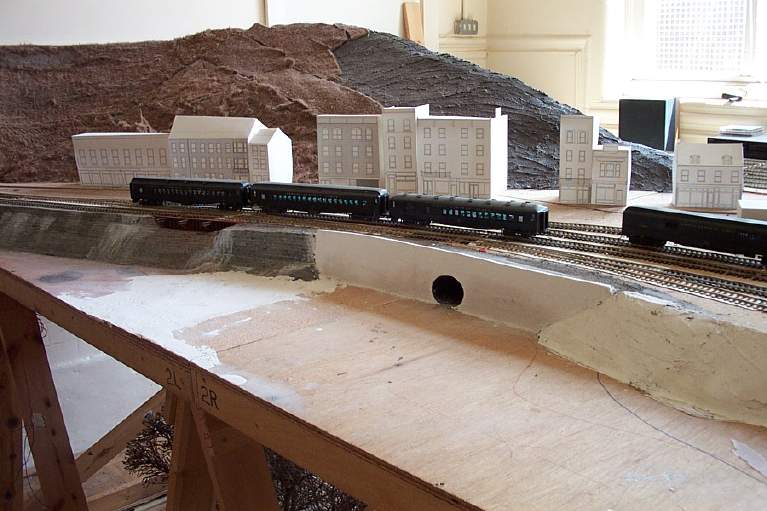
The roadways were edged with 3mm ply or a similar thickness of MDF. Both were cut with a jig saw and attached with grip adhesive and a nail gun. Note that at the RH end (Packer Hill), various indentiations were included to allow for the prototype detail. We have managed to get this detail from a couple of YouTube films taken from train trips. Wall stones and rocks will be carved out of PVA-strengthened plaster. Some rock faces have already been carved above the road and look pretty reasonable.
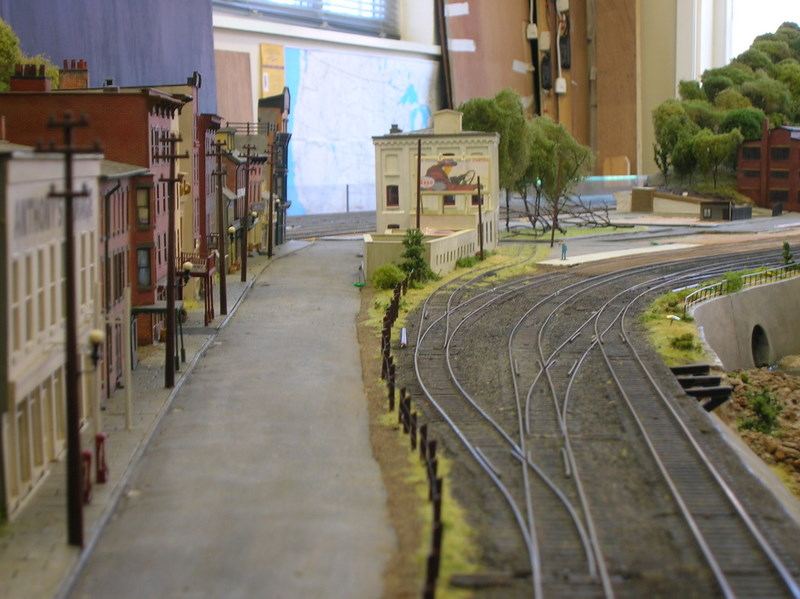
Gavin has started to cut the baseboard away to build the riverside on the curve – there will be no water as this is on the inside of a river curve – just deposited river stones.
Finally Gavin’s curved fascias can be seen under construction made up from laminations of 3mm plywood. Astonishing!
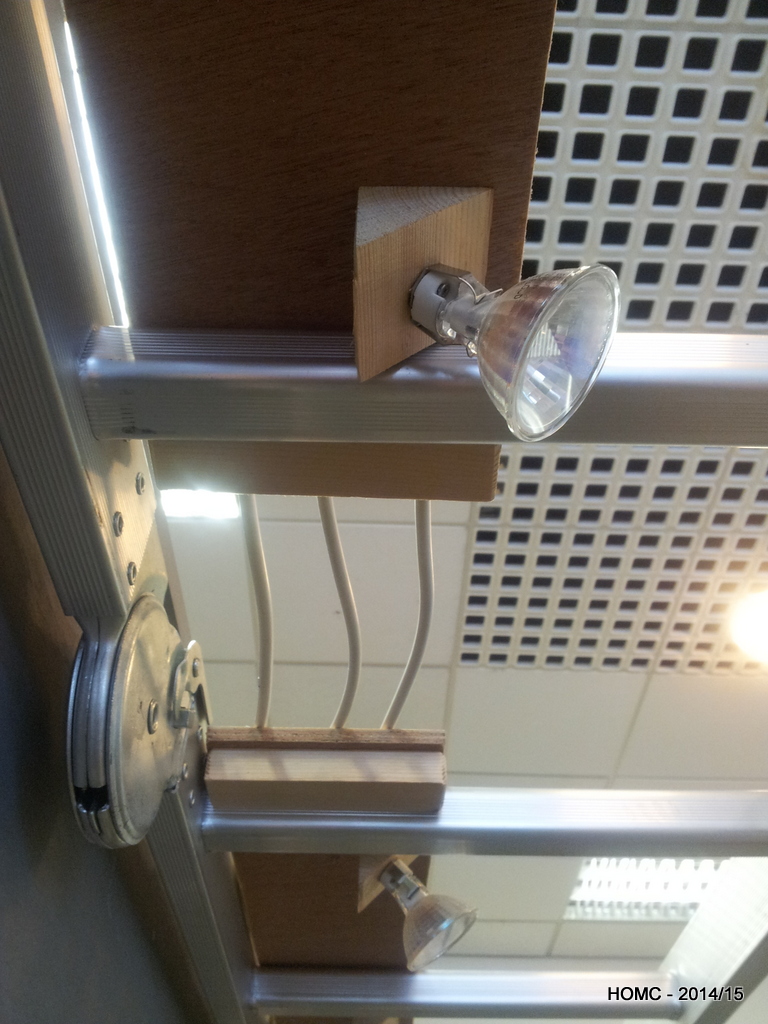
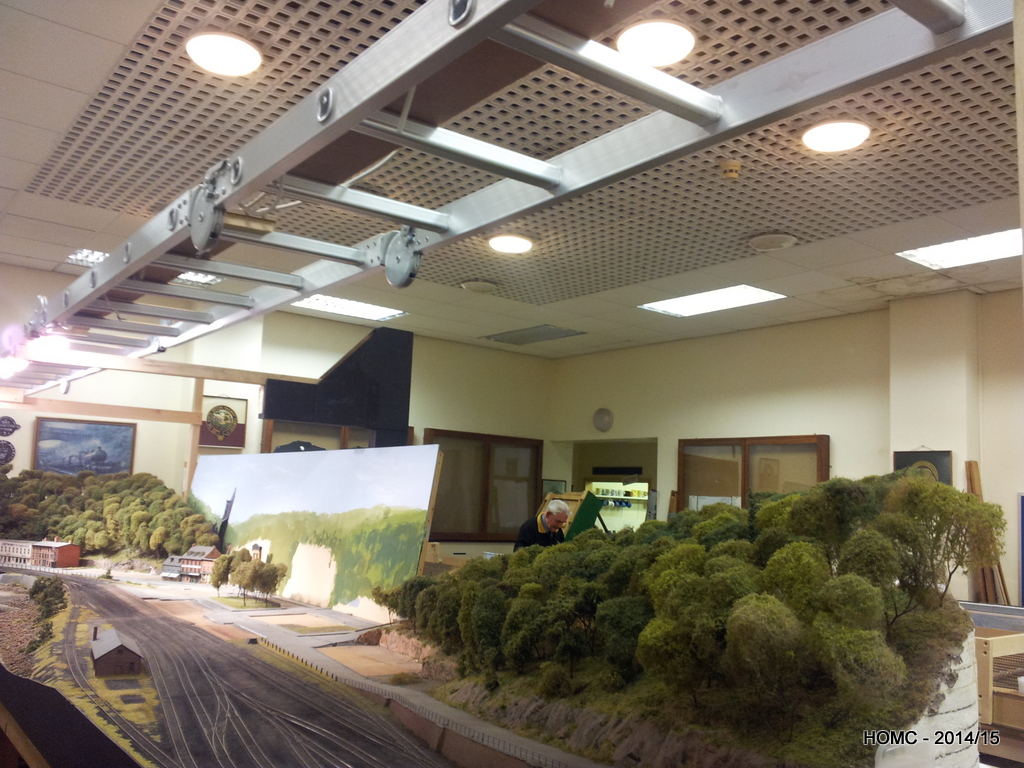
Leading up to the Barrowmore Open Day, Gavin built us some elegant and practical lighting gantries. These were based on the idea previously used on the ‘ladder-based’ gantry used for phase 2 of Mauch Chunk but Gavin has developed it to a point of brilliance.
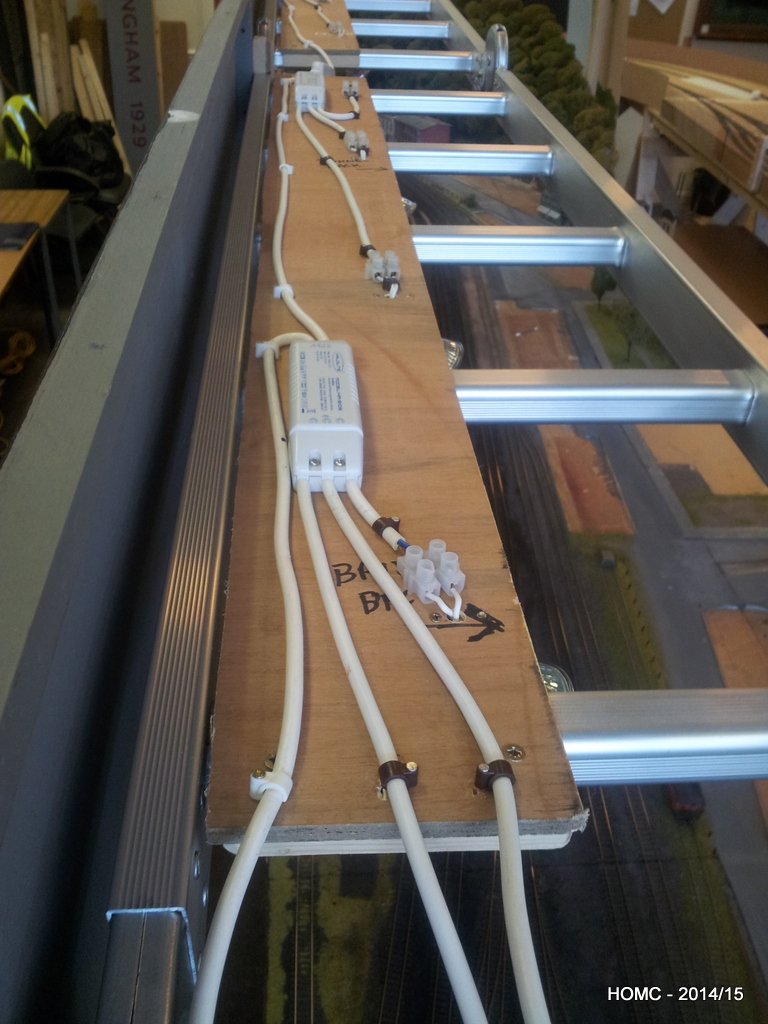
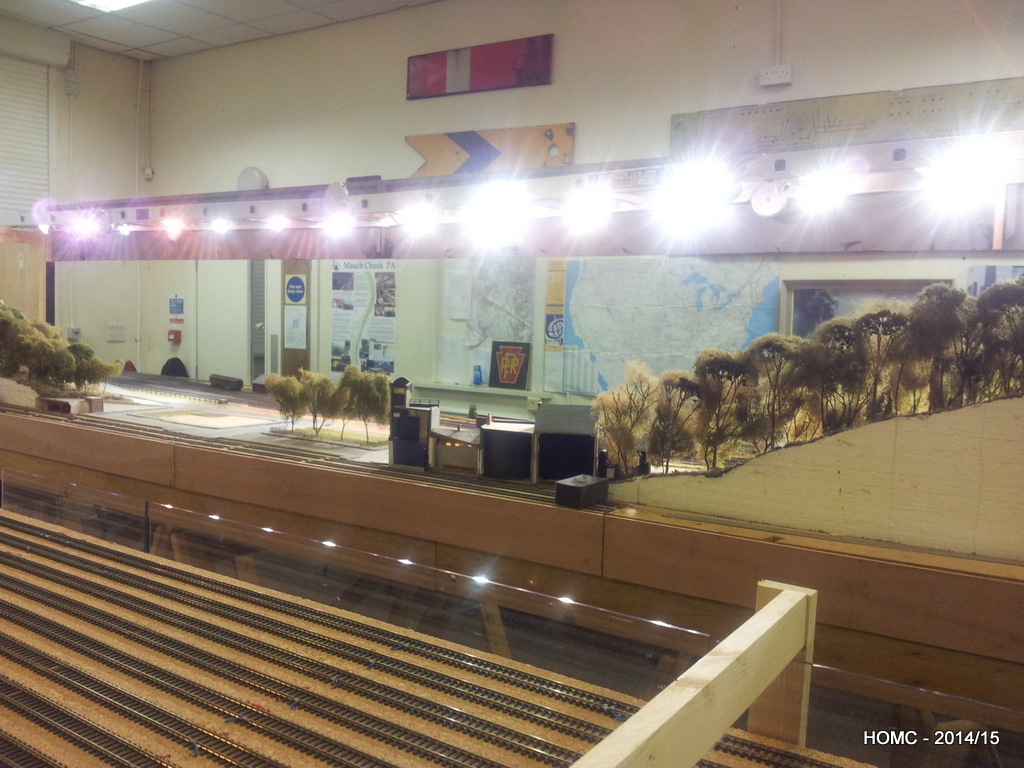
The main factor in this was the use of spot bulbs mounted in ‘naked’ GU10 lampholders. This time we have used mains power, 5W, 420 lumen LED spotlights with 120 degree coverage. We used Wago 3-position connectors for each bulb to keep the mains power safe and connected beams with ‘kettle’ type connectors.
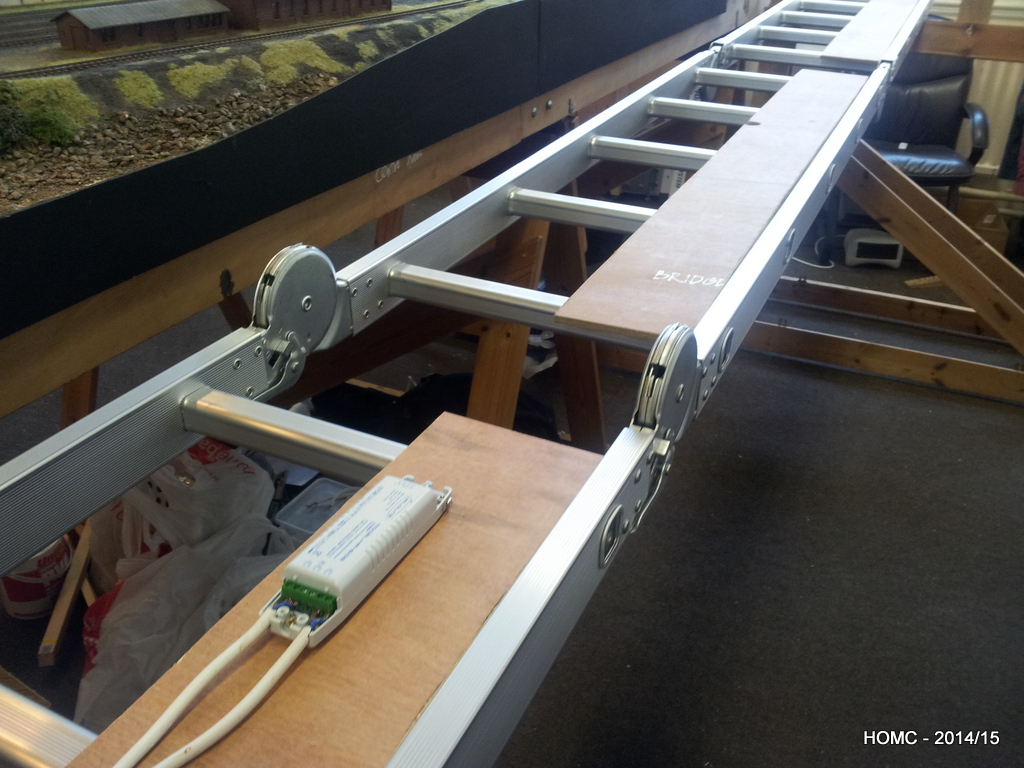
Gavin built ‘Bennet’ style gantries modified to have extra long arms and legs to go over the wide scenic boards of Mauch Chunk. The beams were also modified by extending the front edge down to use as the fascia. The arms hold the fascia about 6 inches forward of the baseboard front and ensure that the whole of the scenic area is illuminated.
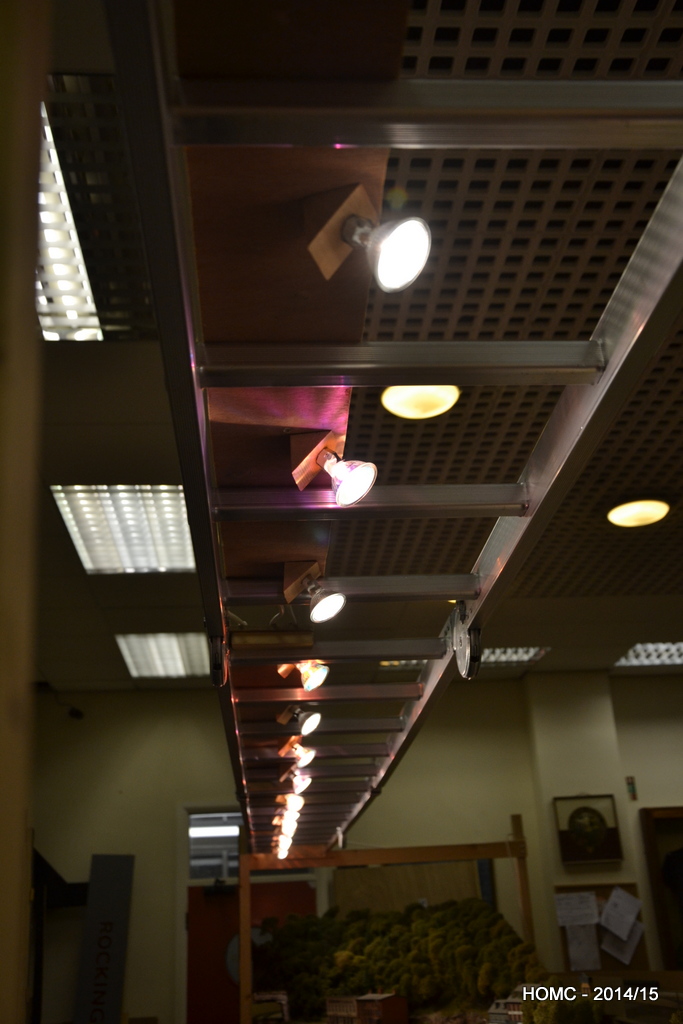
Large holes were drilled in the back face of the beams every foot to hold the LED bulbs and these were angled at about 45 degrees by mounting on triangular cross section wood. LED bulbs do not get hot so there is no heating of the wood.
When the bulbs are removed, the beams can be stored together for transit.
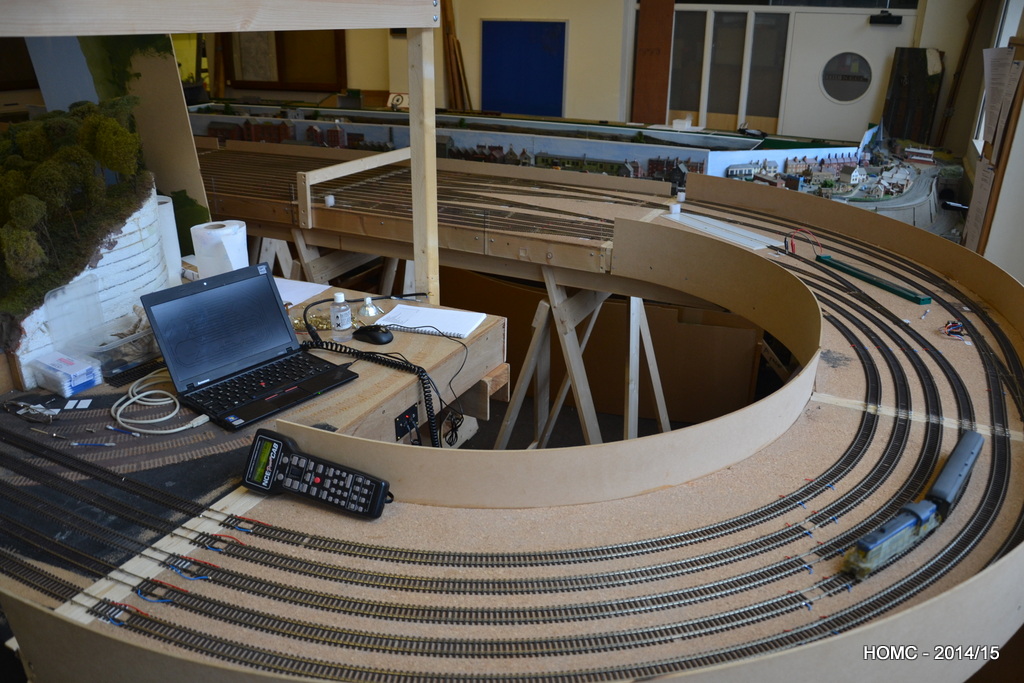
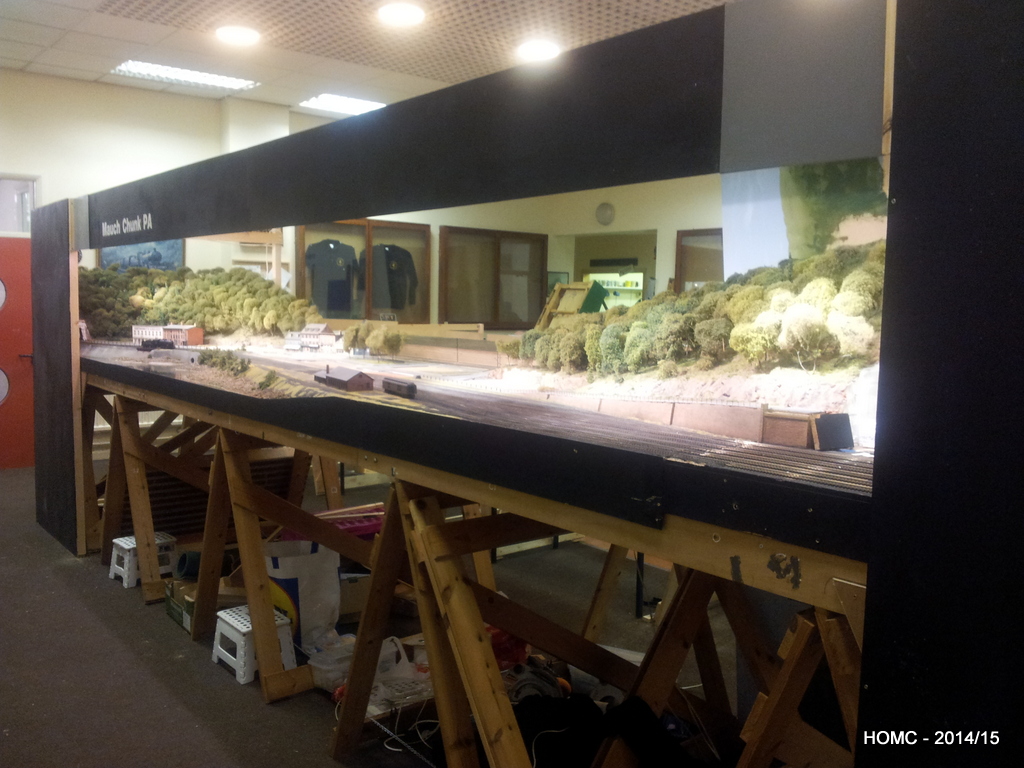
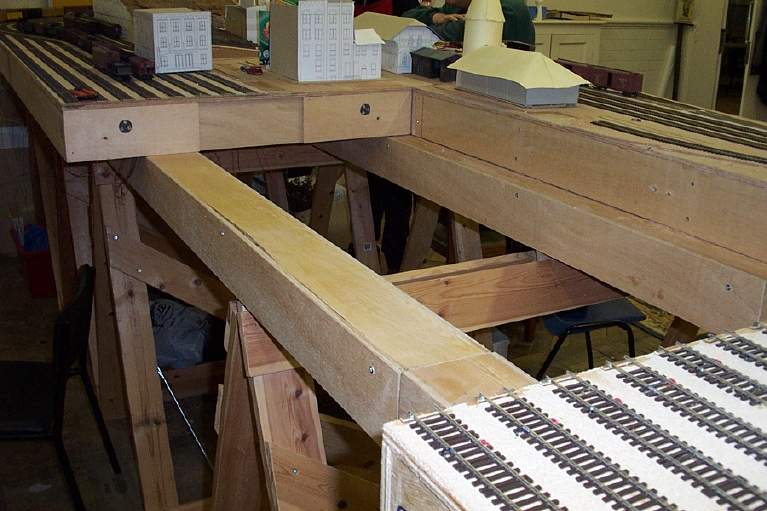
We’ve carried on working hard since last November and have pretty much completed all the baseboard work now. It’s not shown in any detail, but we cut the old staging yard off the back of the main baseboards, leaving just two tracks, which are for testing and programming – one will be DC. A 1ft strip was also removed from the left hand (tunnel) end to give a total modelled board length of 20ft to match the staging yard.
The cutting was done with a rotary saw and finished with a hand saw. The edges were then faced with fresh plywood, suitable braced, glued and screwed. To finish this part of the reconstruction the remnant rear main boards (now about 4ft x 1ft6in) were permanently attached to the front main boards (the original 4ft x 2ft6in) using PVA glue and screws through the bracing points. This means that we have four boards 4ft square and two narrow end boards – one 4ft x 1ft6in and one 4ft x 2ft6in – slightly awkward but – hey!
The photos show the new centre well that this configuration gives us – big enough for even the larger of us (I won’t say who that is!) to move comfortably along, although we can’t easily pass except in the ends.
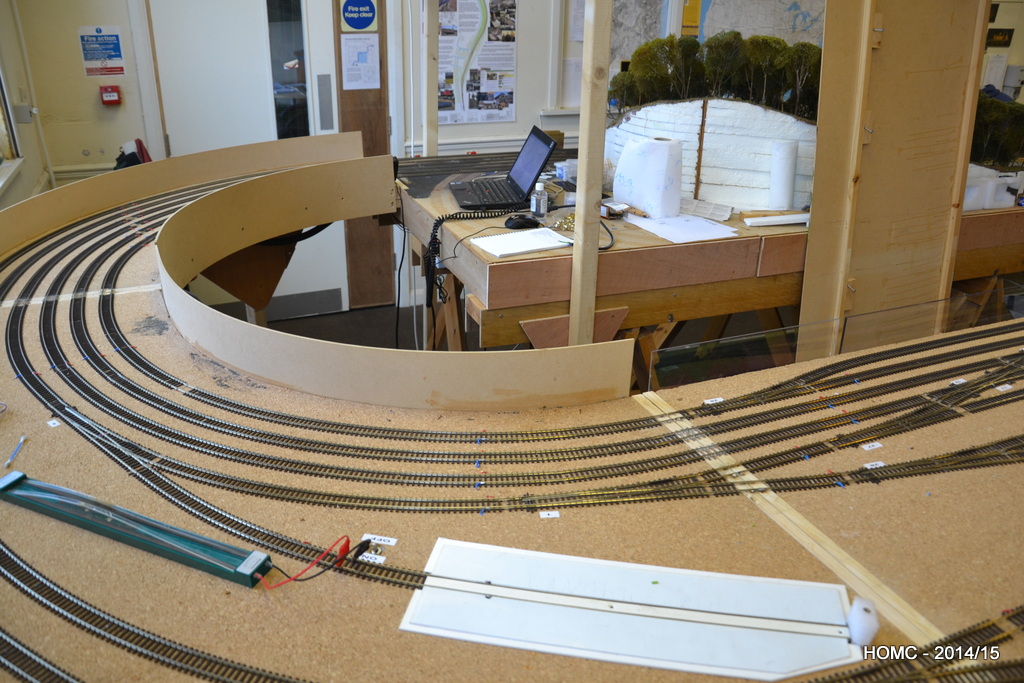
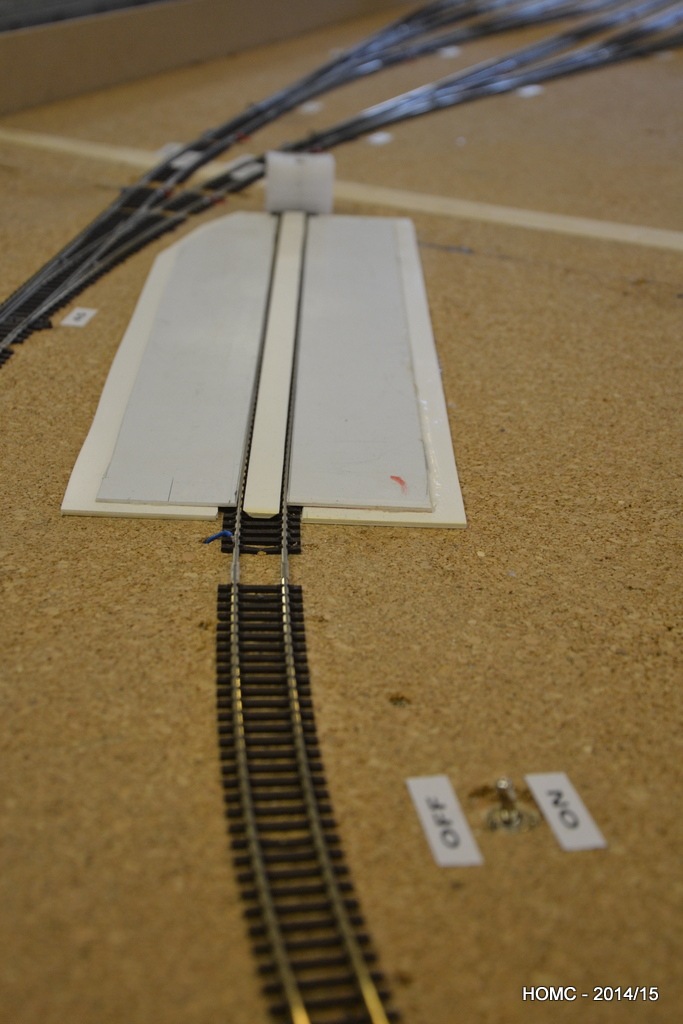
New legs were constructed for the end curves. Also shown above and below is a (re-) railing track which is switched to avoid shorts. Connecting the boards up in the final configuration meant that we could finally lay the connecting track at both ends – shown below.
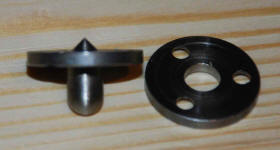
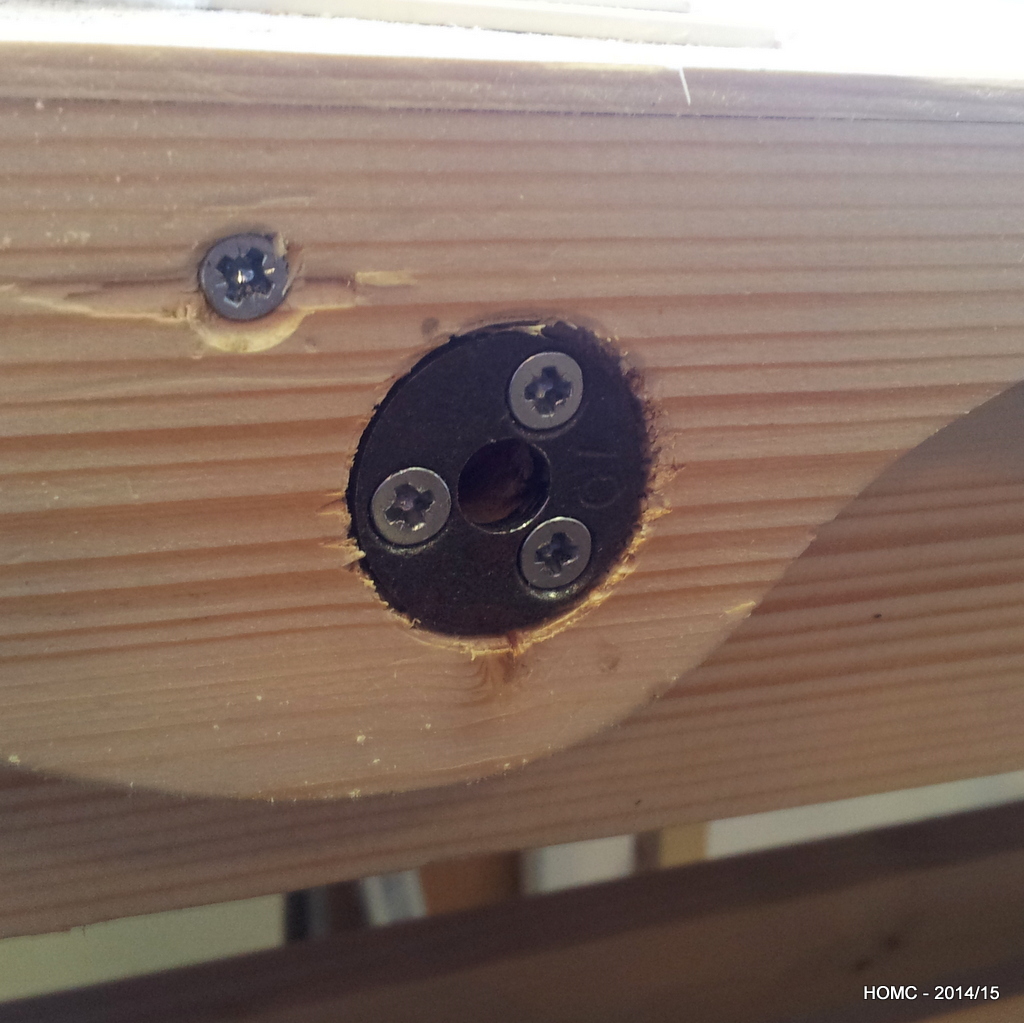
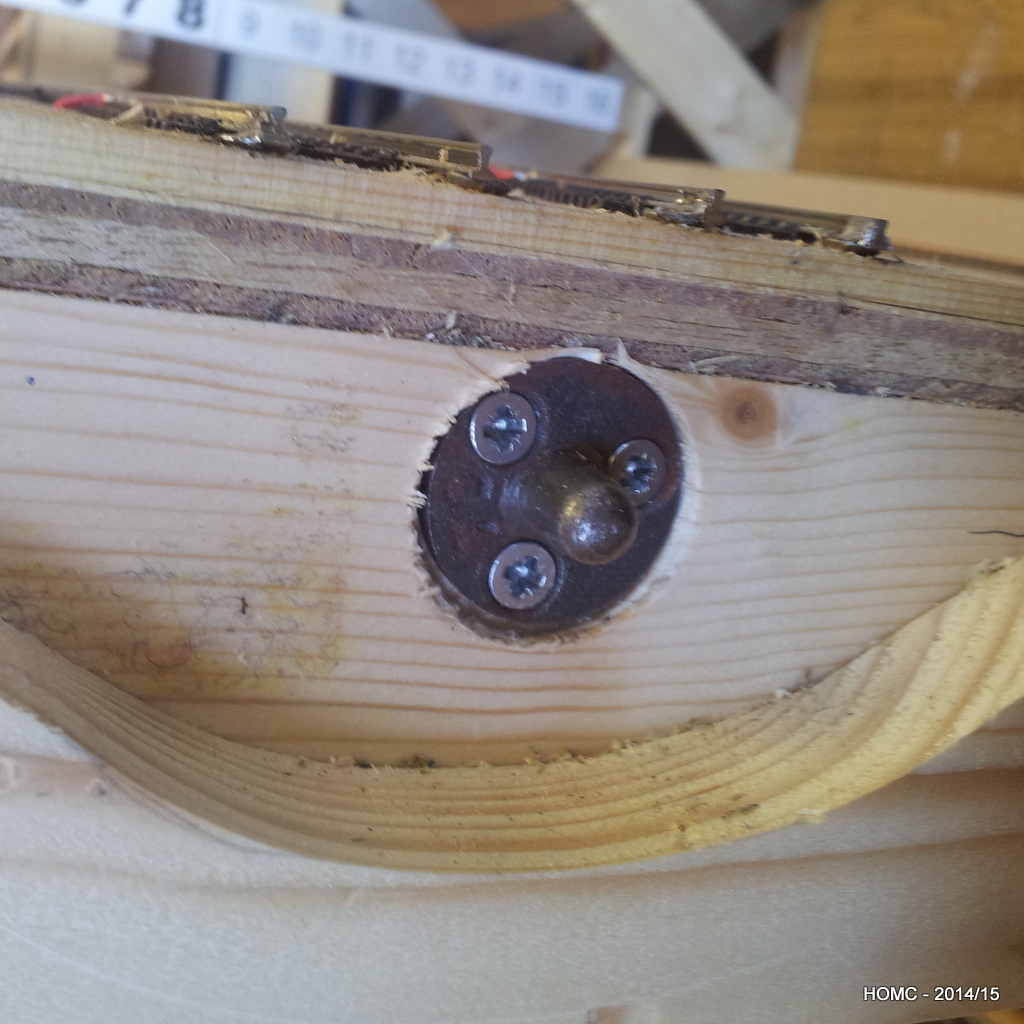
A brief diversion here into the techniques used to ensure that where the track crosses a baseboard join, the stock doesn’t derail. Portable baseboards are the norm in the UK and so this is a major problem. Critical to ensuring that track stays aligned is ensuring that baseboards align in the same position each time they are reattached. The best way to do this is to use board alignment dowels. The best ones have a point in the back of one side that lets you align the two sides for drilling. The second and third photos show these in our board (after the curvy edge system had failed to align the boards well enough!).
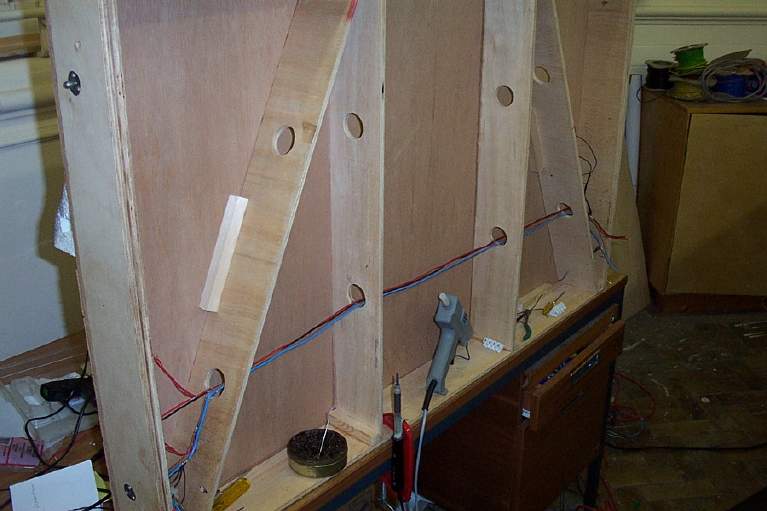
The wiring on the front had been installed many years ago, and so the switch control wiring was disconnected and then rewired to MERG DCC boards to give the same switch control system as in the staging yard. Note that the DCC switch control boards are always attached to a vertical surface to make maintenance easier. One switch on the front (on a curve) was replaces with a commercial Peco switch – which has proved better, but not perfect.
Everything working on the boards, we then moved on to the lighting and the gantry. After seeing a layout at the Mickleover (Derby) club using an aluminium folding ladder to support the lighting, we managed to purchase a 20ft ladder that would work for us. Although it was not completely level when supported at only the ends, it was rigid and so the slight central dip could be accommodated when mounting the fascia boards.
Lights are DC (12v) halogen, wide angle floods of 20, 35 and 50 watts. We attached these to the bottom of strips of plywood at 45 degree angles with basic lampholder bases. Along the top of each board were the transformers and the wiring. The plywood simply rests on top of the ladders and the fascia hangs off the front. A simple H frame at each end supports the ladder.
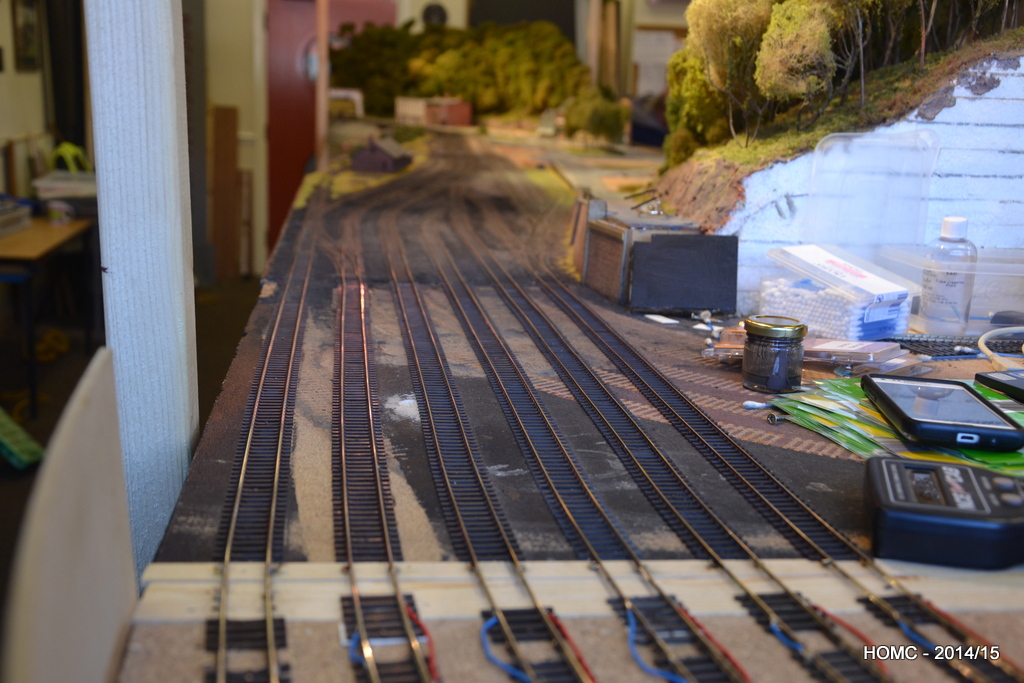
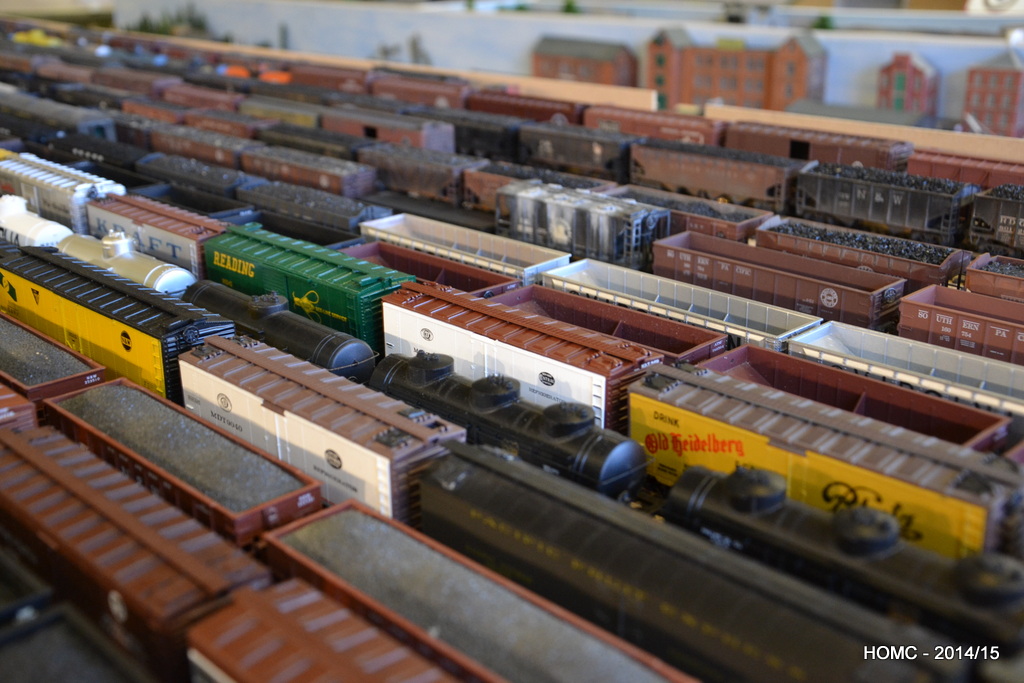
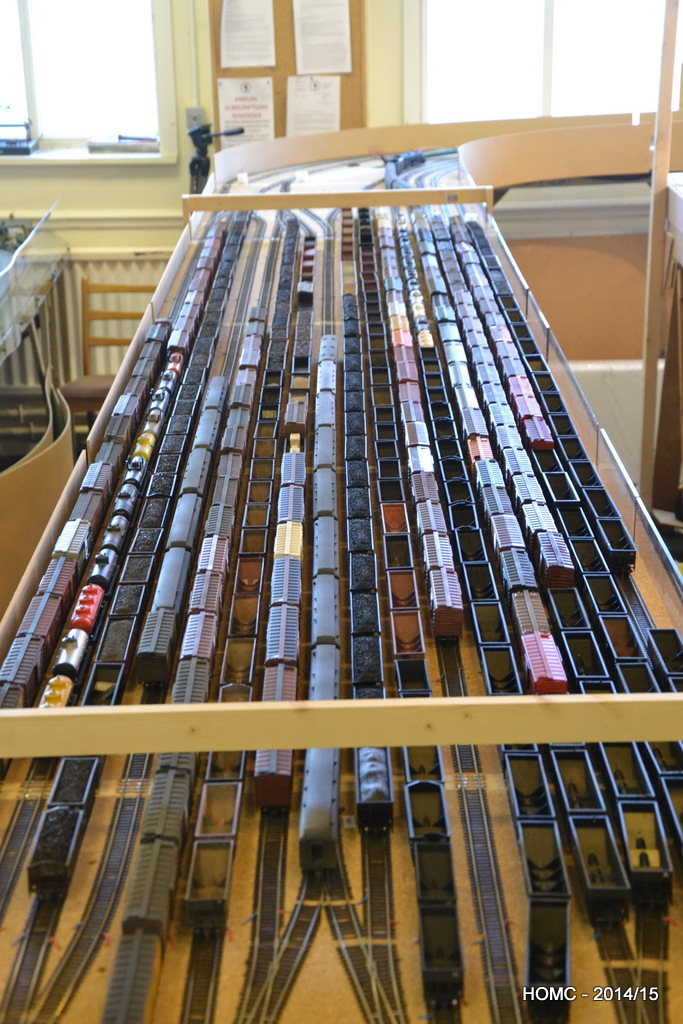
All this work completed, we decided to put our stock out on the staging yard and were quite shocked by how much we had – especially as most of our locos can’t pull such long trains. Still quite a lot of weathering, re-wheeling and Kadee-ing to be done though!
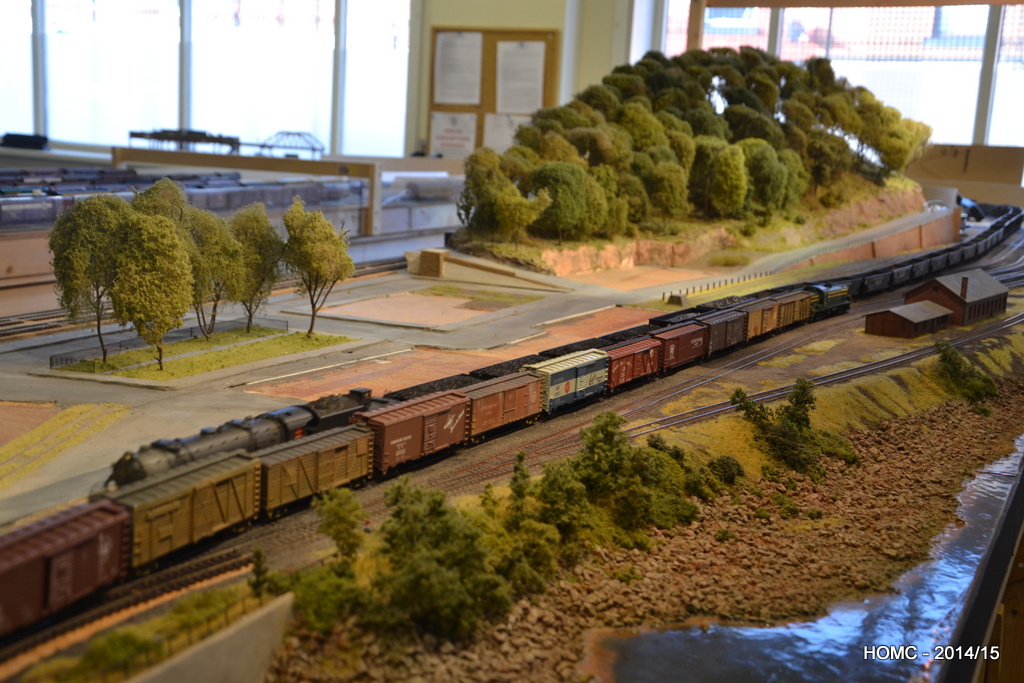
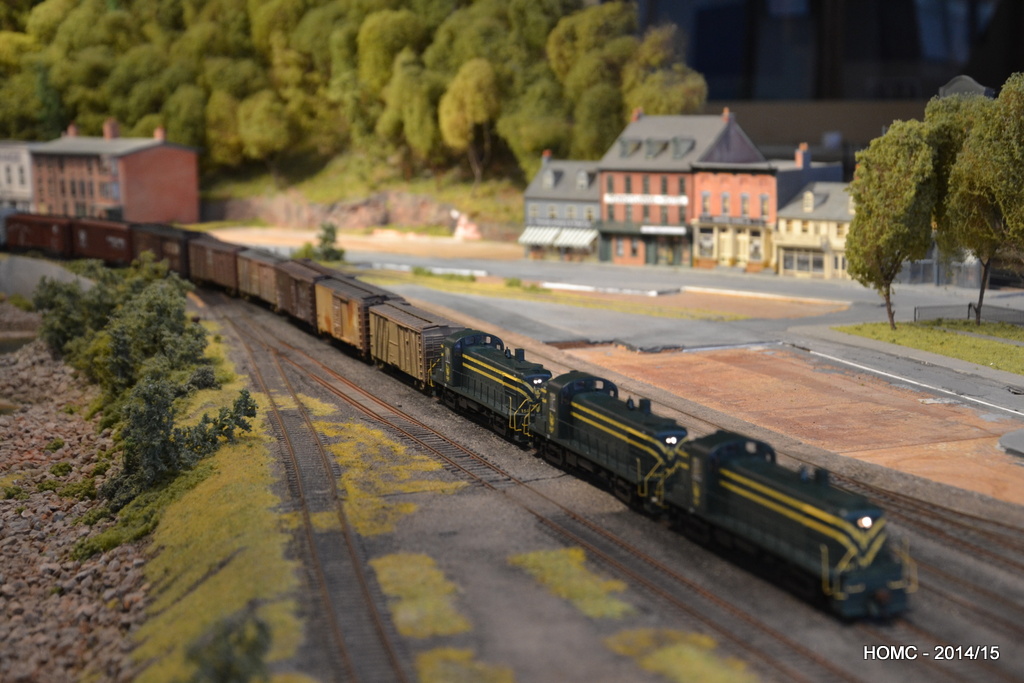
Finally a shot showing a consist of new (as yet undetailed) Athearn RS3s and then one with a N&W articulated interloper with a long empty coal train (note that the buildings have been removed for safe keeping). We are now moving on to add more hillside and roadway at the RH end, and then will work along adding detail to the scenery.
These photos were taken from June through to October and provide a record of the work we did on the layout in that time period.
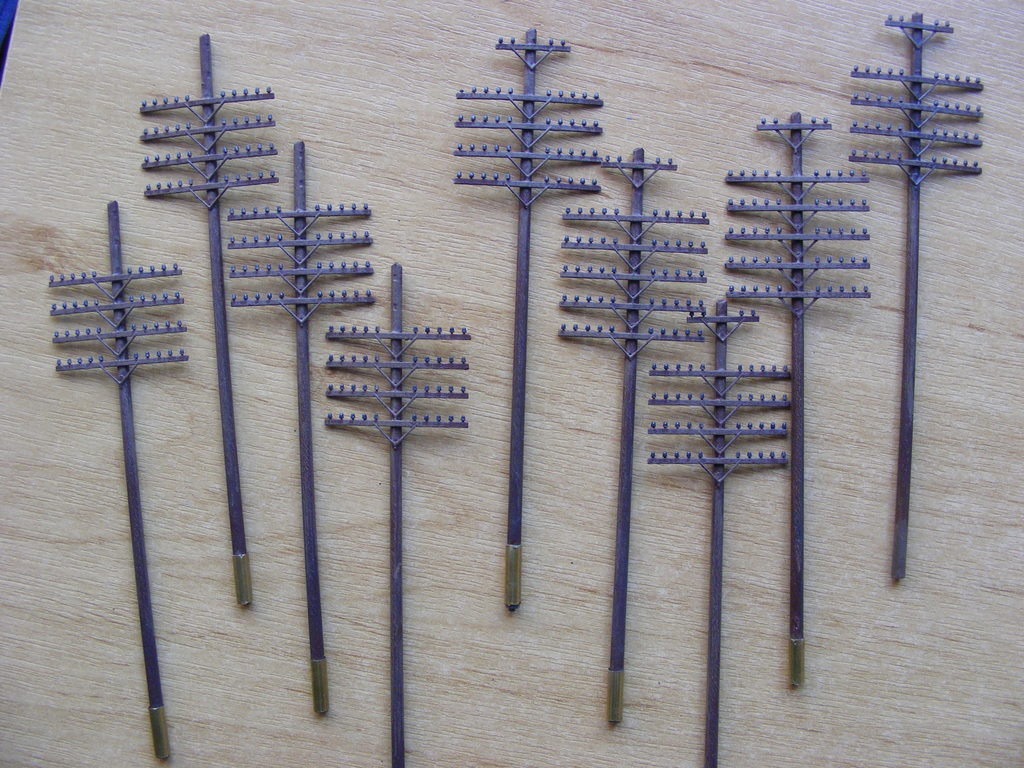
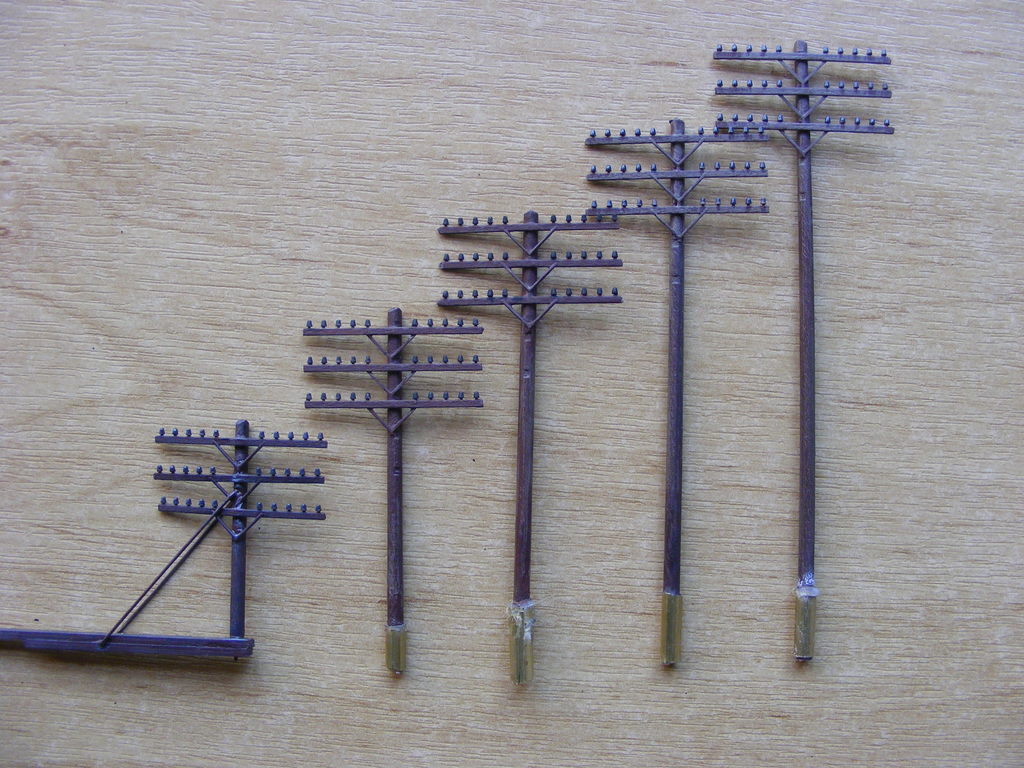
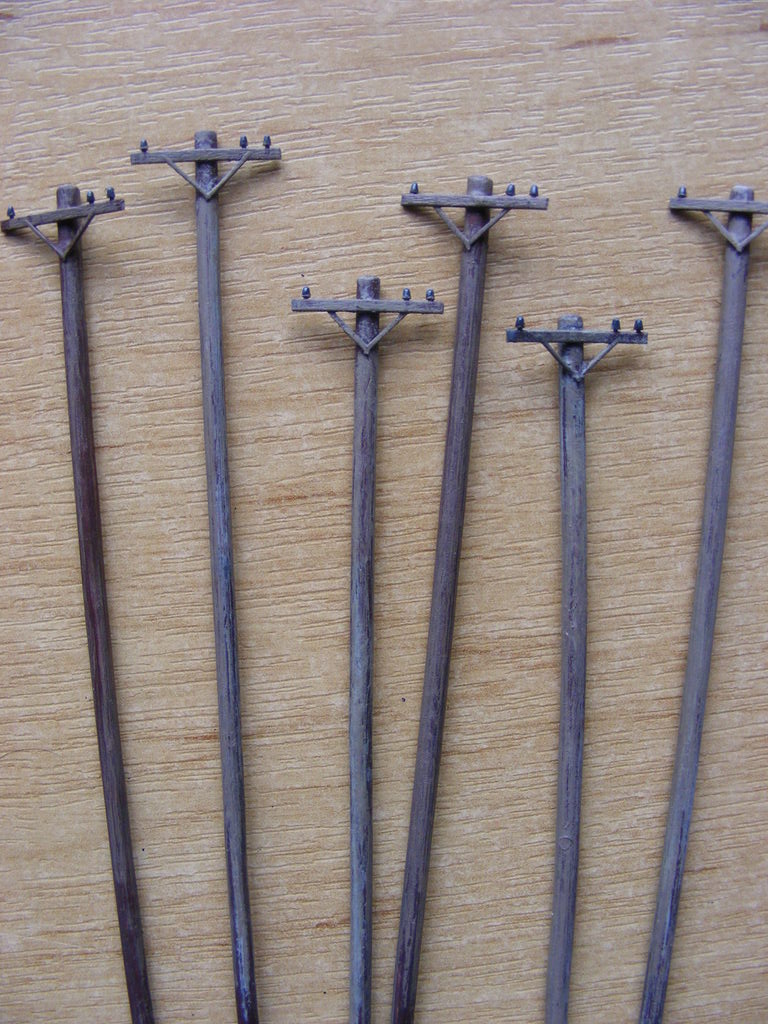
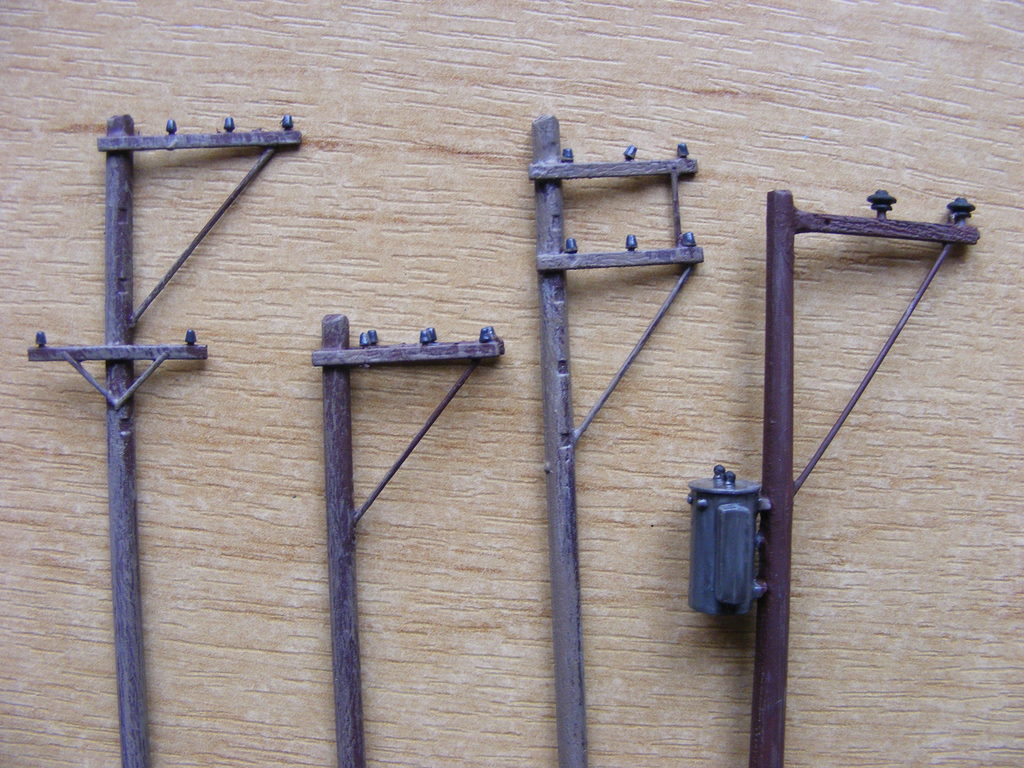
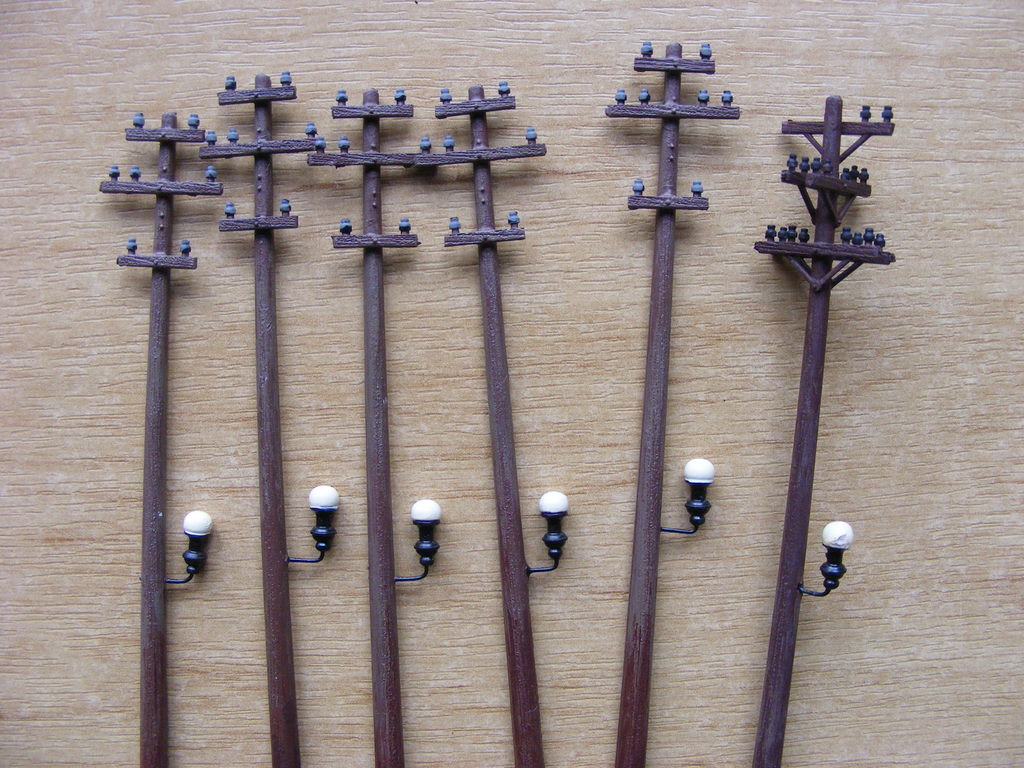
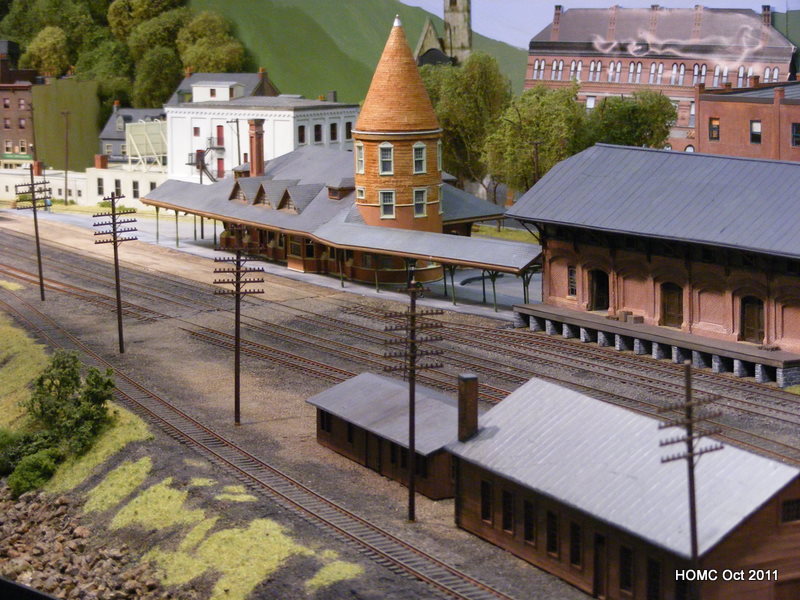
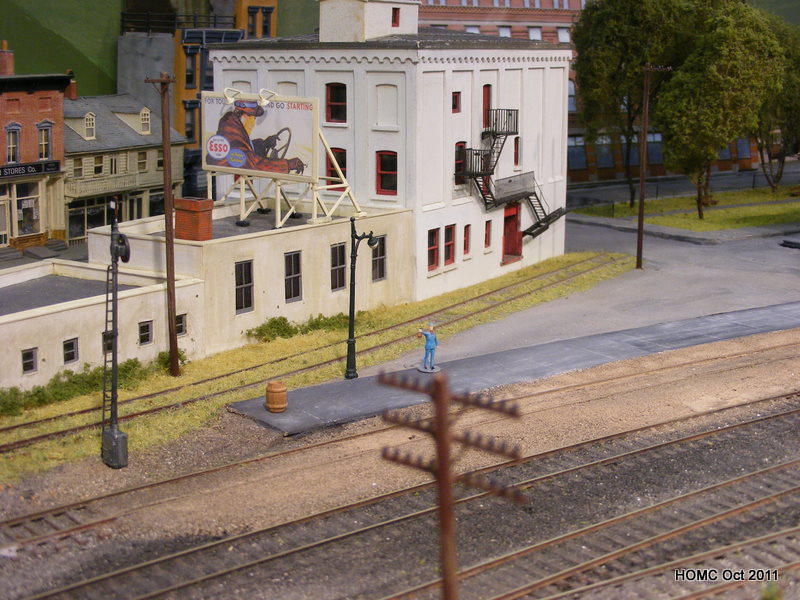
Dave spent a lot of time building the variety of telegraph poles and electric utility poles found in Mauch Chunk (according to our photos). These show them as built and weathered and then in situ – showing how they really add to the mood of the scenes.
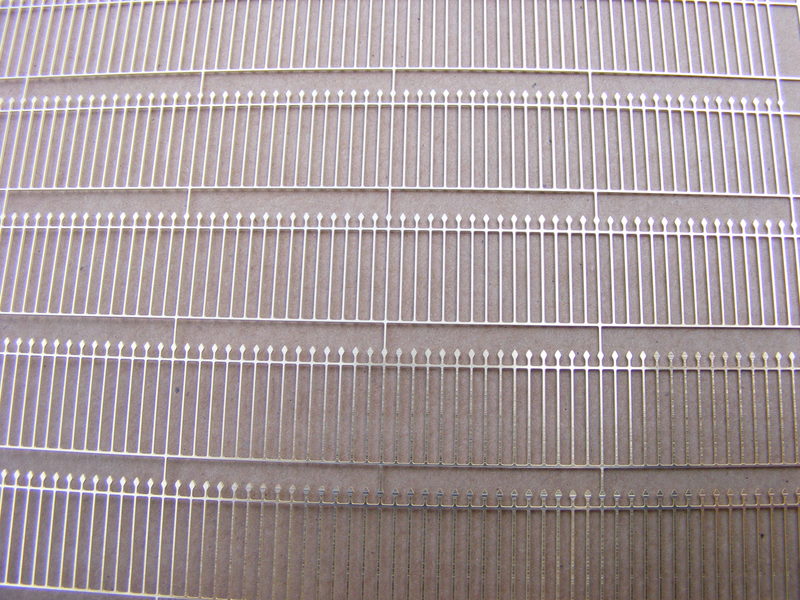
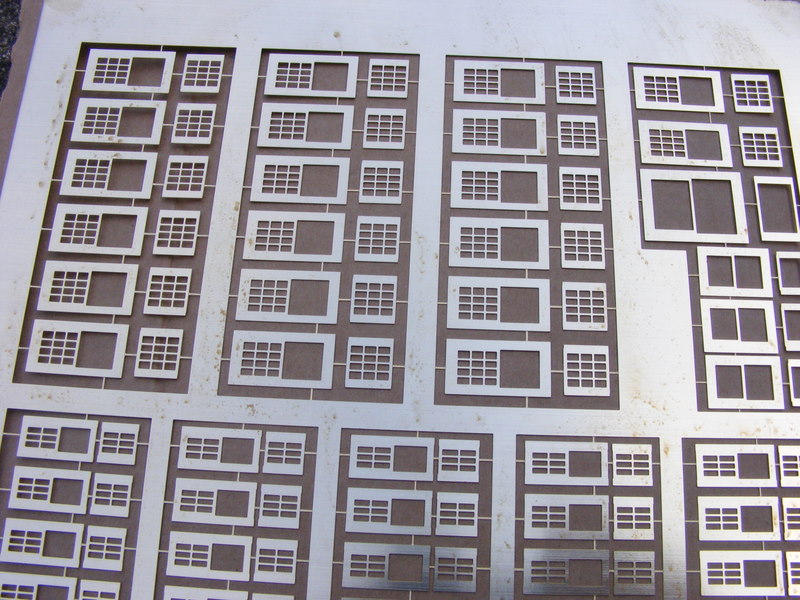
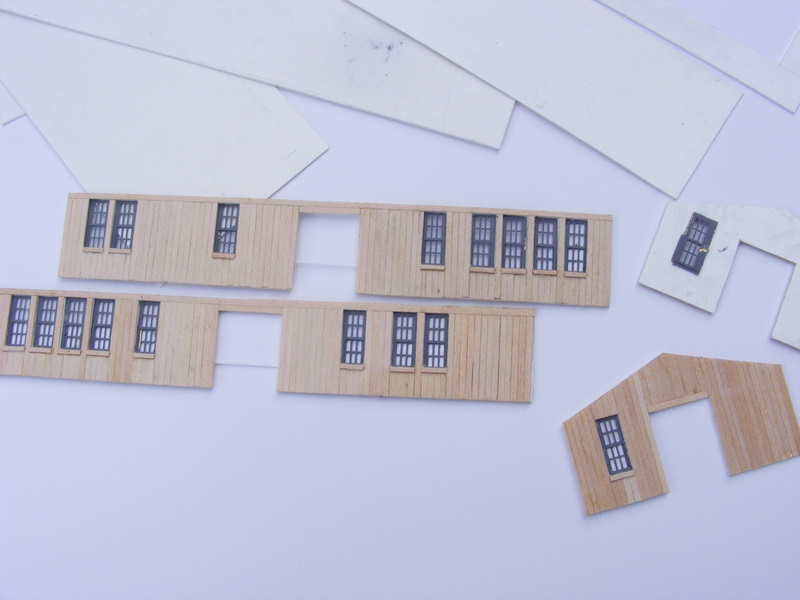
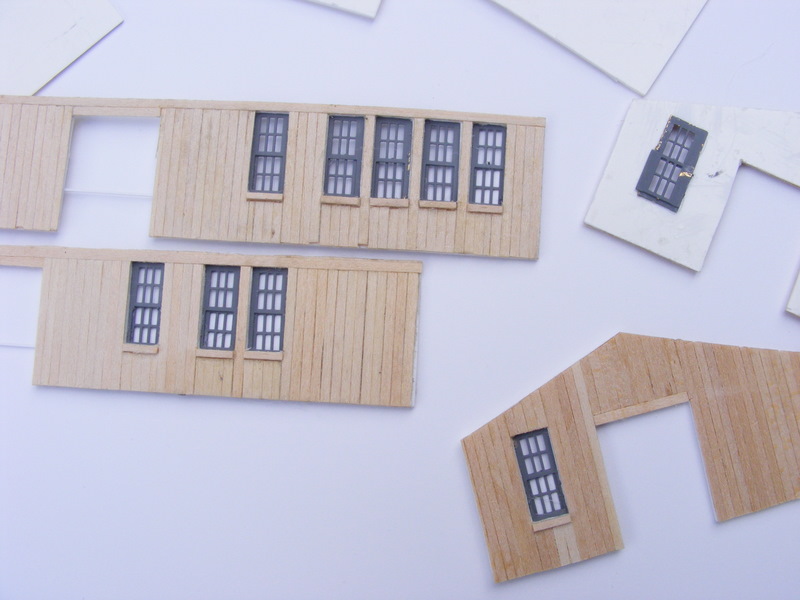
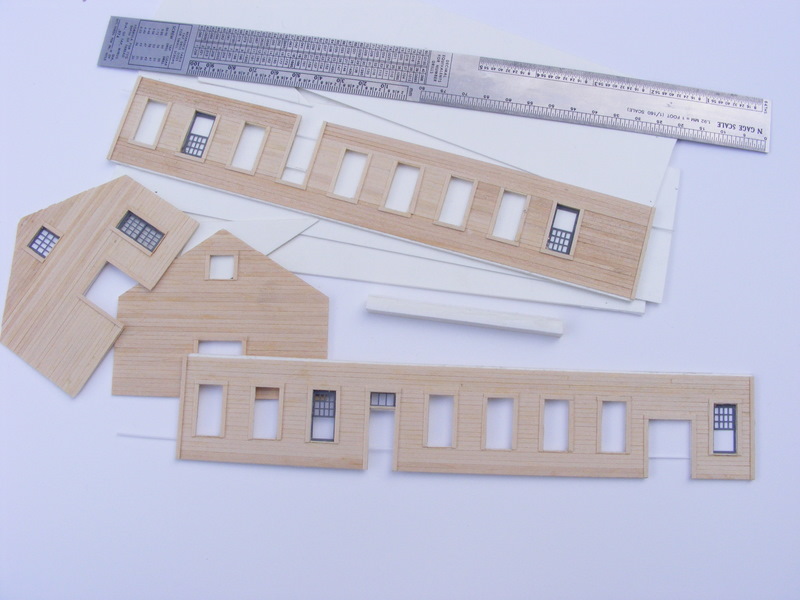
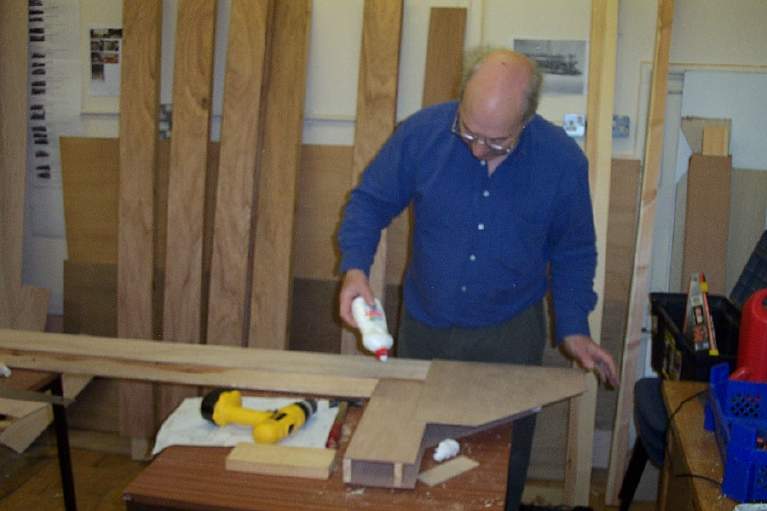
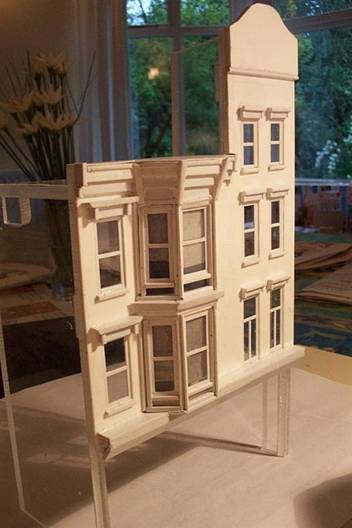
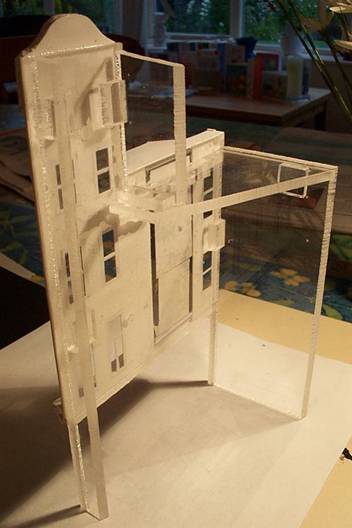
Steve then did another brass etch including some fencing to go round the back of the park and some windows for the track sheds, which were then built by Chris from laser cut strip wood.
The Mikado M3 was painted for us (still to be weathered) and a Babyface A/B unit purchased from eBay, as the price has dropped since the ARHS body shells became available. Also another K1 unpainted from David in the UK.
Chris designed and built a new lighting gantry that can be transported in two parts but bolts together to give a single 15ft span so that the view of the model is not interrupted. Works brilliantly.
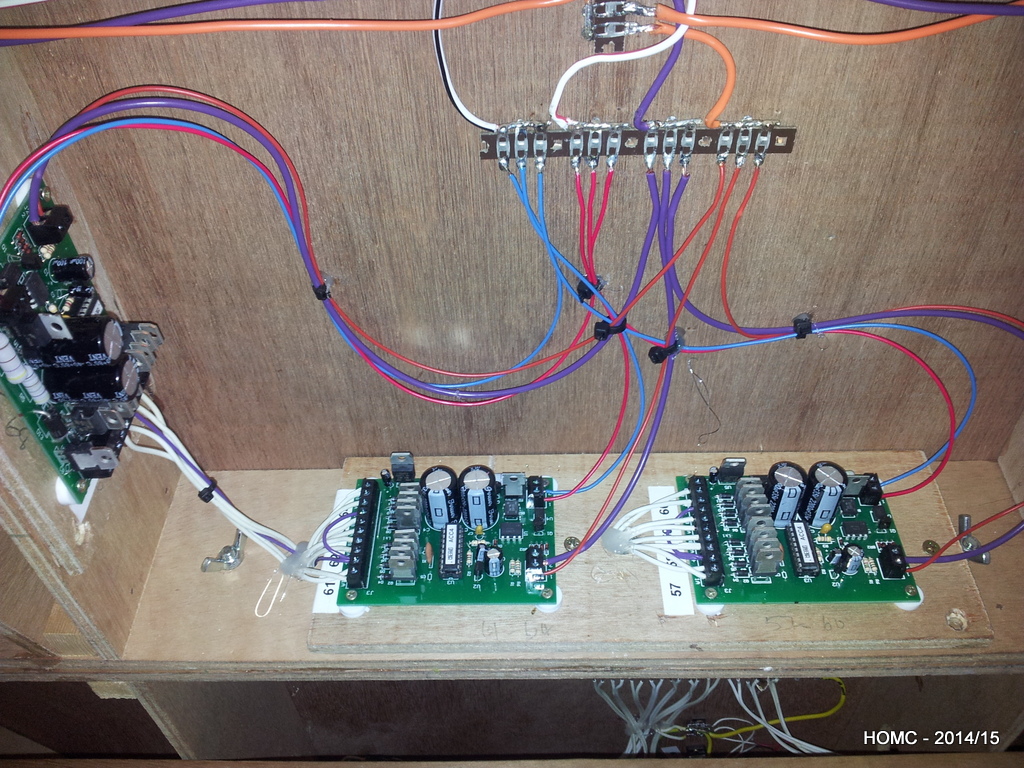
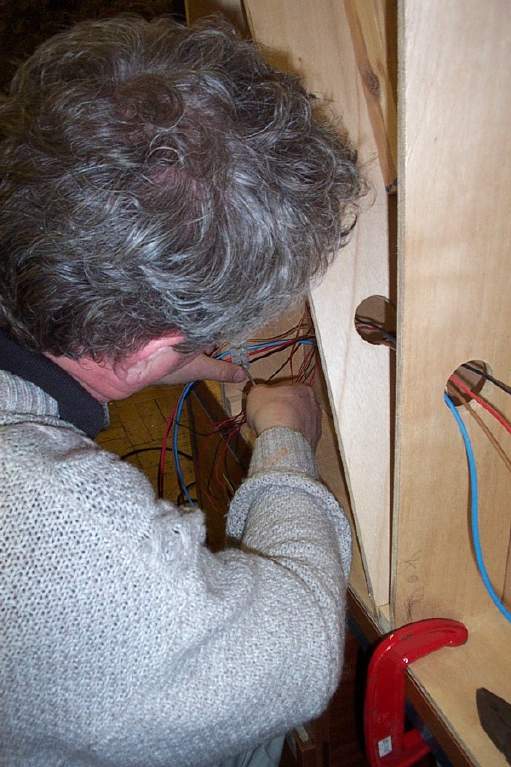
Last, but by now means least, Paul has modified and built DCC kit that gives us separate power supplies to the two directions of travel, so that shorts will only stop one direction at a time. The power has also been boosted so that locos with older motors can be run. As is so often the case, this was not photographed as it is under the layout – I’ll try and do better next time!
So by mid-October, everything was ready for the Warrington exhibition. See the photos on the Exhibition page.
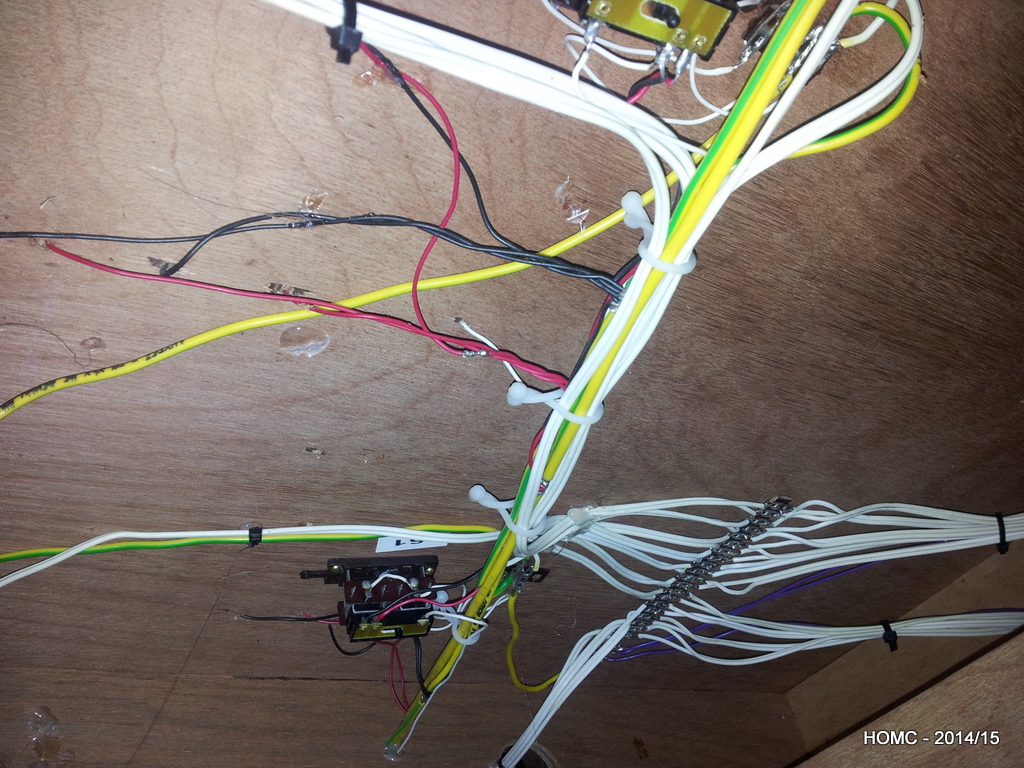
As usual, in the fourth quarter progress has slowed because of the time taken to organise the Merseyside MRS exhibition at the end of October (see photos). Paul and Chris have continued to work with the looms of cable leading to two point control panels – one for each end of the layout. The control panels have been drawn out and early 2006 should see them built.
Chris has also raised the “Merseyside standard” lighting rigs so that they are high enough above our rather high baseboards. These have been positioned as shown in the photos below. He has also been busy redrawing plans of the Station building in AutoCAD in preparation for building it (remember, he is an architect!). These will be put up on the site when complete for all to use.
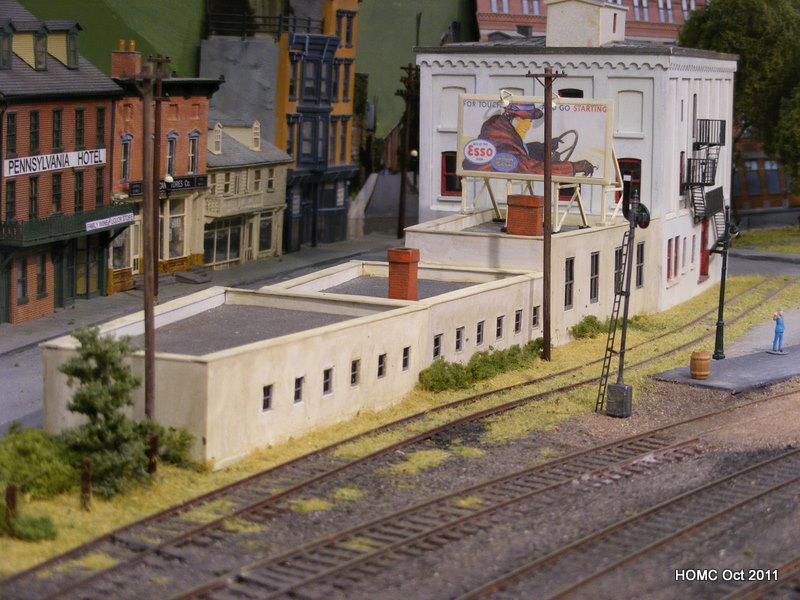
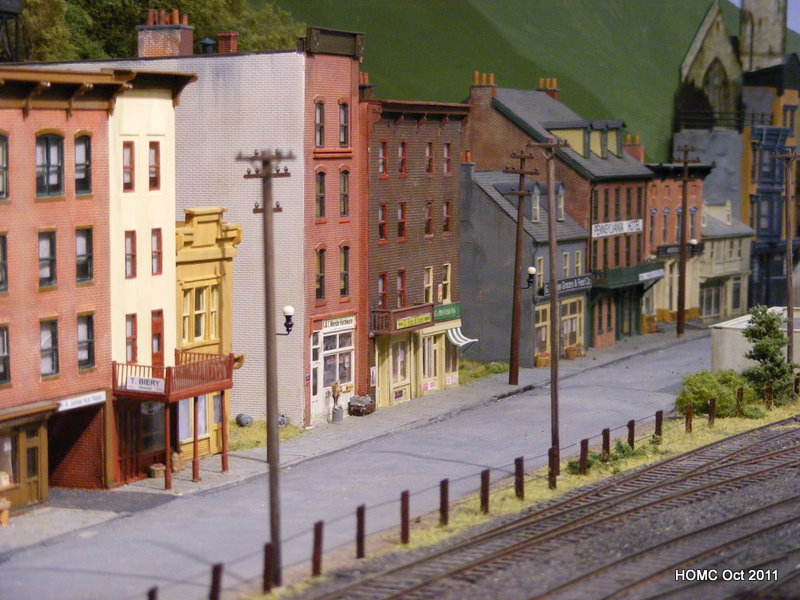
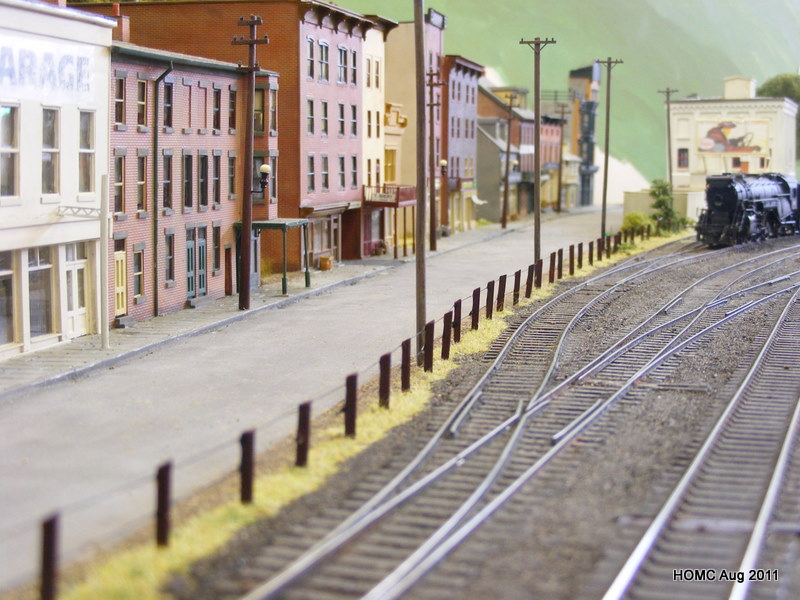
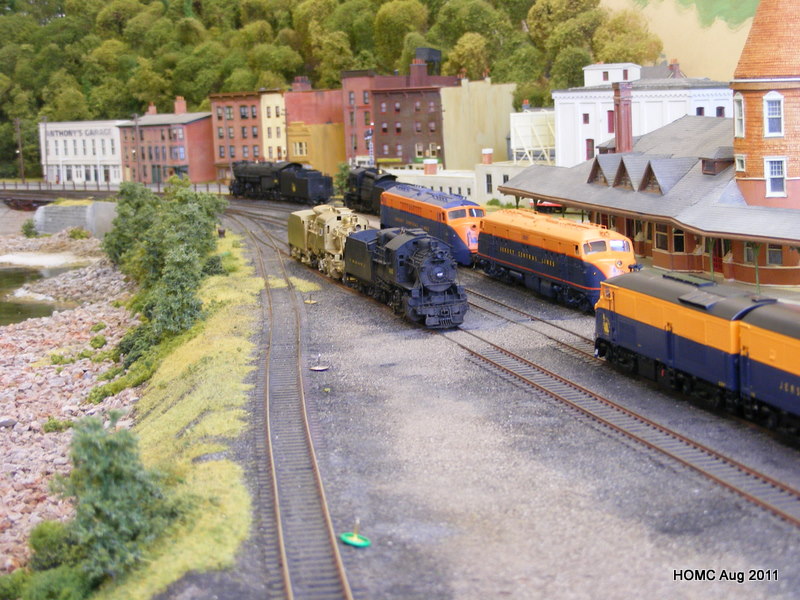
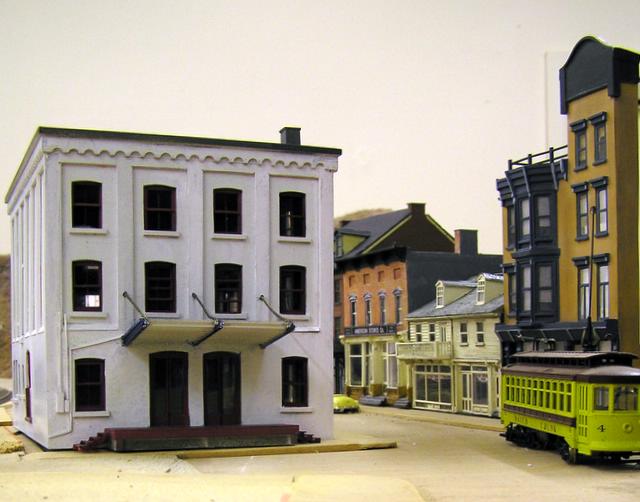
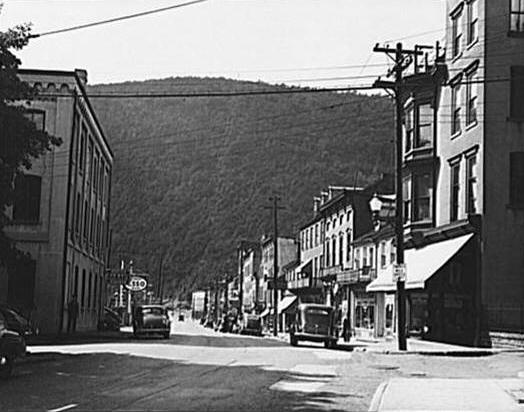
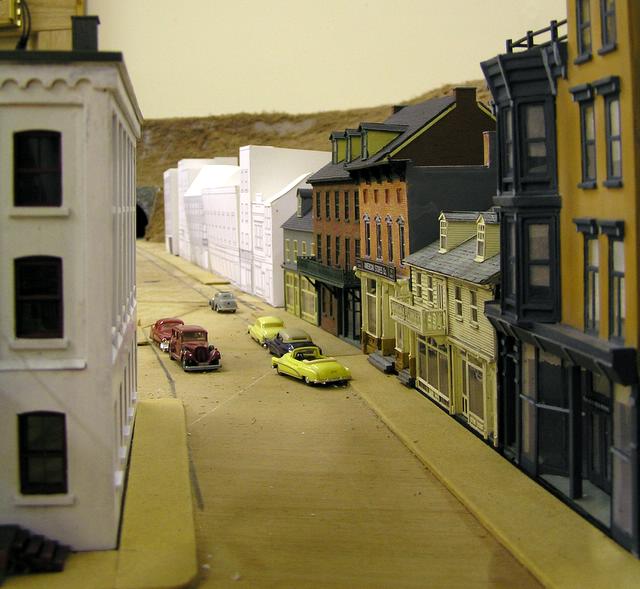
Some of the photos show a (hopefully) increasing similarity to prototype pictures of Susquehanna Street – only another 10 buildings to go there!
Finally, we would like to wish you all happy modelling in 2006.
Take Care
Chris, Alisdair, Steve and Paul
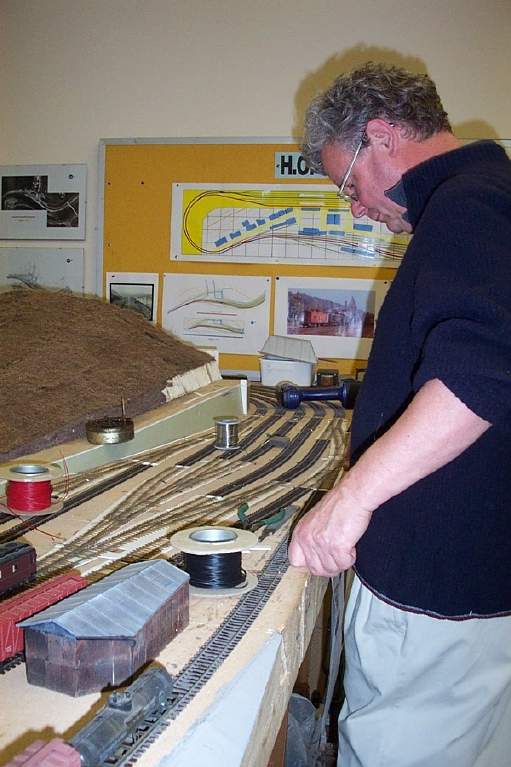
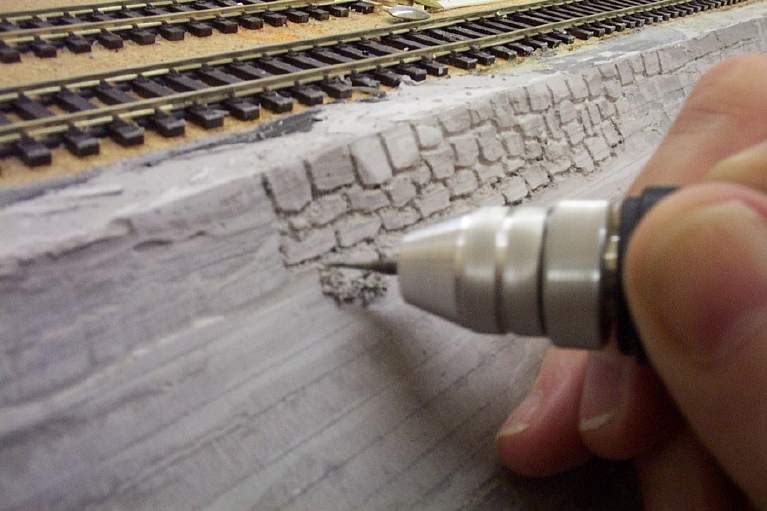
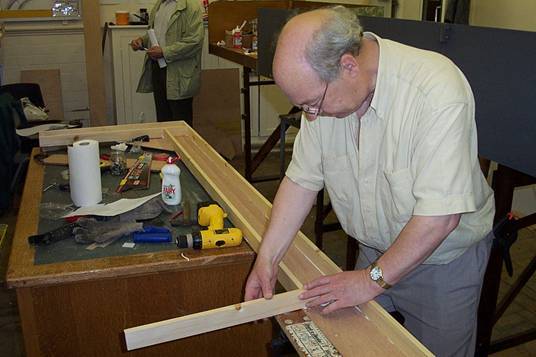
Progress has slowed a little this quarter – mainly as Chris has been focusing on building replacement lighting gantries for taking club layouts to exhibitions. However, Paul has plodded on with the wiring, and has now finished his sixth board (all in the storage yard) – the wiring really is beautiful if you like that sort of thing. As I write he has started on the front boards. Steve has been doing some scenic modelling on the front wall and making a lot of noise carving stones out of plaster with his mini-drill. The photos show all this:
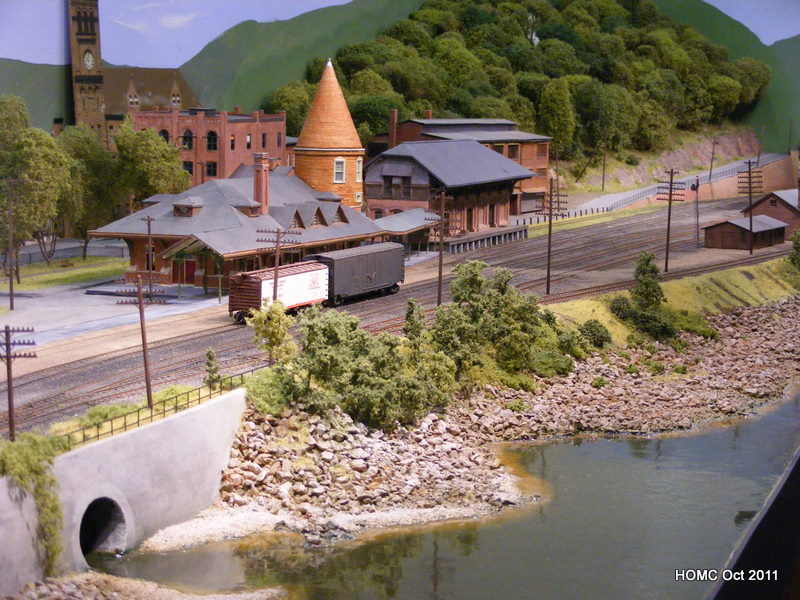
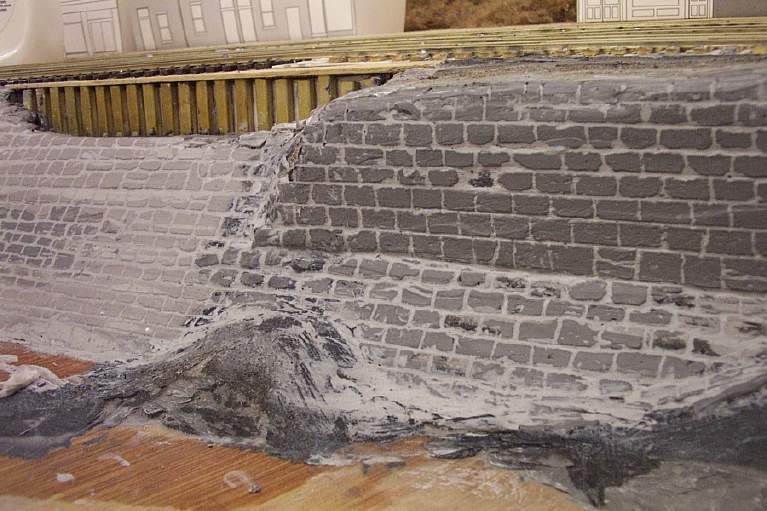
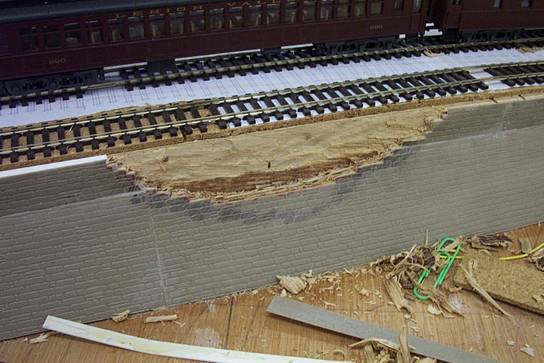
Photos include: Firstly Paul and the rewiring – by early June, all the four rear baseboards and the end boards had been wired and tests have ensured that trains will run. In early June, all the baseboards were re-assembled and the layout looked quite good. Paul started on the wiring of the front boards later in June. Steve worked on the wall along the Lehigh river – more details can be found on a project page – the river wall.
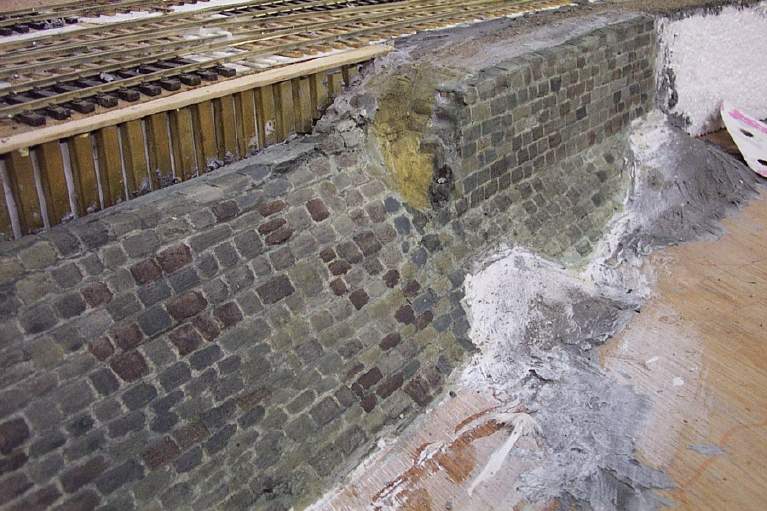
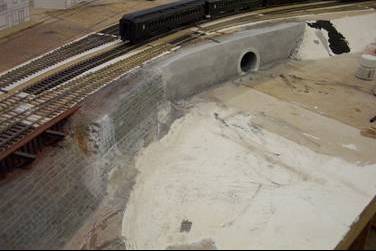
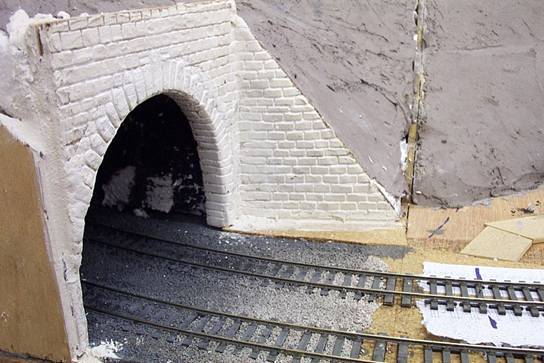
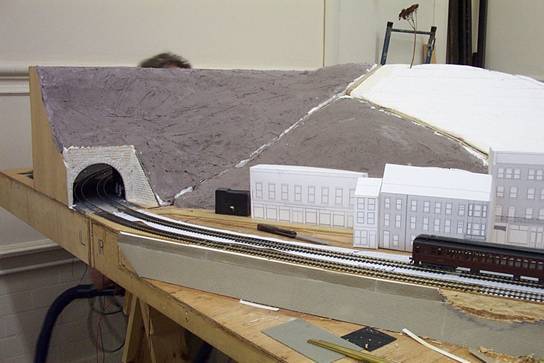
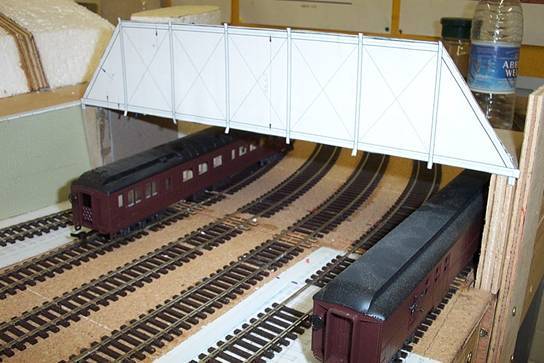
Here’s the progress in May and June together, as May was rather slow. Paul carried on cutting holes for switch motors and wiring the switches in the storage yard, and has now completed it. Steve carried on laying sidewalk and Ian carved a tunnel mouth, required to get the track off the LH end. Chris and Steve cut away some of the riverside wall as in the prototype and Chris planned out the bridge and built the buttresses. Chris (with Paul’s help) spent most of May and June building lighting gantries for the club layouts. Steve has been building the first store on Susquehanna St. from plasticard on a perspex frame. This will be the subject of a separate article shortly (it looks better in the pictures than in real life!).