Tag Archives: signals

Etching, Soldering and woodwork

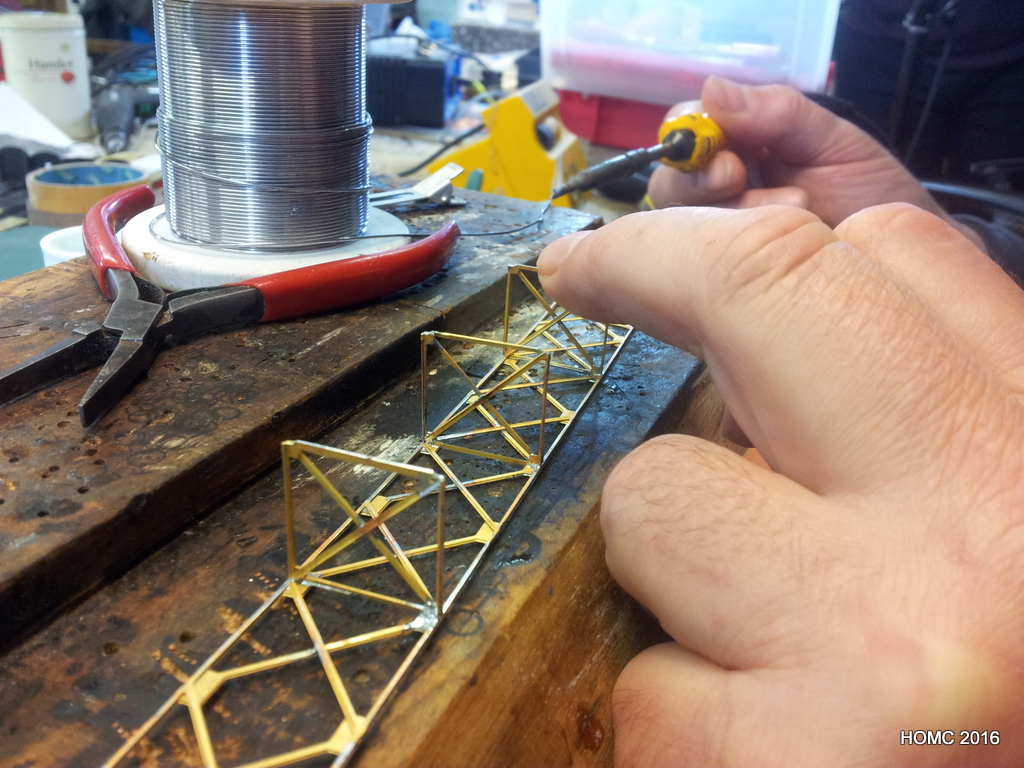
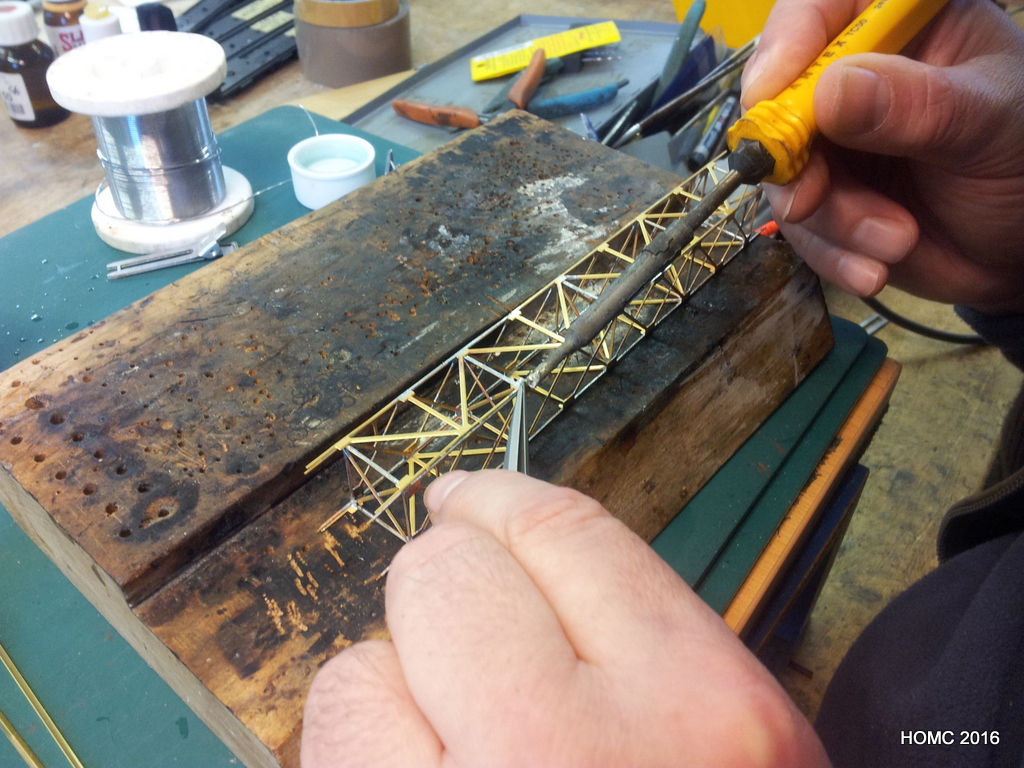
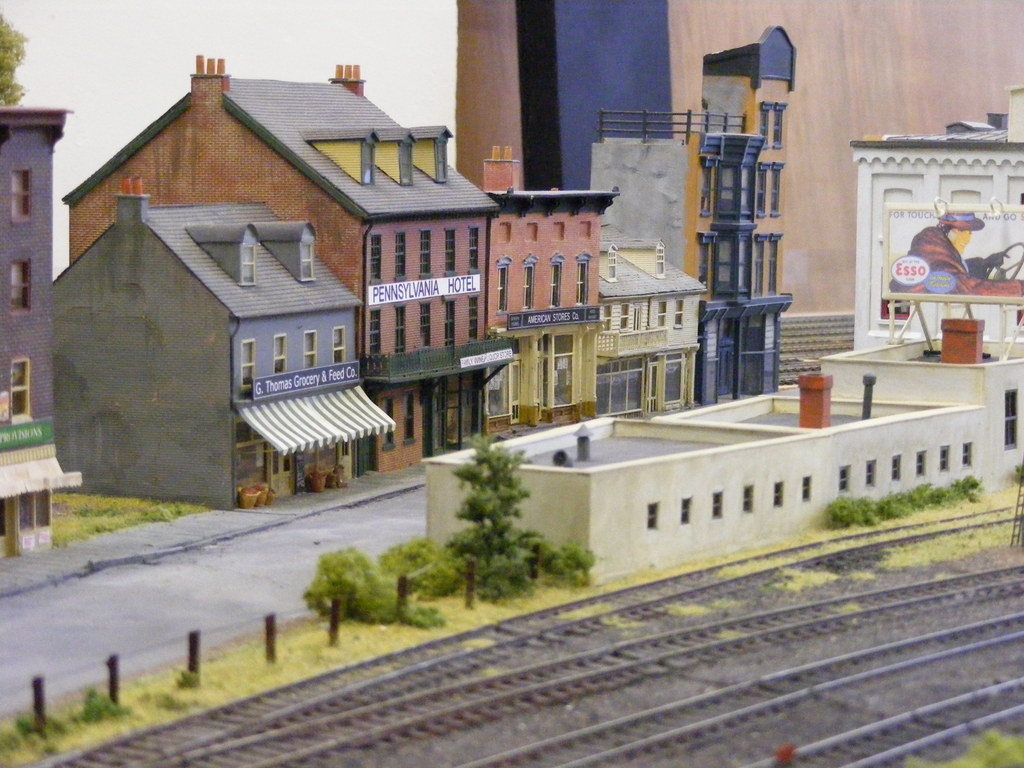
We’ve been doing more etches and soldering to make the signal gantry that stands against the back wall, controlling use of the locomotive servicing track that runs against that wall all the way through to the engine house, refueling facility and turntable.

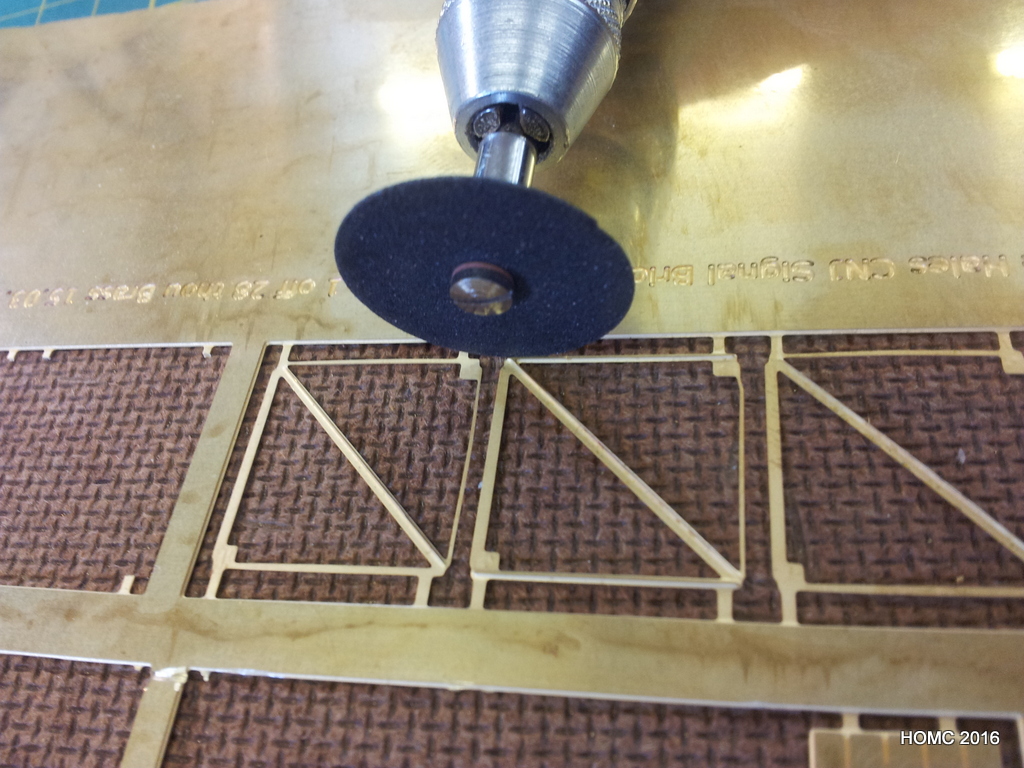
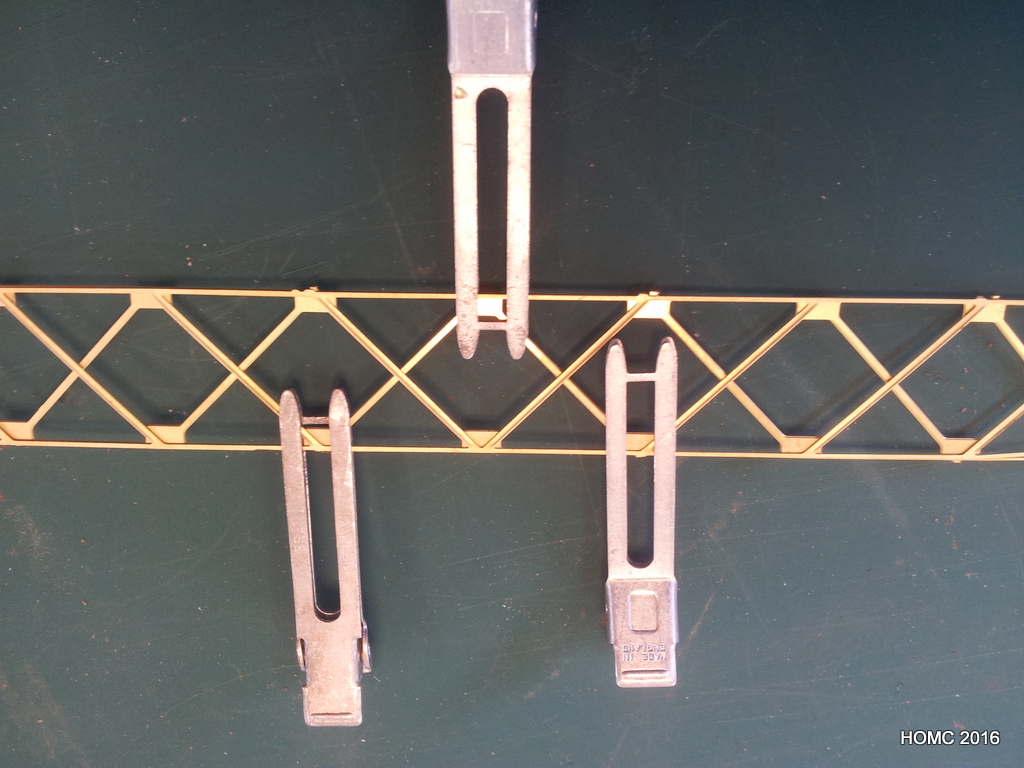
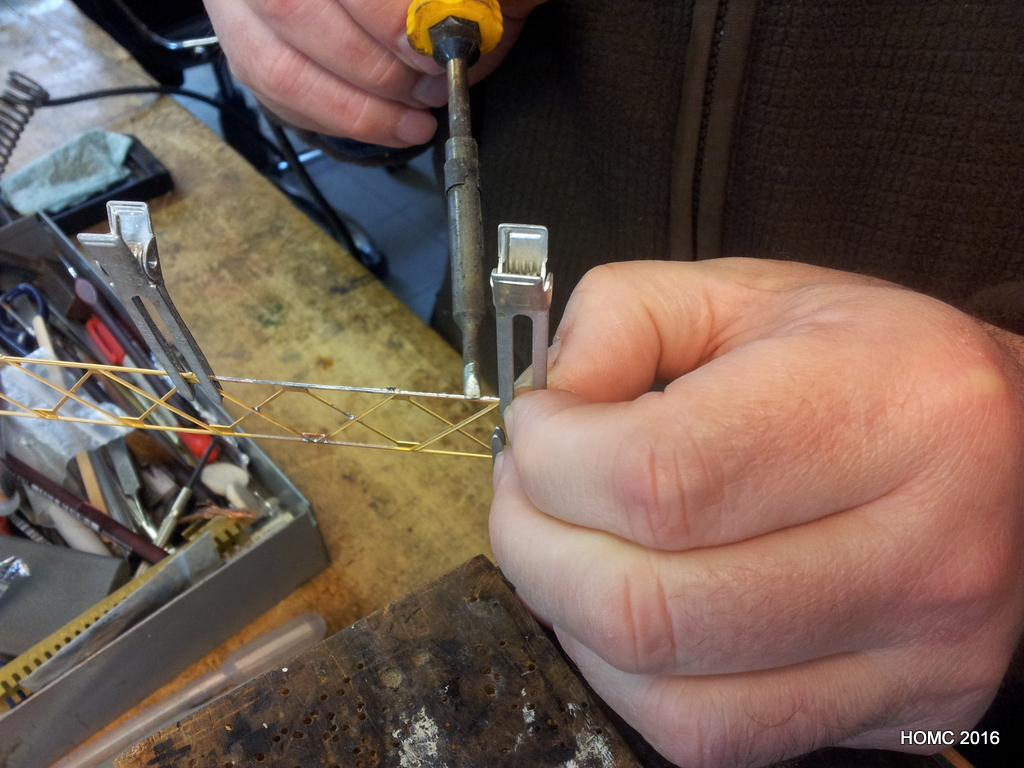
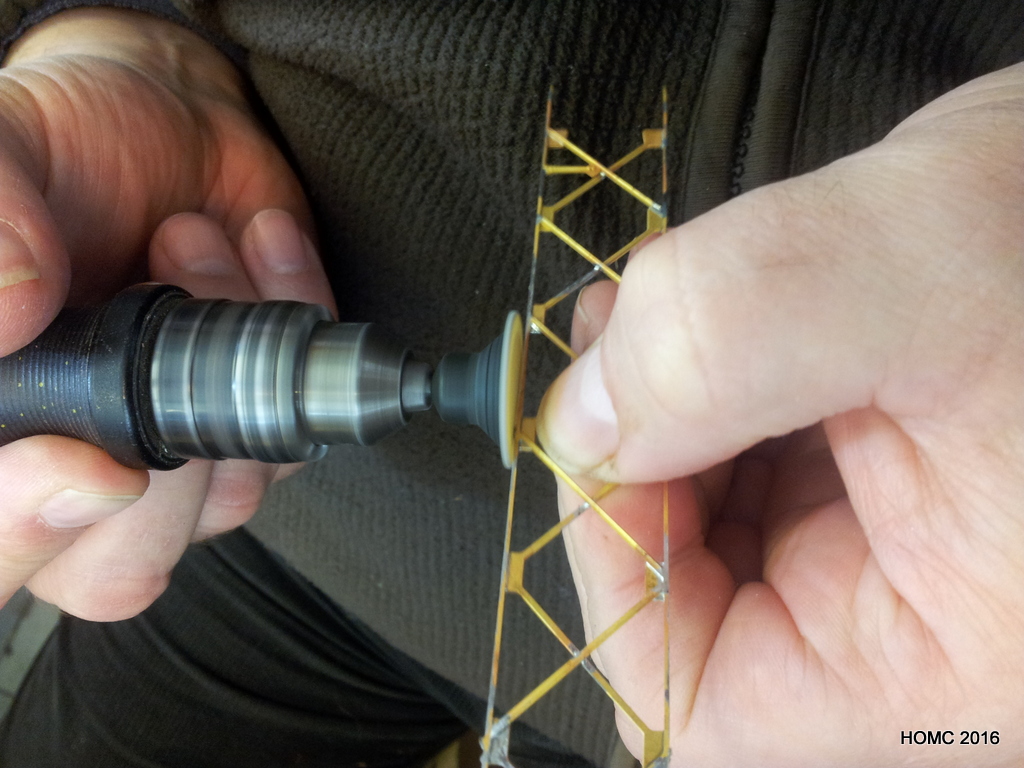
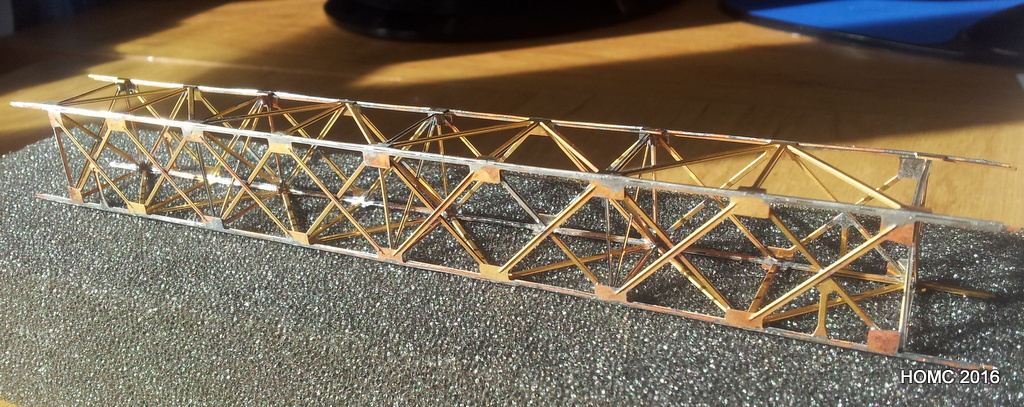
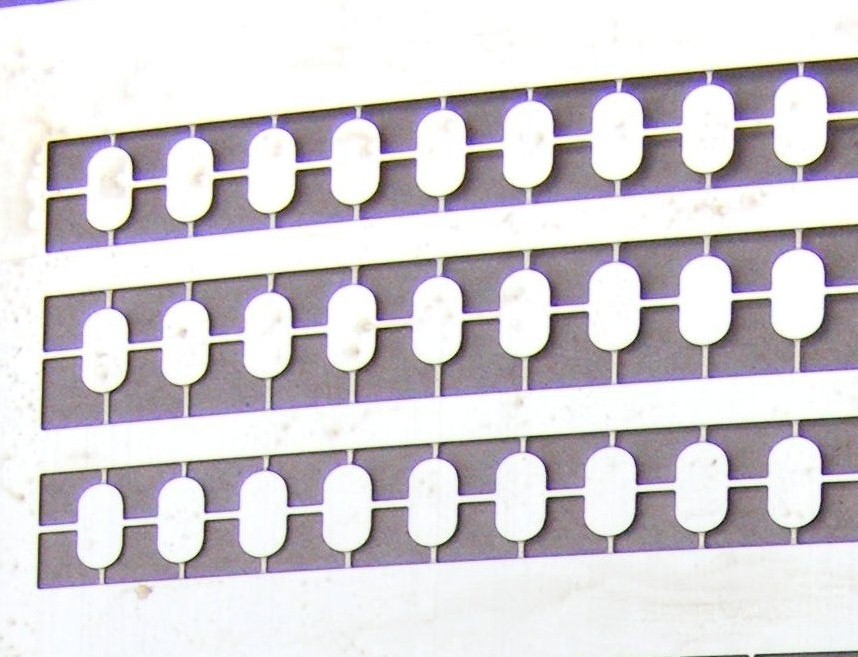
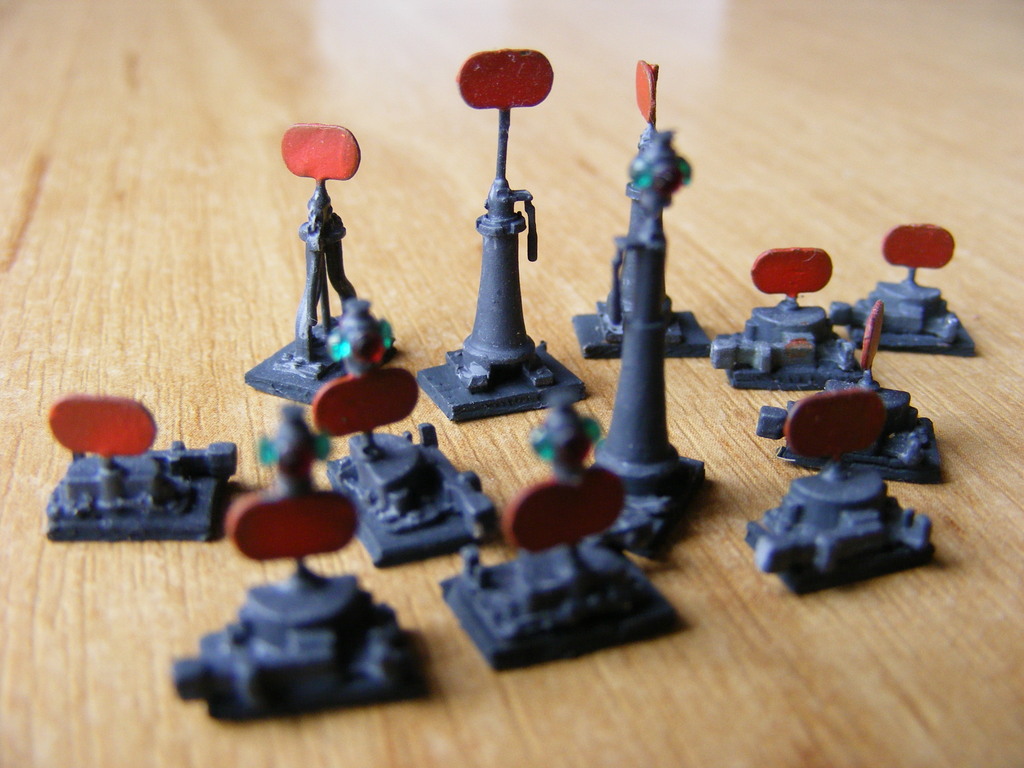
Photos of this gantry were not clear about all the features so similar gantries were identified in Joel Rosenbaum and Tom Gallo’s pdf book: Jersey Central Lines Official Photography. Steve drew the stanchion artwork and PPD then etched these for us on 0.7mm brass. Richard then used these as the basis for the gantry scratchbuilding most of the other components. Finally the arm was actuated with a servo controlled by Tam Valley Depot’s dual 3-way Servo DCC accessory decoder. This is a new approach for us and means that we can control the signal from software (Big Bear) as well as push buttons. The build is shown here as well as the result

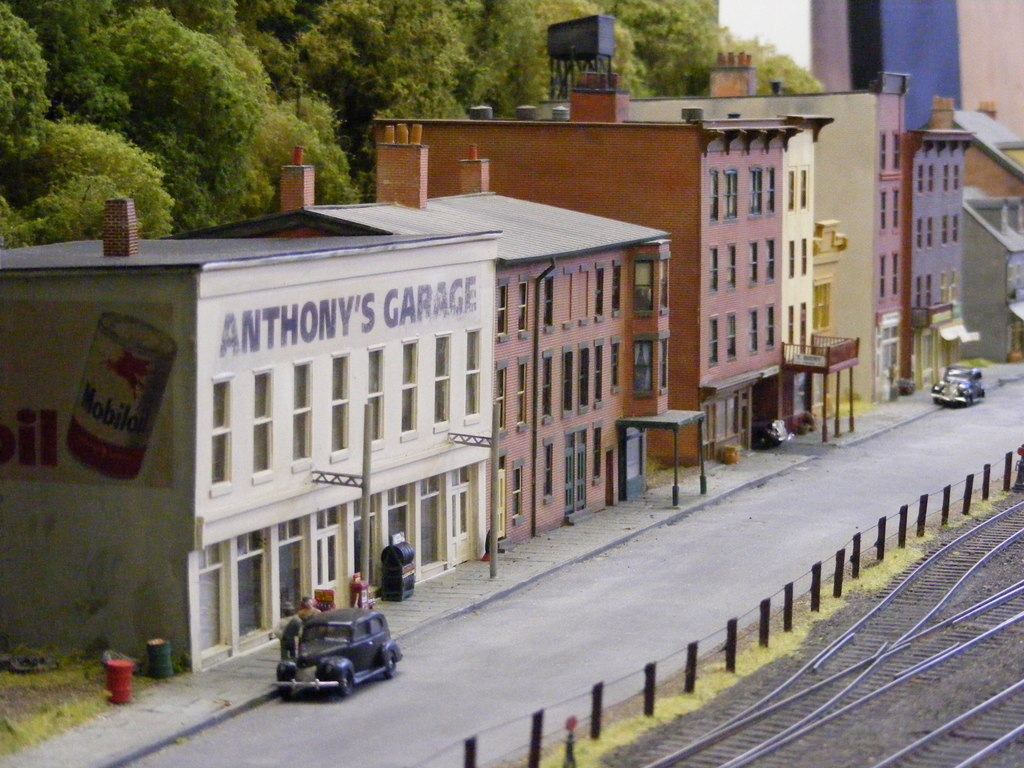
This is our gantry compared with the prototype shot! Prototype photo by kind permission of Morning Sun Books [taken by Charles Houser Sr, The Houser Collection from page 82 of Jersey Central Lines in Color Volume 2 by William J. Brennan].

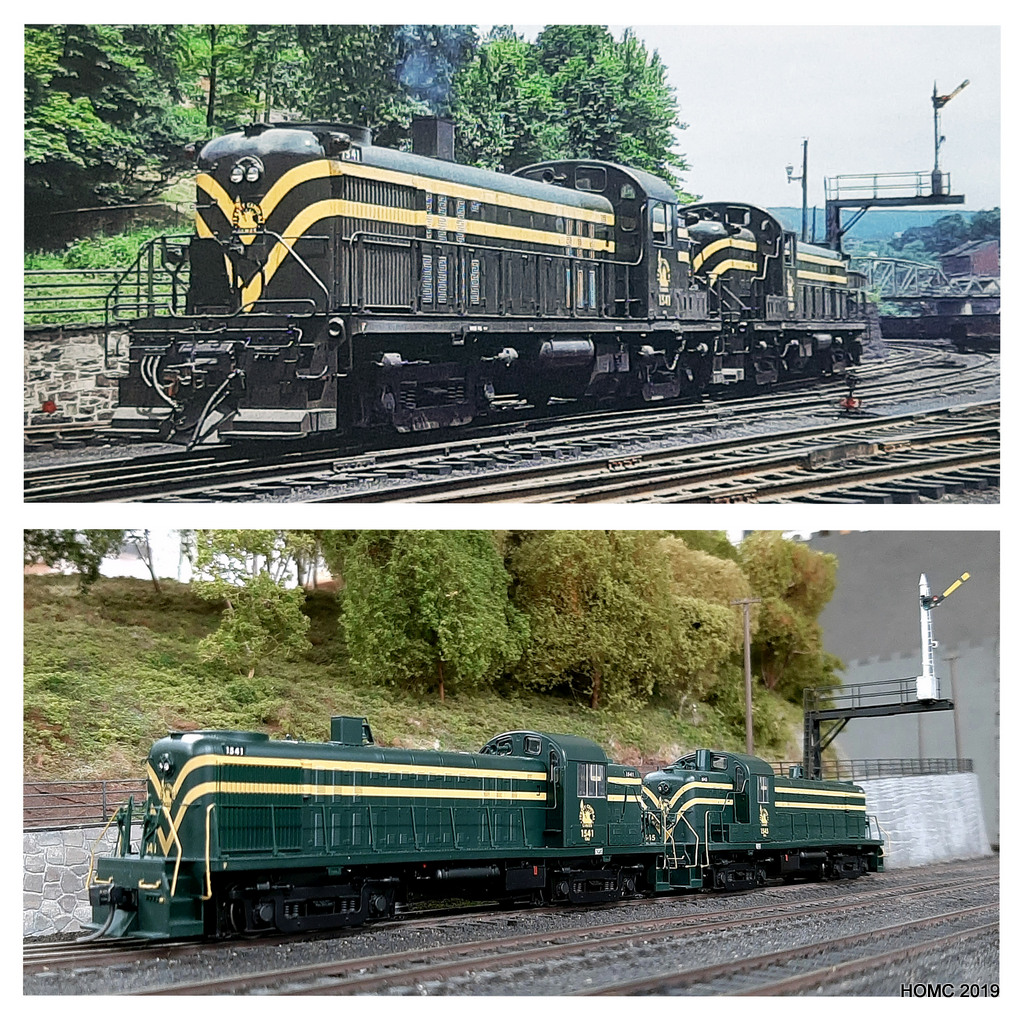
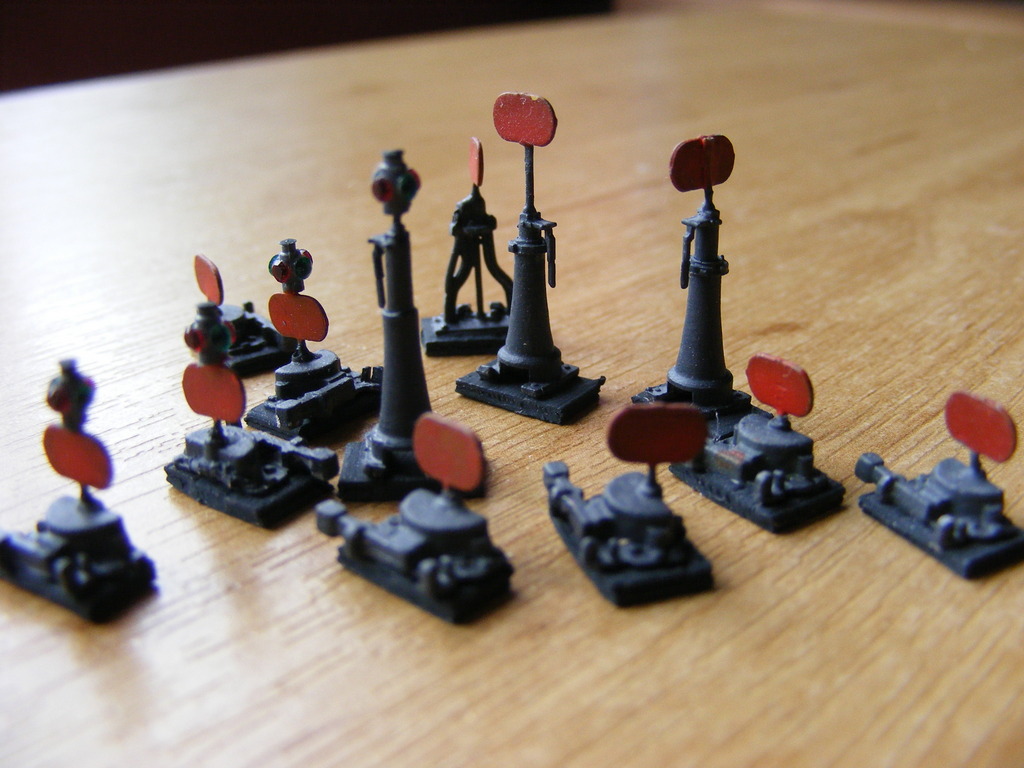
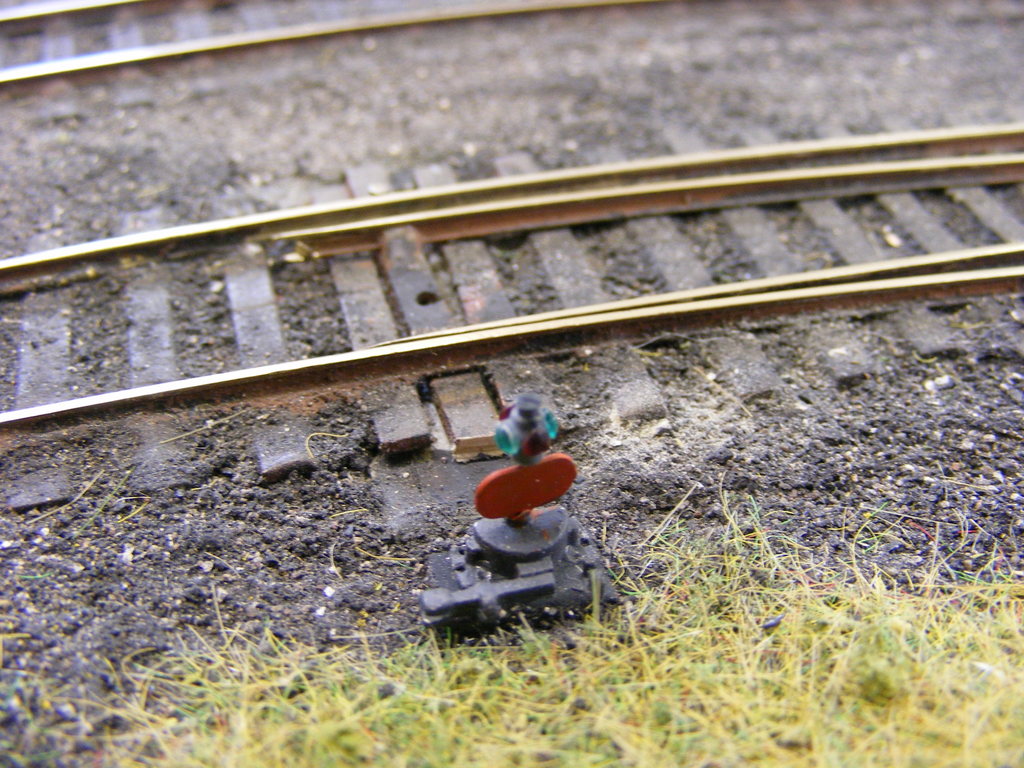
As well as this masterpiece, the hollow framework utility cable posts that can be seen in some prototype photos were drawn up by Steve, etched and then built by Richard using bullhead rail for the sides. Steve then planted them on the layout and modified a few other posts.

The trolleys get a lot of wear in transporting Mauch Chunk to exhibitions but also in supporting the other Barrowmore layout, Johnstown Road, when Mostyn is erected. We decided to strengthen the trolleys with easily removed ‘lids’ which Gavin built. This has made the trolley boxes much more rigid


Final Preperations for Stevenage

In the last week leading up to the Chiltern MRA exhibition at Stevenage it was all hands to the pumps!

Richard carried on carefully finishing the signals for the signal gantry – using etches previously prepared by Steve and scratchbuilding the signal post for operation. The ladders are of the more recent variety as seen on the photos of the gantry at Nesquehoning Junction. He used his considerable experience of building working British signals to incorporate an (almost) invisible mechanical mechanism to change the position of the upper semaphore. The lower semaphore is fixed as in the prototype. Mike primed and then painted the completed gantry and signal post. More details of the construction of this gantry and signals will be published in the near future but please contact us if you are interested.

Gavin butchered the original backscene buildings which needed to be changed from 1 inch to 4 inch depth. He then skillfully rebuilt them and finally Steve papered them with new photo-printed sheets and sprayed with matt varnish. A crudish finish but they did the job at the back of the layout – for now.

Other scenic work was continued by Mike (who finished the roadways) and Steve to blend the new into the old and to add some trackside detail. Additional telegraph poles were not added until we re-rerected the layout at Stevenage.

Finally, Gavin constructed end panels and applied finshing touches to the paintwork.

Frankly an astonishing piece of work necessitating some 7-day a week working of over 8 hour days to be ready. Check out the photos on the Chiltern Exhibition page to see if you think we got there!

signal gantry – in progress

Last, but by no means least, Richard has been continuing on with the three-track signal gantry which Steve etched and which he started in July 2016!

Moving on from the basic components of the two uprights and the gantry itself, Richard first put in the bracing struts and added the rivet plates to the uprights – both of which were etched separately. The uprights and the gantry were then soldered together and the supporting struts (cosmetic on the model) were added.

The next major stage involved adding the walkway resting on cross supports, top rivet panels and scratch building the handrails to the photos we have of the prototype. Finally the ladder was scratchbuilt and added to the appropriate leg (unusually on this prototype).

Currently (not shown) the signals and operating mechanism themselves are being scratchbuilt. A seperate article will be prepared for the signal bridge and its construction at a later stage.

Signal bridge prototype

The signal bridge is only in prototype at the moment and the details below show a test etch of the gantry. This will be considerably modified for the final version. We are intending for this to be available in 2, 3 and 4 track versions for other CNJ and East Coast modellers – the details of how to do this have not been worked out yet, but don’t hesitate to contact us if you may be interested.

May 2012 – little bits

Things slowed down somewhat after the exhibition. This was for a number of reasons: Firstly some of the group members wanted to move on and build another small layout. Second, the remainder want to make modifications to the staging yard using longer switches so that the stock will pass through it more reliably. However, how this is done (Plan A or Plan B) depends on whether we have more space for the layout and this depends on whether we are able to buy our clubhouse – which has been under negotiation for over a year, although the decision is close.

So, I (Steve) have done much of the modelling this last six months, ably assisted by Gordon, while Chris, Paul and Dave try to decide whether they want to build Patagonian narrow gauge or an LNER branch line. Paul continues to provide able support for the electrics! It’s been lots of little bits, plus trying to get the backscene sorted.

Firstly I have added a few detailed scenes with characters, carefully inserting the ends of pins into legs and then into the sidewalk! (yes, some did lose legs). Many more are still waiting mutilation and gender realignment to fit 1940/50s Mauch Chunk. Awnings were also added to some of the stores and trash was placed in the dead spaces where old buildings have been demolished.

Oval switchstand targets were etched in some quantity and then attached to a variety of commercial switchstands, together with or instead of lanterns, and then painted with enamels to give the desired effect. To date only a few of these have been installed on the layout as they are rather delicate and have a tendency to get flattened.