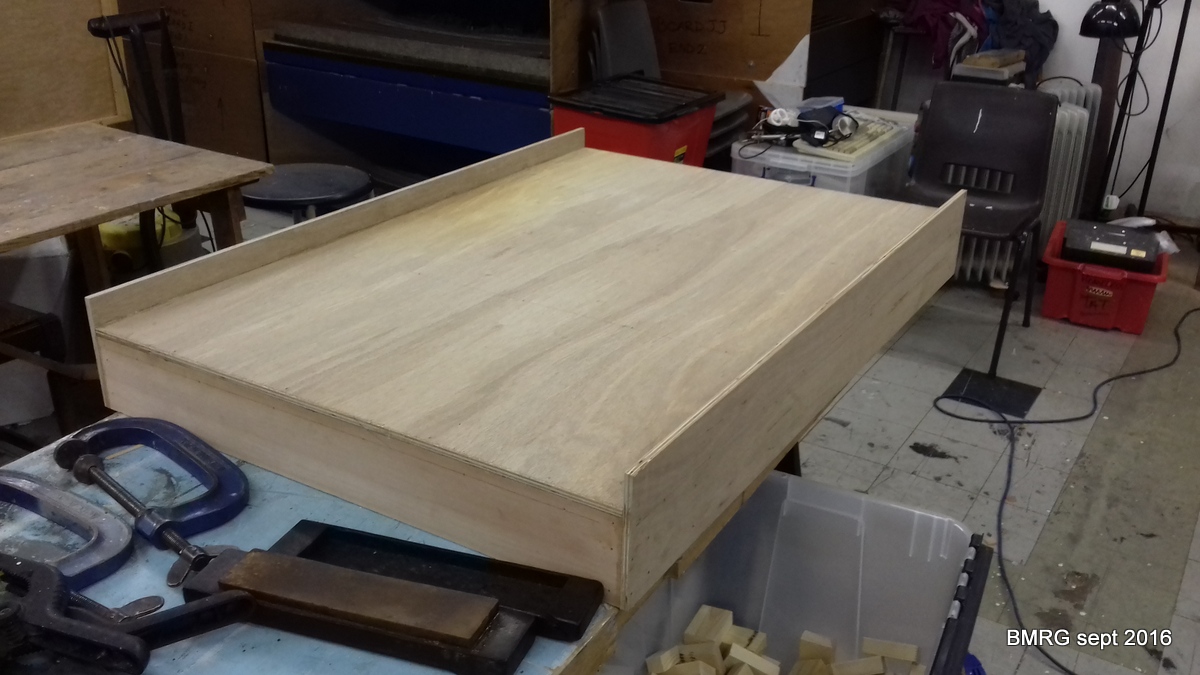
Category Archives: Progress

Rounding off the Baseboards

Moving towards Christmas, Gavin again had some free time and used it very productively on the ‘difficult’ corner baseboards with rounded sides. These had already been planned with some very involved angled bracing but with the appropriate tools, these all fell to his skill! Photos show the construction of the two rear corners and then the slightly larger front corner board. Legs were also constructured to fit each.

A good end to the year with lots of work to complete in 2017. Many thanks to Gavin, Richard and the rest of the Barromore team for all their help.


More legs, paint and baseboards

The rush was on to get as much done as possible before Johnstown Road, Barrowmore’s O-gauge layout, needed to occupy the space for preparations before going to Warley exhibition.

All the legs for the seven boards now constructed are finished and were undercoated by Steve and Dave. While this was going on, Gavin and Richard worked on the first, non-scenic corner board. This is huge (4ft x 4ft3in) but relatively simple being almost square.

Baseboards, paint and legs

In October, Gavin had forged ahead with the rectangular baseboards, finishing the set and adding the cross braces to stop them flexing. The photos include shots of him using Brownlow’s table saw. Steve has been painting the undercoat on and the legs have all now been built from 2″ by 1″ pine.

In November we will move on to the more difficult corner boards, finishing the painting and then installing the joiners and leg adjuster.

Phase 3 baseboards started!

We have finally started the new baseboards for the third phase staging yard. These will be of a higher standard than previously – being built by and in the Barrowmore MRG – and will use a trackplan custom designed to meet exhibition operating requirements. See the ‘Track Plan’ pages for more details.

Photos show Gavin building from three different thicknesses of ply. These have been cut on a professional table saw (with thanks to Brownlows Cabinet Makers, our neighbours here at Barrowmore) to a cutting list we generated. Any final cutting is done on Gavin’s sliding compound mitre saw which is very impressive – see the photo.

Sheets of ply are glued with urea-formaldehyde resing wood glue and then held with nails from a nail gun. Overall this is a very quick process although the complexity of design, with pockets to hold the legs and bracing, slows it down. Richard of course is seen giving expert direction!

Signal bridge prototype

The signal bridge is only in prototype at the moment and the details below show a test etch of the gantry. This will be considerably modified for the final version. We are intending for this to be available in 2, 3 and 4 track versions for other CNJ and East Coast modellers – the details of how to do this have not been worked out yet, but don’t hesitate to contact us if you may be interested.

Mikado kitbashes

At the Barrowmore club, work on the Mikados was carried out by Steve, starting with the kitbashes originally worked on by the (late) Chris Bennett and Steve. The full details of the assembly will be placed in a project page, but in the meanwhile, please download the full instructions as a pdf here. Here are a few photos from the construction:

p-2016-04-012
In this final photo a complete kitbash sits in front of a BLI brass equivalent.

Baseboard Trolleys

This last six or so months has seen Gordon and I finishing the trolleys, checking they fit in a Luton van (as we will use to transport them to exhibition) and finishing work on the BLI USRA Mikado conversions to CNJ M3 Miikados. A lot of hopper cars have also been completed, ready now to be weathered and loaded. Finally, work is now starting on building a working signal gantry for the west end of the layout.

These first five photos show the trolley purpose built for the storage yard. All five 3ft x 4ft boards fit into grooves in it and when the ends are both closed, are secure for transport. The unloaded trolley folds up into a small space – first photo.

Once all the scenic and storage yards boards are packed into their trolleys and, the end boards are folded into each other, they were stacked into a space the size of a Luton van to make sure we could transport the layout to exhibition. Here are two photos showing the ‘stacked van’! Not very exciting but very important. Finally we reassembled the layout in a couple of hours (well, almost).

Stock & Trolleys

Another result of this resolution was a visit by Steve to the local Barrowmore Model Railway Group, which turned into a membership there. The BMRG is way ahead of the Merseyside club in stock building and Steve’s first project there was to build the ARHS Babyface A-B-A set that were sitting in boxes in a cupboard. This was mainly a case of adding grab irons and other ironwork. The most complex piece was a roof rail, which was build by Richard Oldfield. The final shot shows the effect of priming ready for painting – which will be done in the new year. I should comment that fitting the recommended underframe from Proto 2000 Alco FA2s into these bodyshells required a lot of grinding away of the weight and also the insides of the bodyshell. One of the bodyshells was so thin in one spot, that it blistered when painted, and has to be rebuild with plasticard and superglue. However, these little obstacle are to be expected when kitbashing and building!

Steve then moved on to kitbashes of two M3 Mikados from BLI USRA Mikados – a project started several years ago with the late Chirs Bennett. This is now nearing completion and will appear on the project page once finished! Just one photo as an appetiser – the complete model at the bottom of the shot is an Overland brass M3s.

Meanwhile, back at the Merseyside club, construction of three trolleys was underway by Gordon and Steve: The new 4ft by 4ft baseboards are so heavy that they cannot realistically be carried any distance as when moving them to an exhibition. Therefore plywood trolleys are being built that can be wheeled from the clubhouse into a van (with a tail lift) and then from the van into the exhibition hall on arrival. Two of the trolleys each take two front boards, and the third takes all five staging yard board. This last is still under construction, but the first two are now complete.

November 2015 – layout

This last 8 or nine months has seen us tidying up from the extension on the scenic boards, building some trolleys, starting work on locomotive kitbashes and finally, hosting a visit from an American visitor!

The tidying up from the extension has seen us add scenic material to the right hand end where the layout has effectively now got a 2ft 6inch extension. This has meant carving out a hillside extension in polystyrene (held together with PVA glue) – a very messy job! We then covered this in plaster (pre-colored) and added the roadway with thin medium density fibreboard. Next the rockface was built from rock moulds and these were bedded in with a little judicious carving.

A grass material (from hanging baskets on this occasion) was attached onto PVA. The roadway was extended with colored ‘Artex filler’ material and the grass material was thinned with a beard trimmer (!) before being painted with thinned water based paint. Trees were added as previously described. The wall was extended using pre-moulded platicard and colored mainly with water based pencils to match.

The colored artex filler was used to touch up the gaps in the roadway that could now be filled since the front and back boards had been permanently attached. Artex is an amazing material and, once rewetted, blends in well with new material. Any imperfections can be corrected with a little thinned paint and, once dry, some sandpaper.

The trackwork was again ballasted with a mixture of coal dust and ash. the ballast was sprinkled onto a bed of PVA – painted between the tracks – and isopropanol (IPA) was then sprayed on to thoroughly wet it. Finally dilute PVA was added with a dropper to wet the ballast in between the ties and further IPA was sprayed on to spread it throughout. Once dry this has a matt finish with no trace of the shininess sometimes seen where PVA is used. The two LH photos below show this process in progress and the two RH photos where is has also been applied at the LH end of the layout and with the replaced switch.

While this was all going on, we had a visit from Joe Kacirek of New Jersey. To our embarrasment the layout ran very poorly but this prompted us to a better understanding of the electrics and a resolution to fix the problems. Joe was very understanding! Some photos from Joe’s visit show the stock out.

As a result of this, we have been involved in a continuous fixing of all the little electrical niggles, changing and repositioning switch motors, modifying software and changing cable connectors.